Doll Quilt

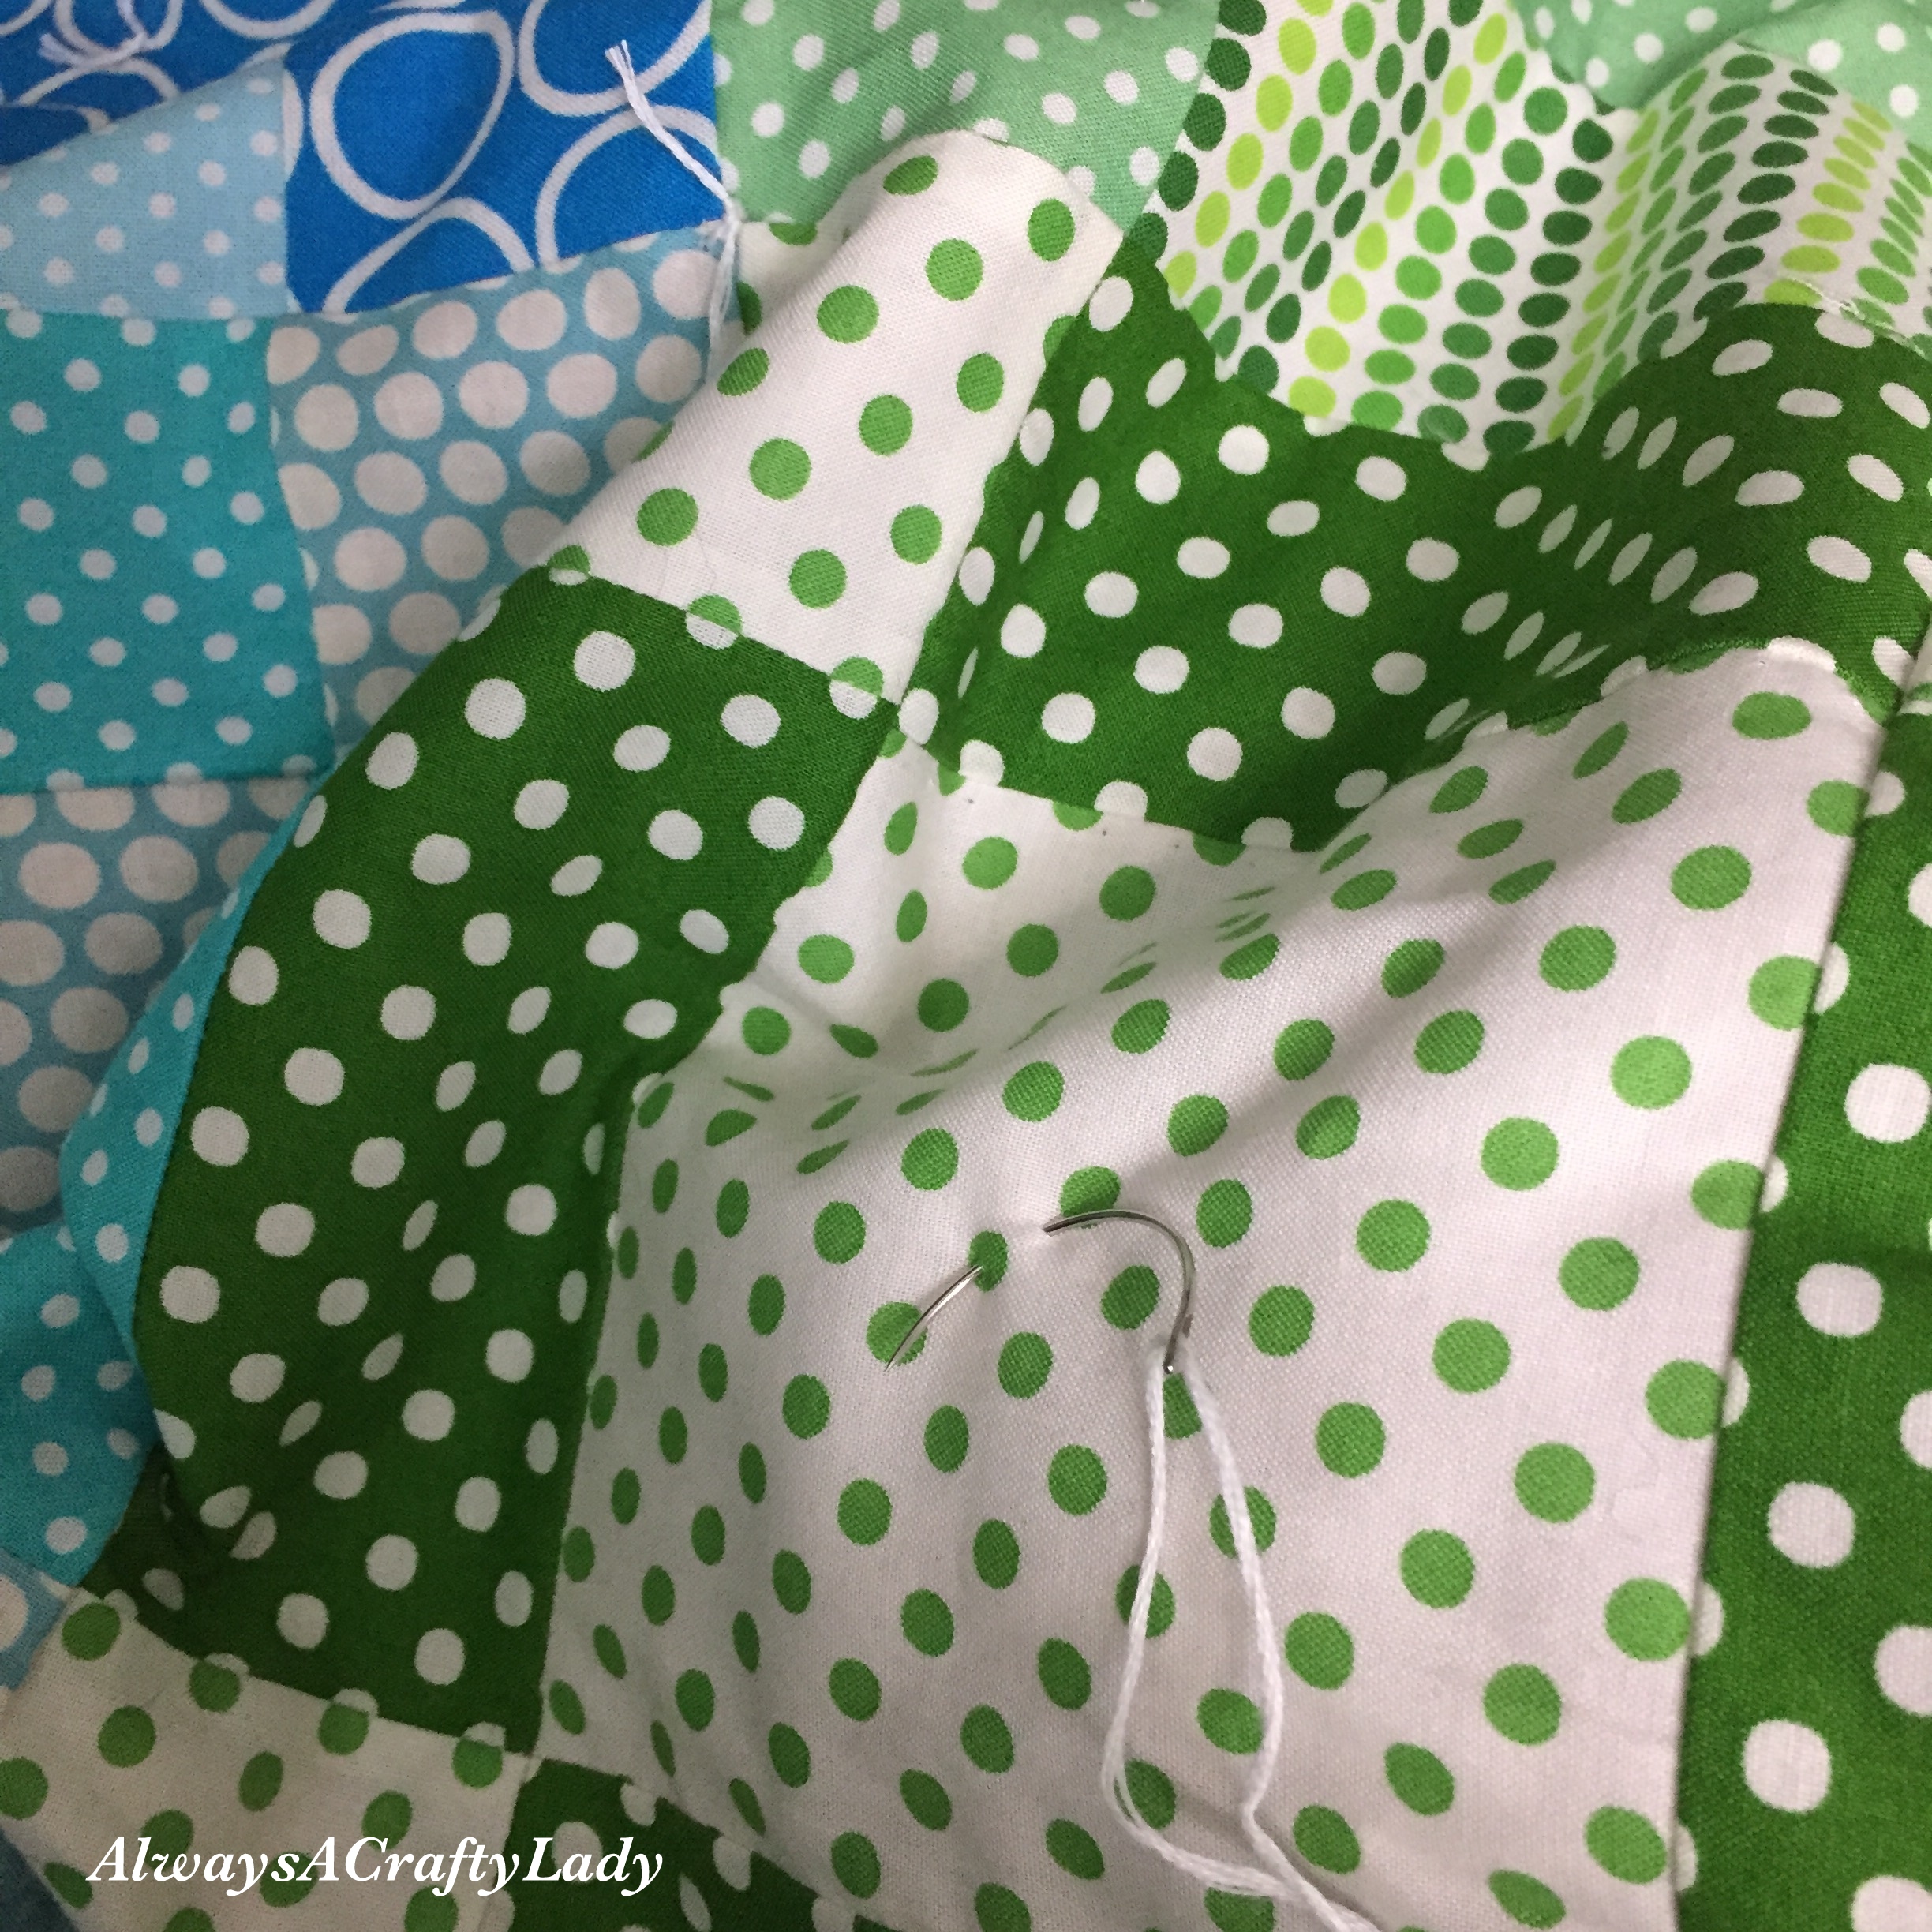
When I went to the quilt store to buy notions for the Rainbow Quilt I couldn’t help but also buy notions to make a doll sized quilt for the big sister.

Same fat quarter set and block pattern, but a little different look.

IMG_0719 IMG_0780

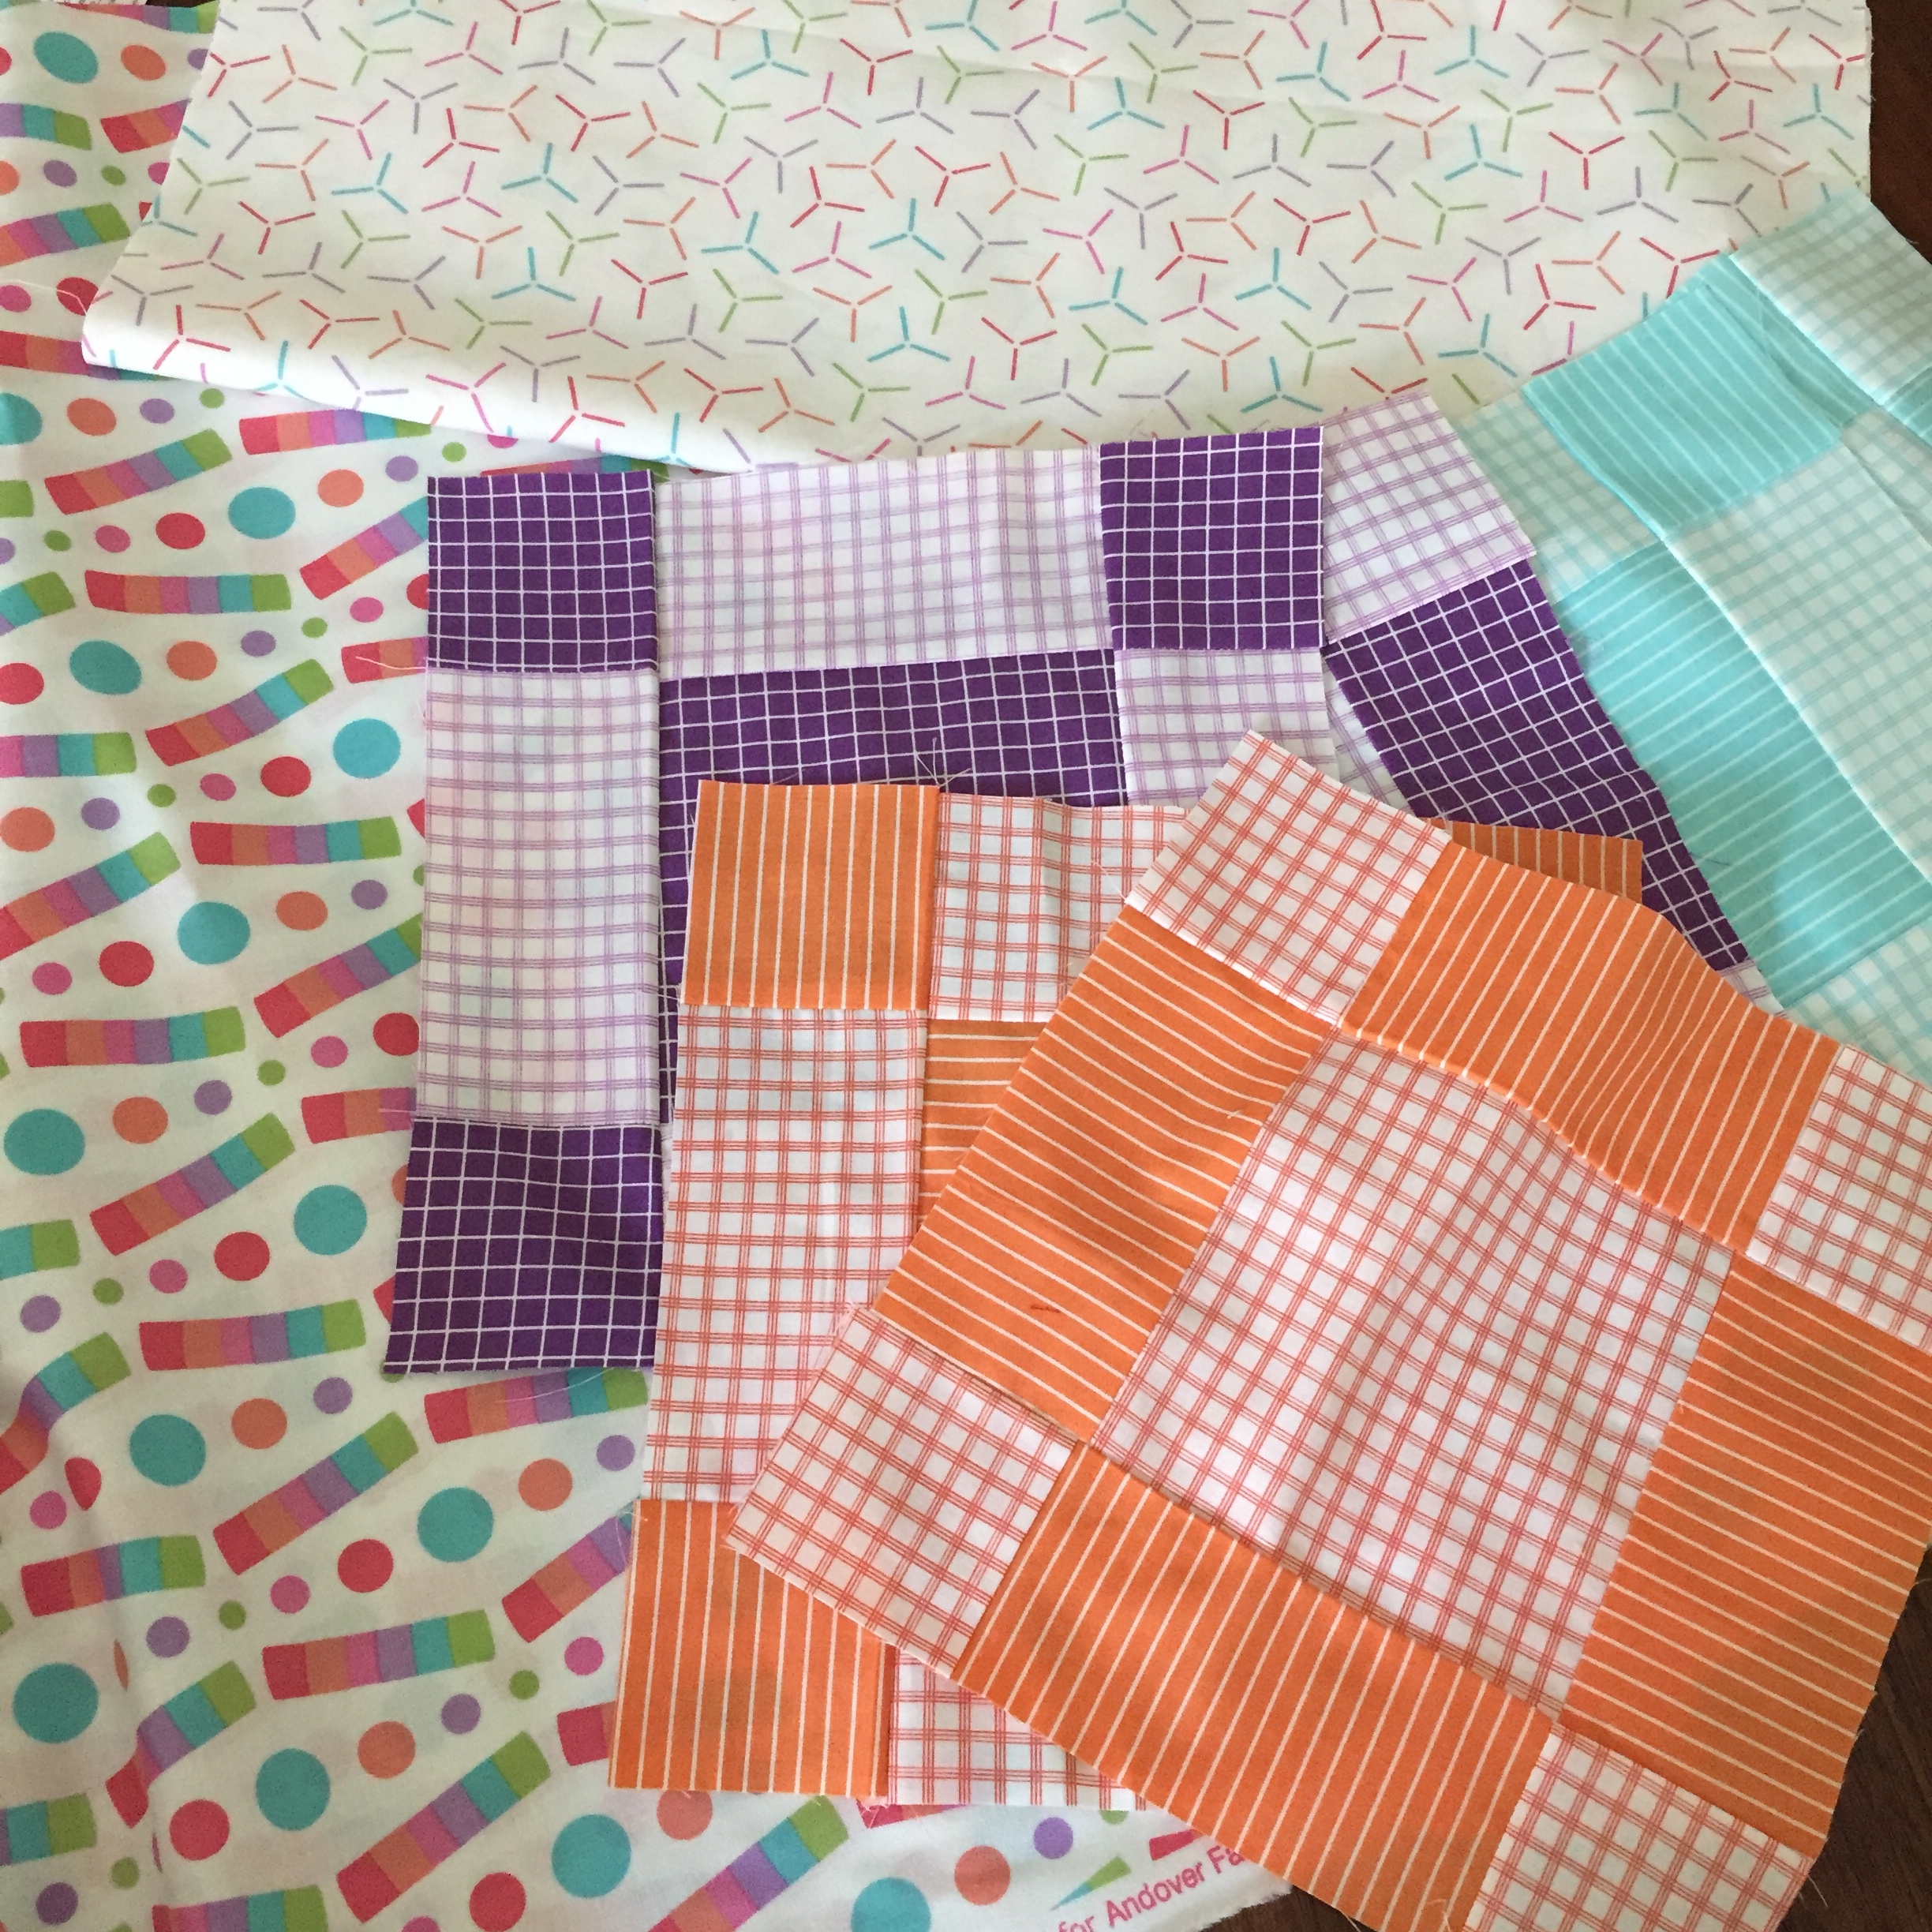
I love this little quilt. It was so sweet to put together and a great way to practice before I tackled the larger quilt.

IMG_0782

I put it away intending for it to be a Christmas gift, but then my older daughter received too many things and I knew this would get lost in the shuffle. So I held onto it until last week.

IMG_1499

Its now a wrinkled mess, but so so loved as my older girl insists on using it as a blanket even if it is much much too small for that purpose.

And so here is the pair. My first quilts that have started an obsession.

IMG_1498

In the beginning

Last year I got bit by the quilting bug. Hard. Call it a crazy pregnancy thing as I decided to take up quilting when I went to visit the Purl Soho warehouse in Orange County, California. I found a package of 90 fat quarters in rainbow shades and just had to buy it to make a quilt for my then unborn second child. Problem was…I didn’t actually know how to make a quilt. But, no worries! I’d figure it out.

And then the fabric sat. And sat. And sat just waiting for me to you know…get started. So when I went on maternity leave last October I finally got around to starting the quilt. The blocks went together quickly and easily.

1-IMG_0712

I went and bought backing fabric and notions.

1-IMG_0721

And then it sat around until a couple of weeks ago when I finally did the hand quilting. Having a 2 year old and a newborn will delay craft plans sometimes.

1-IMG_1400

But the finished quilt is so very pretty and worth the delay in getting it all sew together. I think not bad for a first try.

1-IMG_1497

Chrysler Cutie

This week I stumbled onto this tutorial for making nightgowns. My daughter is a girly girl who loves dresses, so I decided to give this tutorial a try. I’m really pleased with how this turned out.

1-IMG_1432

First I took a cheap t-shirt I picked up at Target. I could have used a shirt we already own, but since my daughter rarely wears t-shirts we didn’t have any on hand. Then I took some fabric from my stash (teeny tiny Chrysler buildings) and cut a piece 44 inches wide by 18 inches long. From there I tried to follow the tutorial, but I didn’t feel like pulling down my serger. So instead I ironed on a thin line of interfacing along the cut edge of the t-shirt to stabilize the knit then stitched with zigag stitch on my regular machine. It worked perfectly.

1-IMG_1458

At first my daughter didn’t like it. I was sad because I thought it was so darling! I contemplated slapping something pink on it, but I’m glad I held off because tonight she asked to wear it to bed. So cute!

1-IMG_1477

I have supplies for two more and I can’t wait to sew them up.

A Life of Making

I’ve seen the tag ‘A Year of Making’ pop up on my Instagram feed and in conversation with my friends, but for me it is all about a lifetime of making. And so this is a place where I intend to share my projects and inspirations as I recapturing my love of making. Because a well crafted handmade item will last so many times longer than a cheap and easily acquire item from the local mega mart.

About Me