Fabric Choice Matters

I only started sewing knit clothing for myself less than a year ago, so I have a lot to learn about fabric choice! I tend to lean towards using natural fibers whenever I can. They just breathe so much better than most synthetics and it is hot so much of the year here. But sometimes I forget a blend can really help, especially when mixed with cotton.

Both of these dresses are made with my Washington Dress hacked to have a lower neckline and half circle skirt. Someday soon I’ll get a tutorial written up.

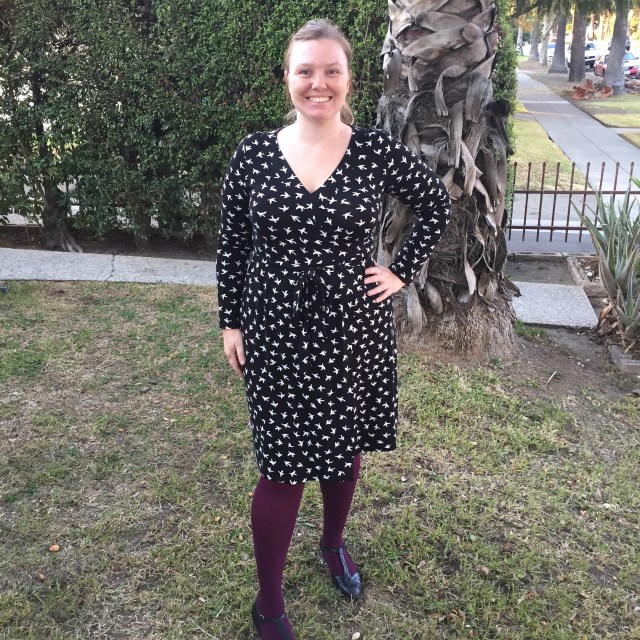
This first dress is in Valori Well’s Wish Knit in Passion. I saw someone made an Appleton dress in this fabric and I loved it so I bought some. And it is so pretty in person, but also much heavier than I expected and 100% cotton it seems. I got shy about doing an Appleton as I had planned because this fabric doesn’t have great recovery and doesn’t seem well suited to being pulled tight and tied. So new plan.

IMG_5204

I juuuuusssst made it with the 3 yards since I wanted long sleeves. So the pattern matching isn’t quite perfect, but pretty close. But what isn’t quite as apparent in the photo is it pulls across the bust when I first put it on. Then as the day goes on the dress relaxes and then relaxes some more.

IMG_5207

But I have to say I don’t hate it. It is incredible comfortable to wear. Plus, even as the dress relaxes the silhouette still shows off my waist.  All of this was a total accident! A happy one.

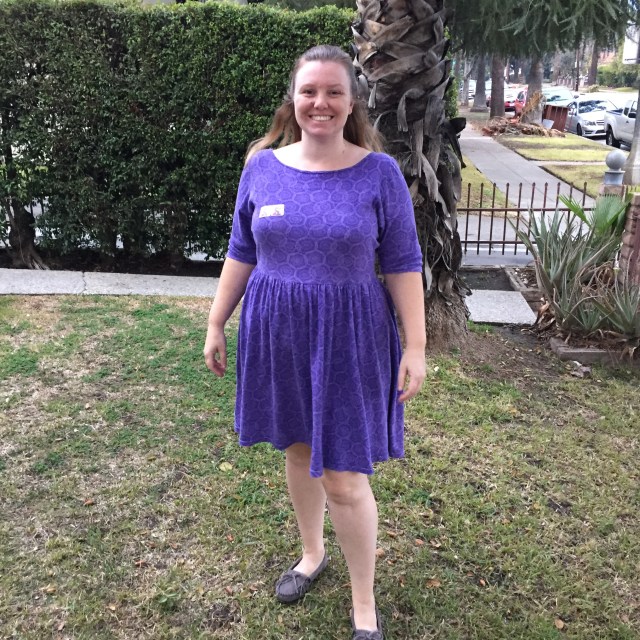
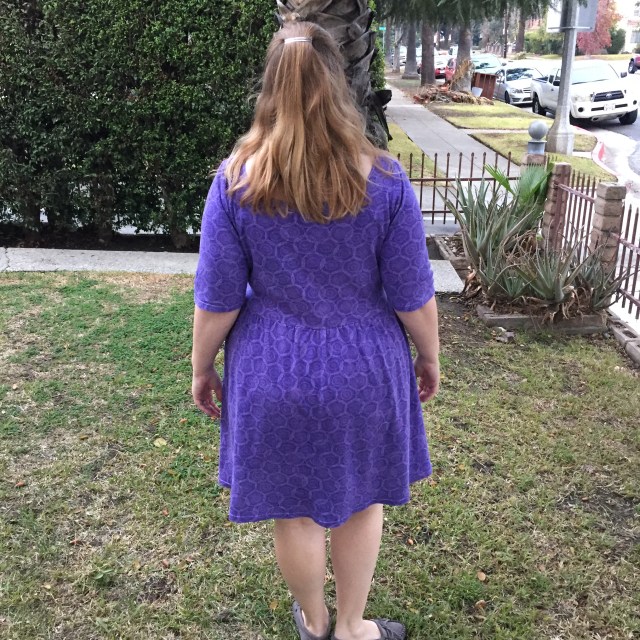
The second dress is in mystery fabric I picked up off the $3/yard wall at M&L Fabrics. Who knows what this dress is made of. I’d guess cotton with something else. Maybe bamboo? Nylon? Something with a bit of sheen. Like I said, still learning.

And another fabric I bought with Appleton in mind, but then this one seemed too sheer. So hacked Washington Dress to the rescue again!

IMG_5376

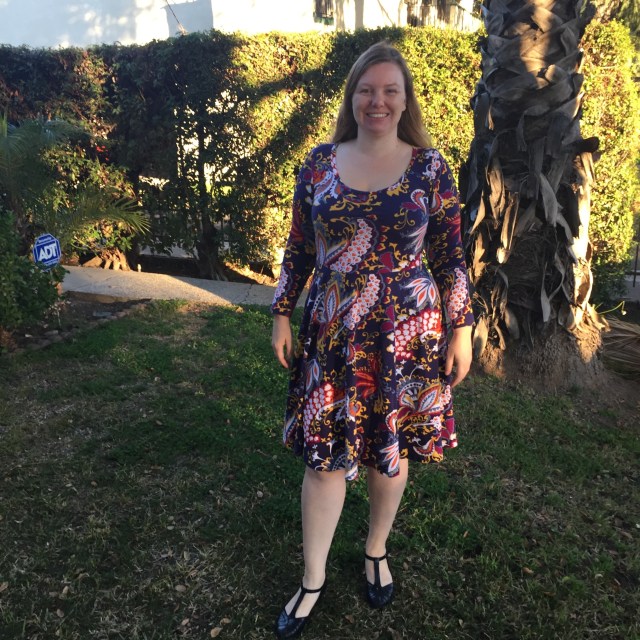
Derp! I’ve had to take photos first thing in the morning recently and I swear I’m still asleep in these. But dang, this dress was another happy accident. I’m not keen on the flower placement in the front, but again only had 3 yards to work with and tried my best.

IMG_5377

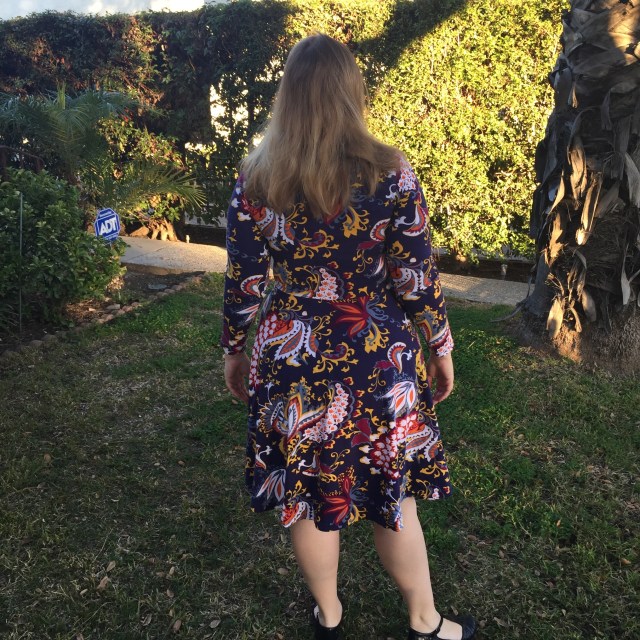
Regardless of fabric content the drape is great. Just perfectly falling toward the hem. And even though it has long sleeves I should be able to wear it well into spring since the fabric is so light.

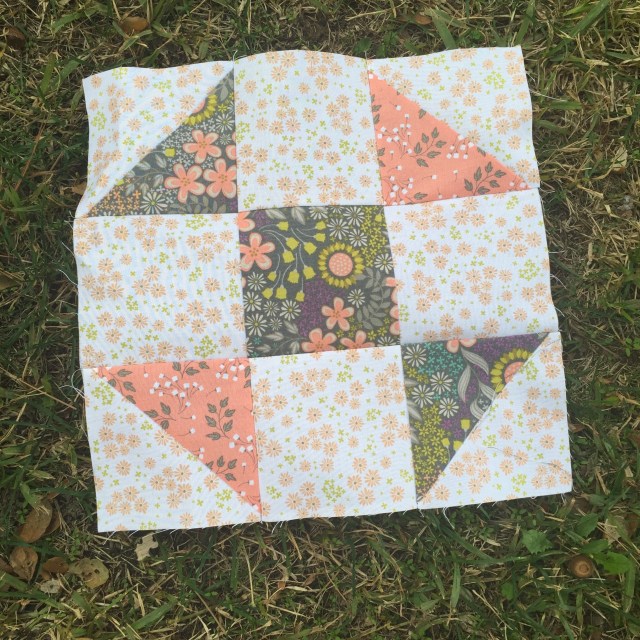
I’ve been on a big quilting kick lately, but I dug through my fabric bins lately and remembered all the gorgeous wovens I’ve been hoarding, so soon enough I’ll have to move on to those. Spring is not far away!

Starflower Quilt Block Tutorial

IMG_5329

I am in love with the Starflower block from Ellison Lane. It so so pretty and I can think of endless ways to adapt her pattern for many different color combinations. So when I was looking for which block I wanted to pick for my month of the Super Fun Times Quilt Bee I thought the Starflower block would be perfect. The problem is as written her tutorial makes two blocks and it is also smaller than I wanted. So at the advice of a couple friends here is my adaptation of the the Starflower block from Ellison Lane.

Starflower Quilt Block Tutorial

Adapted for the use of 4 prints and enlarged to an 18.5 inch finished block.

Here are materials needed

  • 4 – 5 inch squares of background fabric*
  • 4 – 5.5 inch squares of background fabric*
  • 8 – 5.5 inch squares of colored fabric (2 of each print)
  • cutting mat
  • rotary cutter
  • rectangular ruler (preferably at least 24 inches long and 5.5 inches wide)
  • square ruler (at least 5.5 inches square)

* If using a fat quarter to cut background fabric make sure to cut the strips parallel to the longer edge of the fabric.

IMG_5310

Start by deciding how you would like your colored square to be arranged in the final square. I opted to have mine go roughly from brightest to darkest.

IMG_5311

The next step is to pair the fabrics in order to make the half square triangles (HST). Pair 1 of each of the brighter colors and 1 of each of the darker colors. Then pair the remaining colored fabrics with a 5.5 inch background square.


Now make your HSTs! Place the pairs with right sides together and draw a line diagonally to mark the center. Then sew a 1/4 inch seam along both sides of the line.

Cut each square between the two sewing lines to give you two triangles from each square and press them open with the seam towards the colored square. Then square up your block to 5 inches.


Now it’s time to start assembling the block!

Lay out all of the pieces to check that all the HSTs are as you would like them in the block. This is a great time ensure you are happy with color placement before connecting the squares.

IMG_5319

Now sew each row together.

IMG_5323

Then the lower half and upper half are connected. IMG_5325

And lastly carefully connect the two halves paying close attention to matching the points as much as possible!

IMG_5327

Ta-da! All done! Here’s a shot of the back of the quilt. I most often pressed the seams towards the darker fabric, though where two white pieces are connected I pressed the seams open. This worked well over all. Also to help match the center point more easily I sewed that seam from the center out.

IMG_5328

Here are the colors I’ve picked for my quilt. All my favorites! These 4 were so much fun to put together that I almost didn’t want to stop.

IMG_5330

Modern HST Sampler QAL – Block 1

I don’t usually work on really long term sewing projects, but its January so instead of starting a new diet or cleaning out my wardrobe I’ve decided to embark on a year long quilting project. I’ve never done a quilt this way before. Usually I pick up a fat quarter set and then make a quilt in a short period of time, but then I came upon the Modern Half Square Triangle Sampler Quilt-A-Long.

Modern HST Sampler QAL
I’ve been spending a lot of time working on my skills for making clothing, but it feels like a good time to work on my quilting skills. I’ve only made a few and without giving much thought to technique. The QAL from Blossom Heart appeals to me because it is a shape I haven’t worked with very much yet and it is starting easy and getting more complicated as time passes.
So this weekend I dug through my stash and came up with a couple different fabric bundles to use.
Bundle 1 is Wildflowers by Alisse Courter. I really love her fabrics. They are so pretty and feminine. This is the only collection I’ve purchased so far, but I’ve been really tempted by her others.
IMG_5296
My collection only has 15 fabrics (I might have one more floating around somewhere) which is not enough to finish the whole year since I’m using the background as well. That’s okay though. I should be able to have enough squares to make a throw quilt once I add sashing. The first block is so sweet in these prints.
IMG_5298
Bundle 2 is Hilltop by Wee Gallery. This collection came out and for some reason Westwood Acres put it in their clear out sale right away. I couldn’t believe it! Our daughter’s favorite toys are a fox and an owl, so I snapped up a 1 yard bundle.
IMG_5294
This is only 8 of the fabrics in the line, but I find it so cute. With so much yardage I should be able to do the whole year, but if not that’s okay. The whole goal is to improve my skills. I’m not sure what kind of quilt will come from these, but it could be for my girls or for one of the many little boy babies my friends seem to be having.
IMG_5299
I feel a little crazy to have started two of these, but hopefully I’ll be patting myself on the back in several months when I have a stack of quilt blocks all ready to go!
IMG_5300

Goldilocks and the 3 Monetas

Colette’s Moneta is an incredible popular knit dress pattern. It has a wide size range (33-54 inch bust), is simple to make, and a nice easy silhouette to wear. But I seem to be the one person in the blogiverse that was an utter failure at making this pattern.

Exhibit 1 – This dress is too big!

IMG_5221

Here I am in all my weekend mom glory. Comfy dress, Anna stickers from Frozen, and slippers because I was spending the afternoon sewing.

This was my first attempt at making Moneta and at first I really liked it. It is super comfy! But with time it has gotten saggy and frumpy looking. Based on the pattern envelope recommendations I made a L in the shoulders and graded out to an XL from the underarm down. Mistake! The sleeves have huge bags of extra fabric. The neckline is huge! The only part that worked was the waist.

IMG_5224

Oh my gosh, the back is just as bad. Look at how low the waist sits! The whole thing is huge. Thank goodness for cardigans to hide most of this when I wear it. Did I mention this was the length for 3/4 sleeves? WTF is that about? I do not understand patterns that mark elbow sleeves as 3/4 sleeves. Not the same pattern companies!

The fabric is a lovely interlock from Robert Kaufman that my friend gave to me, so I am sad this dress was such an utter failure.

Exhibit 2 – This dress is too small!

So then I regrouped and made another version in some Art Gallery jersey I had on hand.

Moneta 2 Front

This time I cut a large for the shoulders then graded to an XL at the waist. I also narrowed the neckline and swapped the sleeve for the pattern from Cashmerette’s Appleton Dress pattern.

Actually the dress looks okay from the front. Sleeves look a tiny bit tight, but not too bad. So let’s look at the back.

Moneta 2 Back

Eek! What the heck? Still too long in the back length of the bodice, but the worst part is my arms look like they are eating my sleeves. Sob! Another dress that looks okay with a cardigan, but I feel awkward wearing it on its own.

At this point I put the pattern in time out. Bad pattern! Bad sewist for not thinking the fit through!

Exhibit 3 – Goldilocks gets it right!

Well then last week while I was coming off the high of finishing a few well fitted dresses  I thought I’d pull out Moneta and see if I could hack it into something better. Plus I’d stocked up on some $3/yard bargain fabric so if the dress failed, I’d only wasted about $10 including tax.

IMG_5182

Bam! Success! The elusive 3/4 sleeve didn’t quite happen, but that’s a very easy fix next time. Beyond the sleeves I love everything about the fit.

So, how did I make it happen? Well I did it by drafting the Moneta neckline onto Cashmerette’s Washington Dress bodice. Then I used the Moneta skirt as is. The drafting took a little time, but now that its done I could make this pattern again in a snap. Plus doing a little math can be fun!

IMG_5184

The back turned out pretty perfectly too. It’s meant to be clingy, especially in this Robert Kaufman jersey, so I don’t mind the closer fit. At least its a dress I can wear without a cardigan and feel comfortable which seems like a huge achievement in getting used to my post two kids body.

In the end, I am starting to think that even with the extended sizing Colette’s patterns just don’t suit my shape. I’ve made 3 or 4 now and they have all been terrible flops even with careful measurement and fit tweaks. The problem is that most indie pattern companies design super casual clothes. So, anyone know of a pattern company designing slightly more professional dresses that go up to a size 16 or 18? Otherwise I fear I might be headed towards drafting my own, but I’ve always been better at modifying than drafting from scratch. Hmmmm, something to ponder.


Put a Bird on It

Happy New Year! Yay for 2016! Here in Pasadena the Rose Parade has marched down Colorado Blvd. and the Rose Bowl game has been played. Time for our little city to calm down and start getting ready to return to our regular routine.

I managed to eek out a little more fabric and sewing fun during our holiday break. On New Year’s Eve we took a family outing to see some friends on the other side of town. On the way back my husband wrangled our overtired kids so I could make a stop at The Fabric Store! I’ve been eyeing their merino jerseys for a while, but it isn’t easy to make it cross town with two small children. I was so glad to finally stop by and I wasn’t disappointed. IMG_5139.jpg

I bought two lengths of jersey to make wrap dresses. One is emerald green and the other is sort of a soft mauve color. Wool might seem a little silly in our climate, but I wear wool nearly every single day. It is so breathable! Plus both fabrics are fairly lightweight with a nice drape. And wrap dresses are so great for work wear and flattering as well.

And as if friend time and fabric shopping wasn’t enough, I also wore my new Appleton Dress for the whole day to see how my fit adjustments would work out. And the answer is…nearly perfectly.

IMG_5144

This version is made with one of the kits Jenny sold when the pattern was first released. I held onto the fabric because I was nervous about sewing with a rayon blend. But now that I’ve worn my two Appletons many times I had a much better idea how they fit and what changes I wanted to make.

IMG_5146

The biggest change I made was to lower the waist by one inch. This was tricky because there are no markings on the pattern to do this sort of alteration. So I ended up finding a nice small point between darts to add the length. Thankfully it worked! I cut both fronts the same so I’d have more overlap. Then I cute the neckline trim pieces a little longer to account for the extra length. That was the only fail. The neckline needed to be a tad bit more snug. Lastly I took some of the fullness out of the front armhole and now the front lies so smoothly. Perfection.

IMG_5142

This dress will fit perfectly into my work wardrobe and I am so happy to leave 2015 with a bang! I cannot wait to keep tweaking and hacking patterns in 2016 so I can have a whole me-made wardrobe of custom fit clothes. Having a good fit really make me feel a lot more confident about myself. It’s super exciting.

And this time Dottie got in on my photo shoot. Silly dog!