Operation Sister Quilts

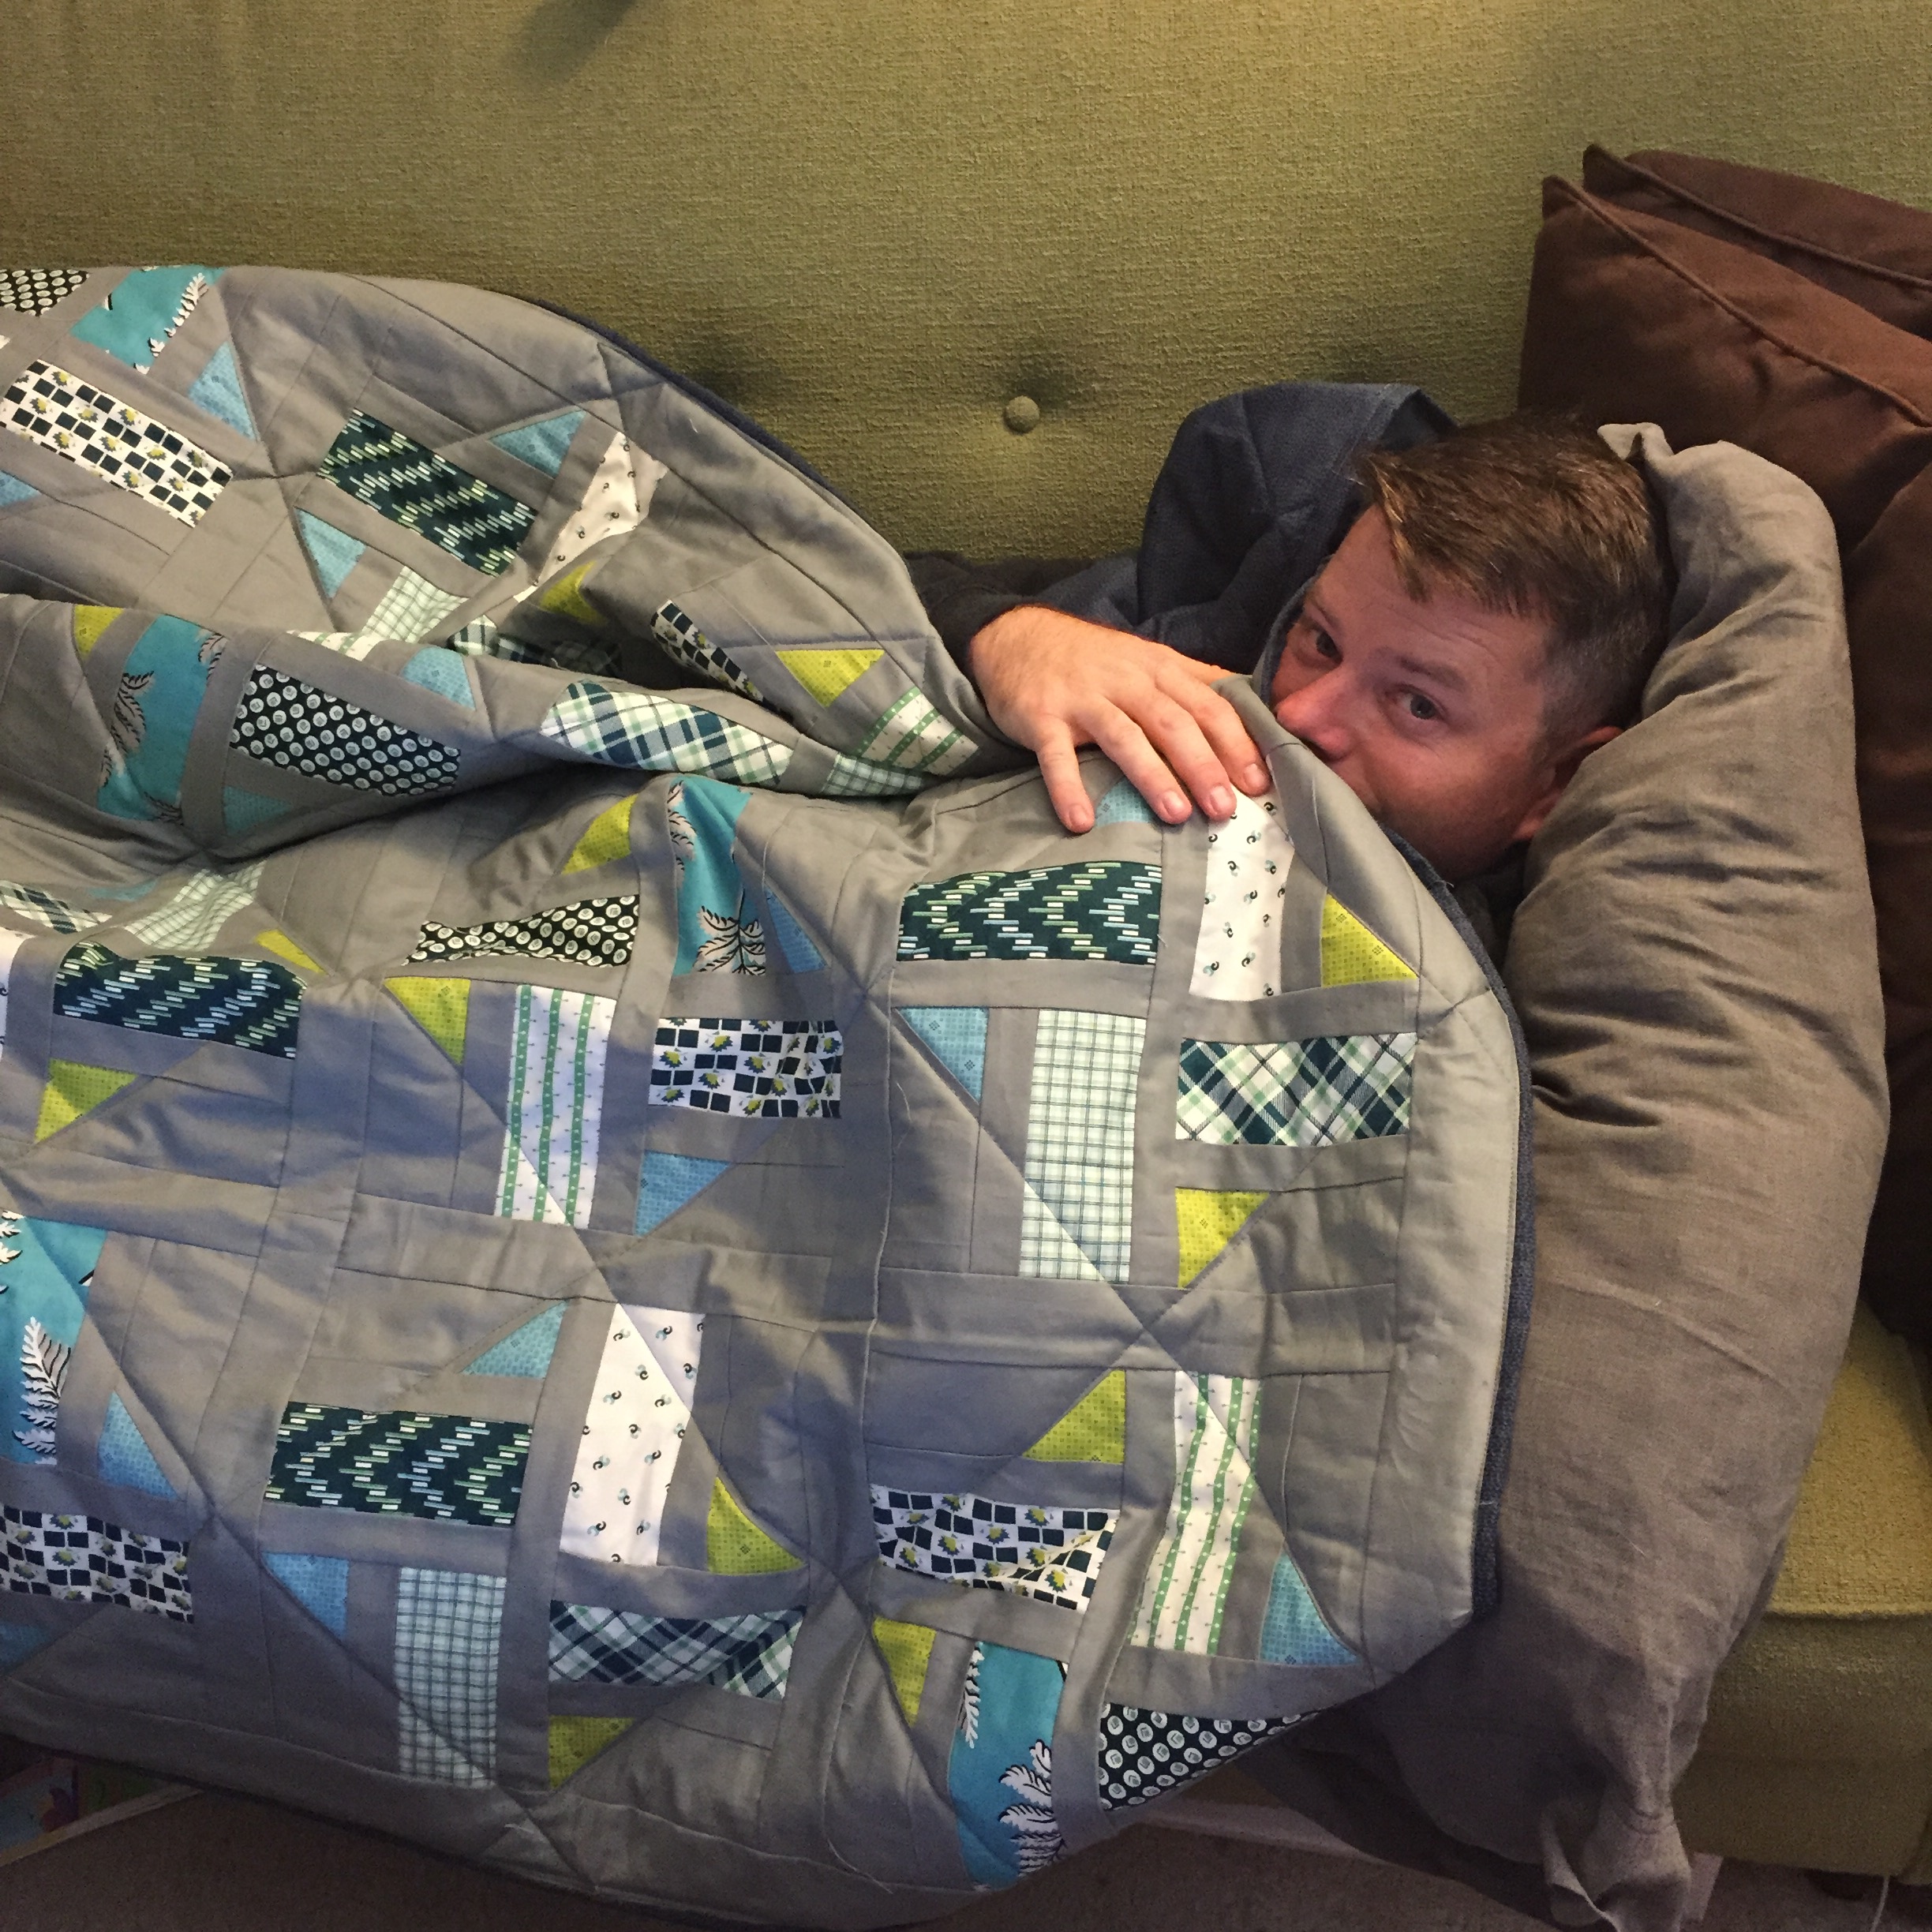
I’ve gotta admit I’ve been feeling pretty horrible these last few days. I’ve was slammed with a sudden flu like something and then the shooting in Las Vegas hit way to close to home. It feels more and more like the world has gone mad. I don’t write this blog to get into politics, but how I feel definitely directs my posts. I’d planned to write up a project I made for myself, but instead I’m posting a project that I’ve been working on for over two years. Something warm and happy and lovely.

I’m a pretty big fan of Heather Ross prints. I keep an eye out for her prints on apparel fabric for me (exhibit 1 and exhibit 2) and when the collection is something special I buy quilting cotton too. The Tiger Lily collection came up for pre-order when I was all high on newborn baby fumes and I was inspired to make sister quilts for my tiny and tough girls. I loved the mix of ballerinas and girls climbing trees.

Now I can finally call the project a wonderful and finished success.

img_0891

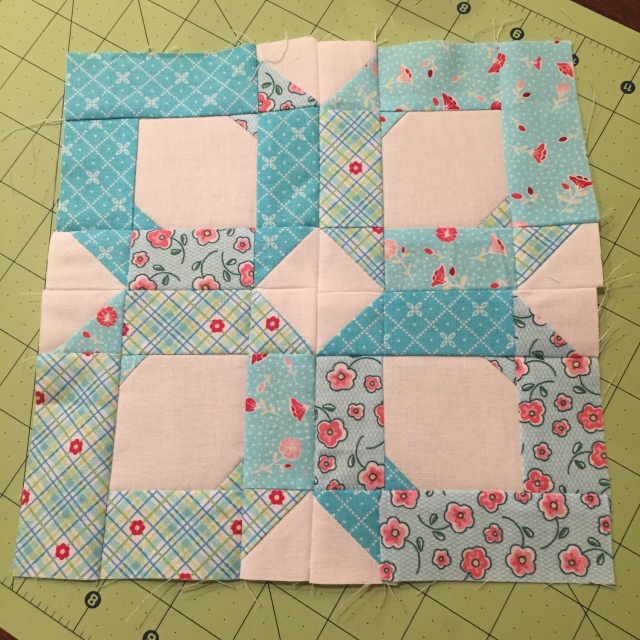
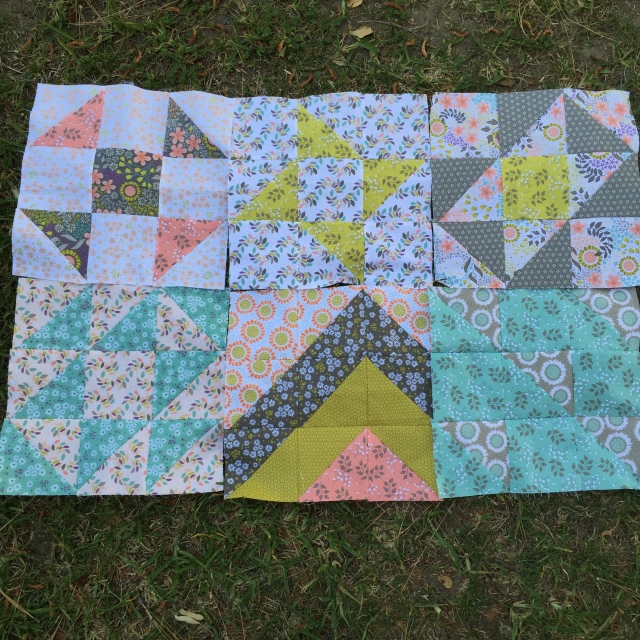
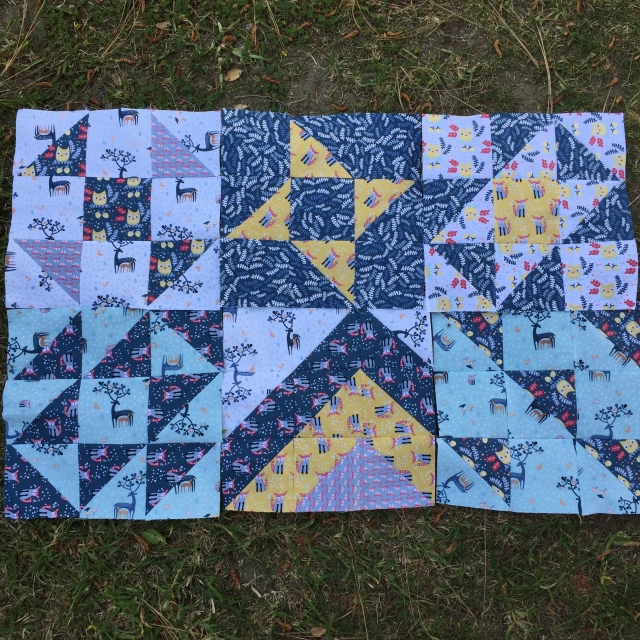
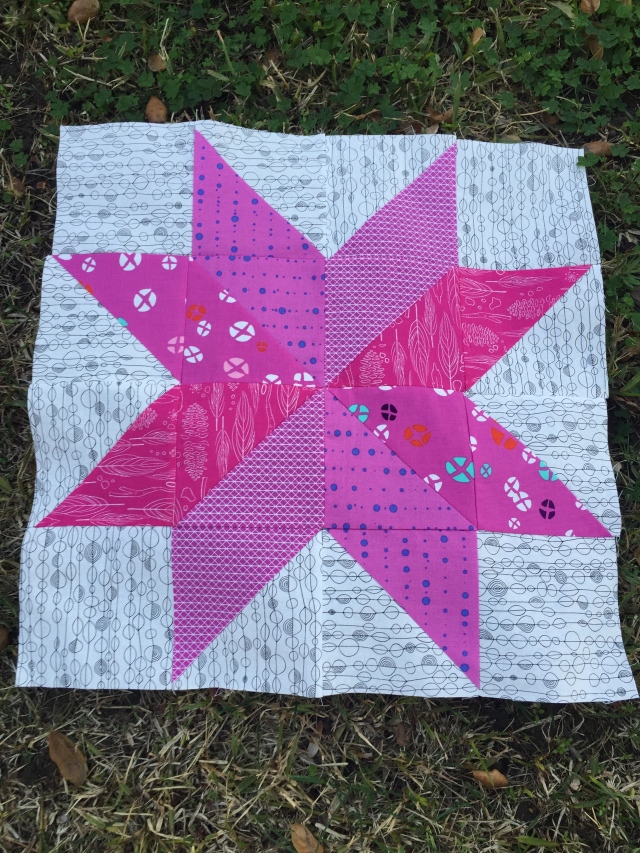
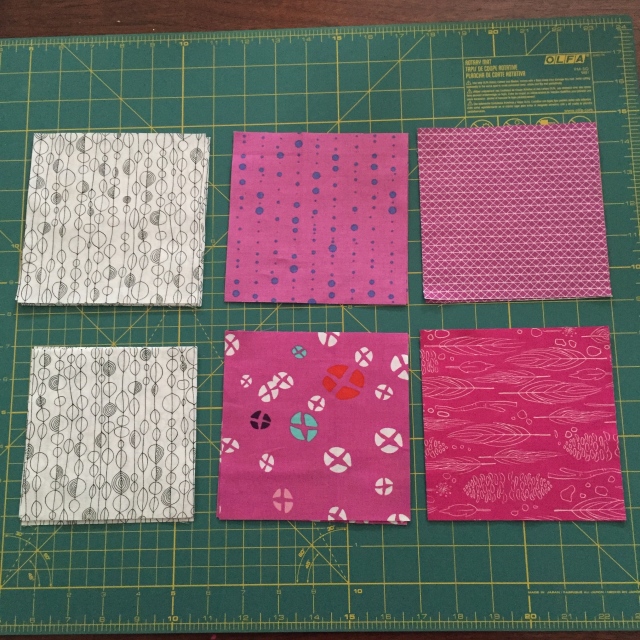
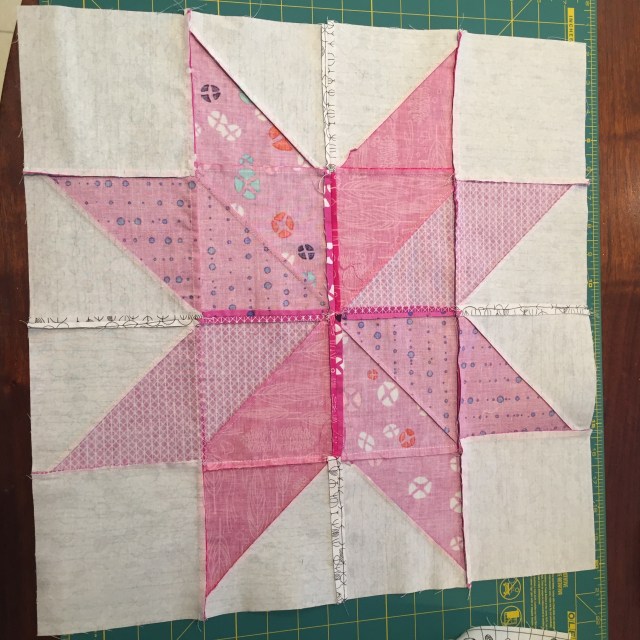
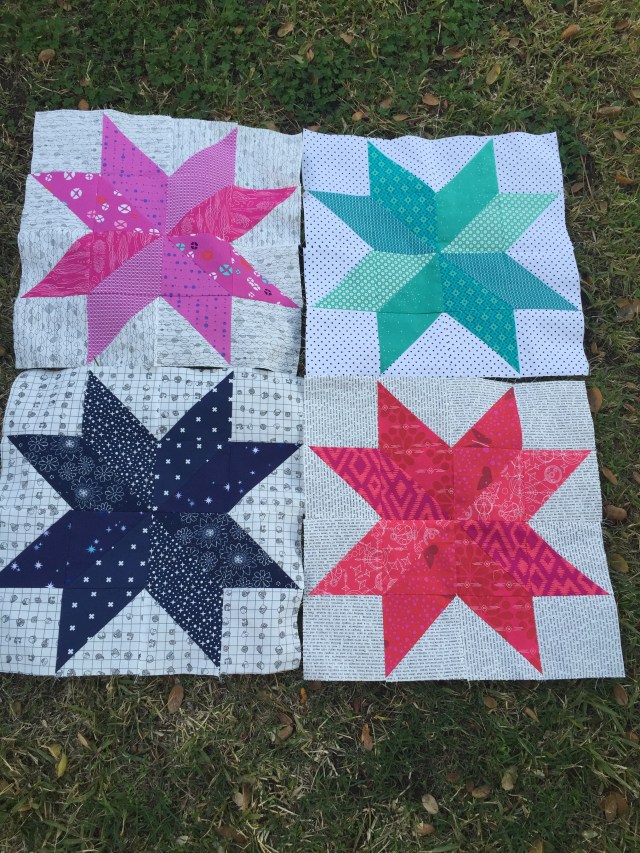
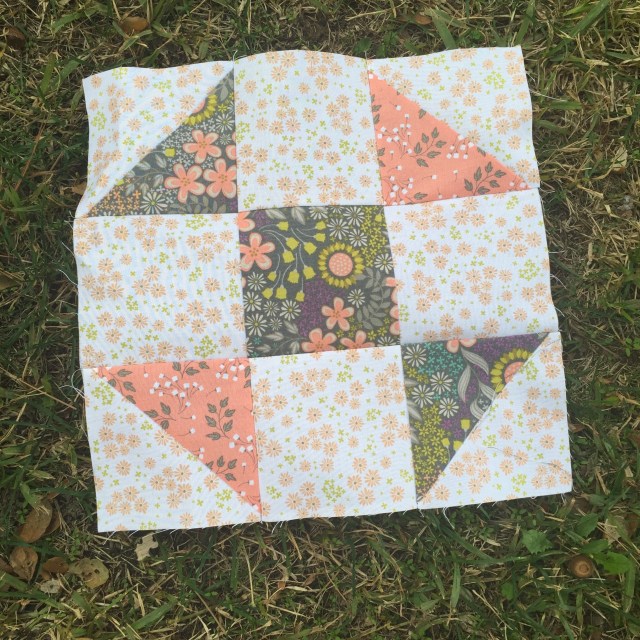
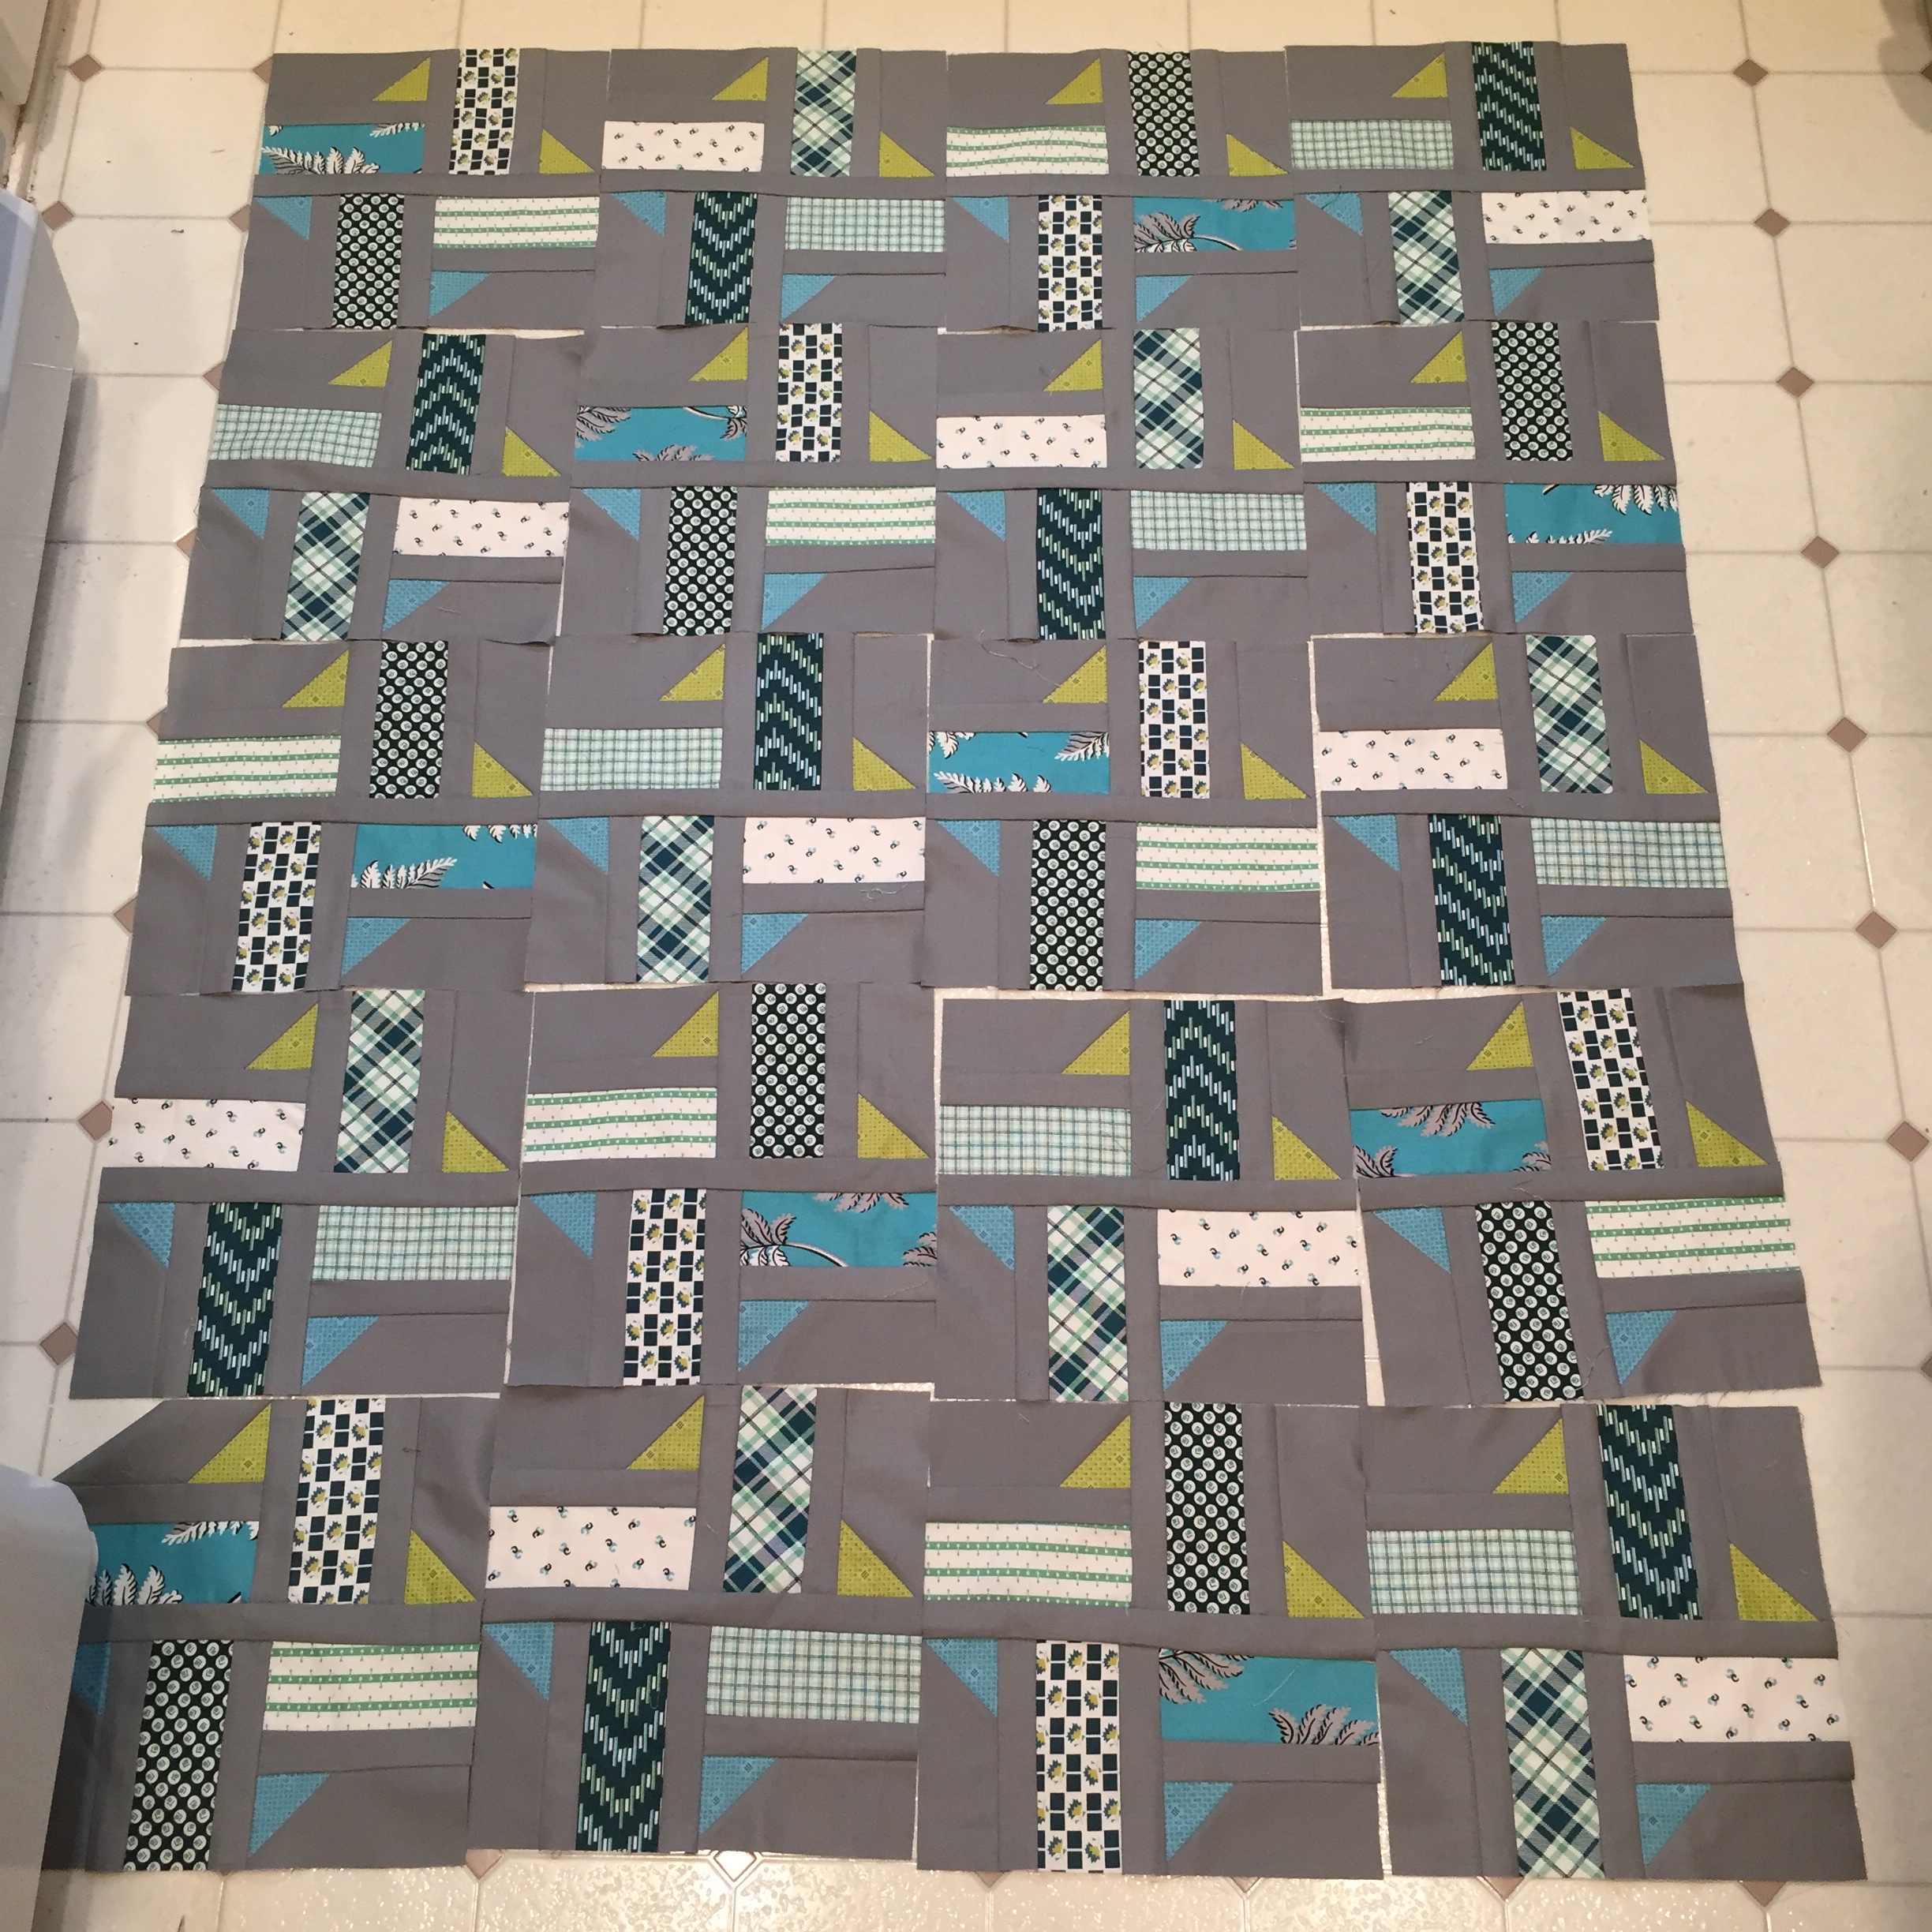
These suckers were quite a bit of work. Churn dash was the only block pattern I even really considered. It just seemed to suit the fabrics so well, but trying to figure out which prints to pair took me many many evenings. Early on in the planning process I realized I didn’t have enough fabric and had to desperately email Westwood Acres Fabric to order a bit more! I also originally thought I’d make the tops with different mixes of fabric, but I couldn’t ever quite figure out how to make it work in a well balanced way. So both tops are identical.

img_0892

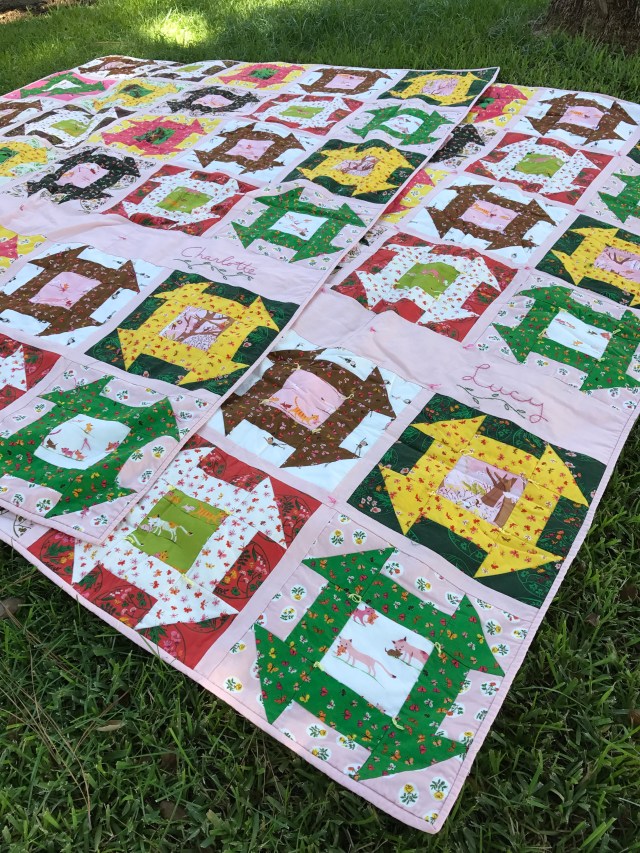
Well, the tops are identical except one one very special detail. I hand embroidered their names in the sashing. Even this detail took a lot of thought. Originally I’d planned to have them machine embroidered, but then I was too lazy to actual research it after my friend with an embroidery machine said her machine couldn’t handle the size of the project. The big push came when my local yarn store announced they were getting rid of embroidery floss and I made a quick run down to buy really high quality floss while I could still see the colors in person.

In fact a lot of this project was only moved along with pushes from the outside world. I kept procrastinating the next step until I couldn’t wait any longer. The sashing? Well that was motivated by my local quilting store’s going out of business sale. I shopped there pretty frequently, but the threat of having to buy sashing fabric online was nerve wrecking enough for me to drag the squares down to the nice natural lighted store before I was left guessing shades against a computer monitor!

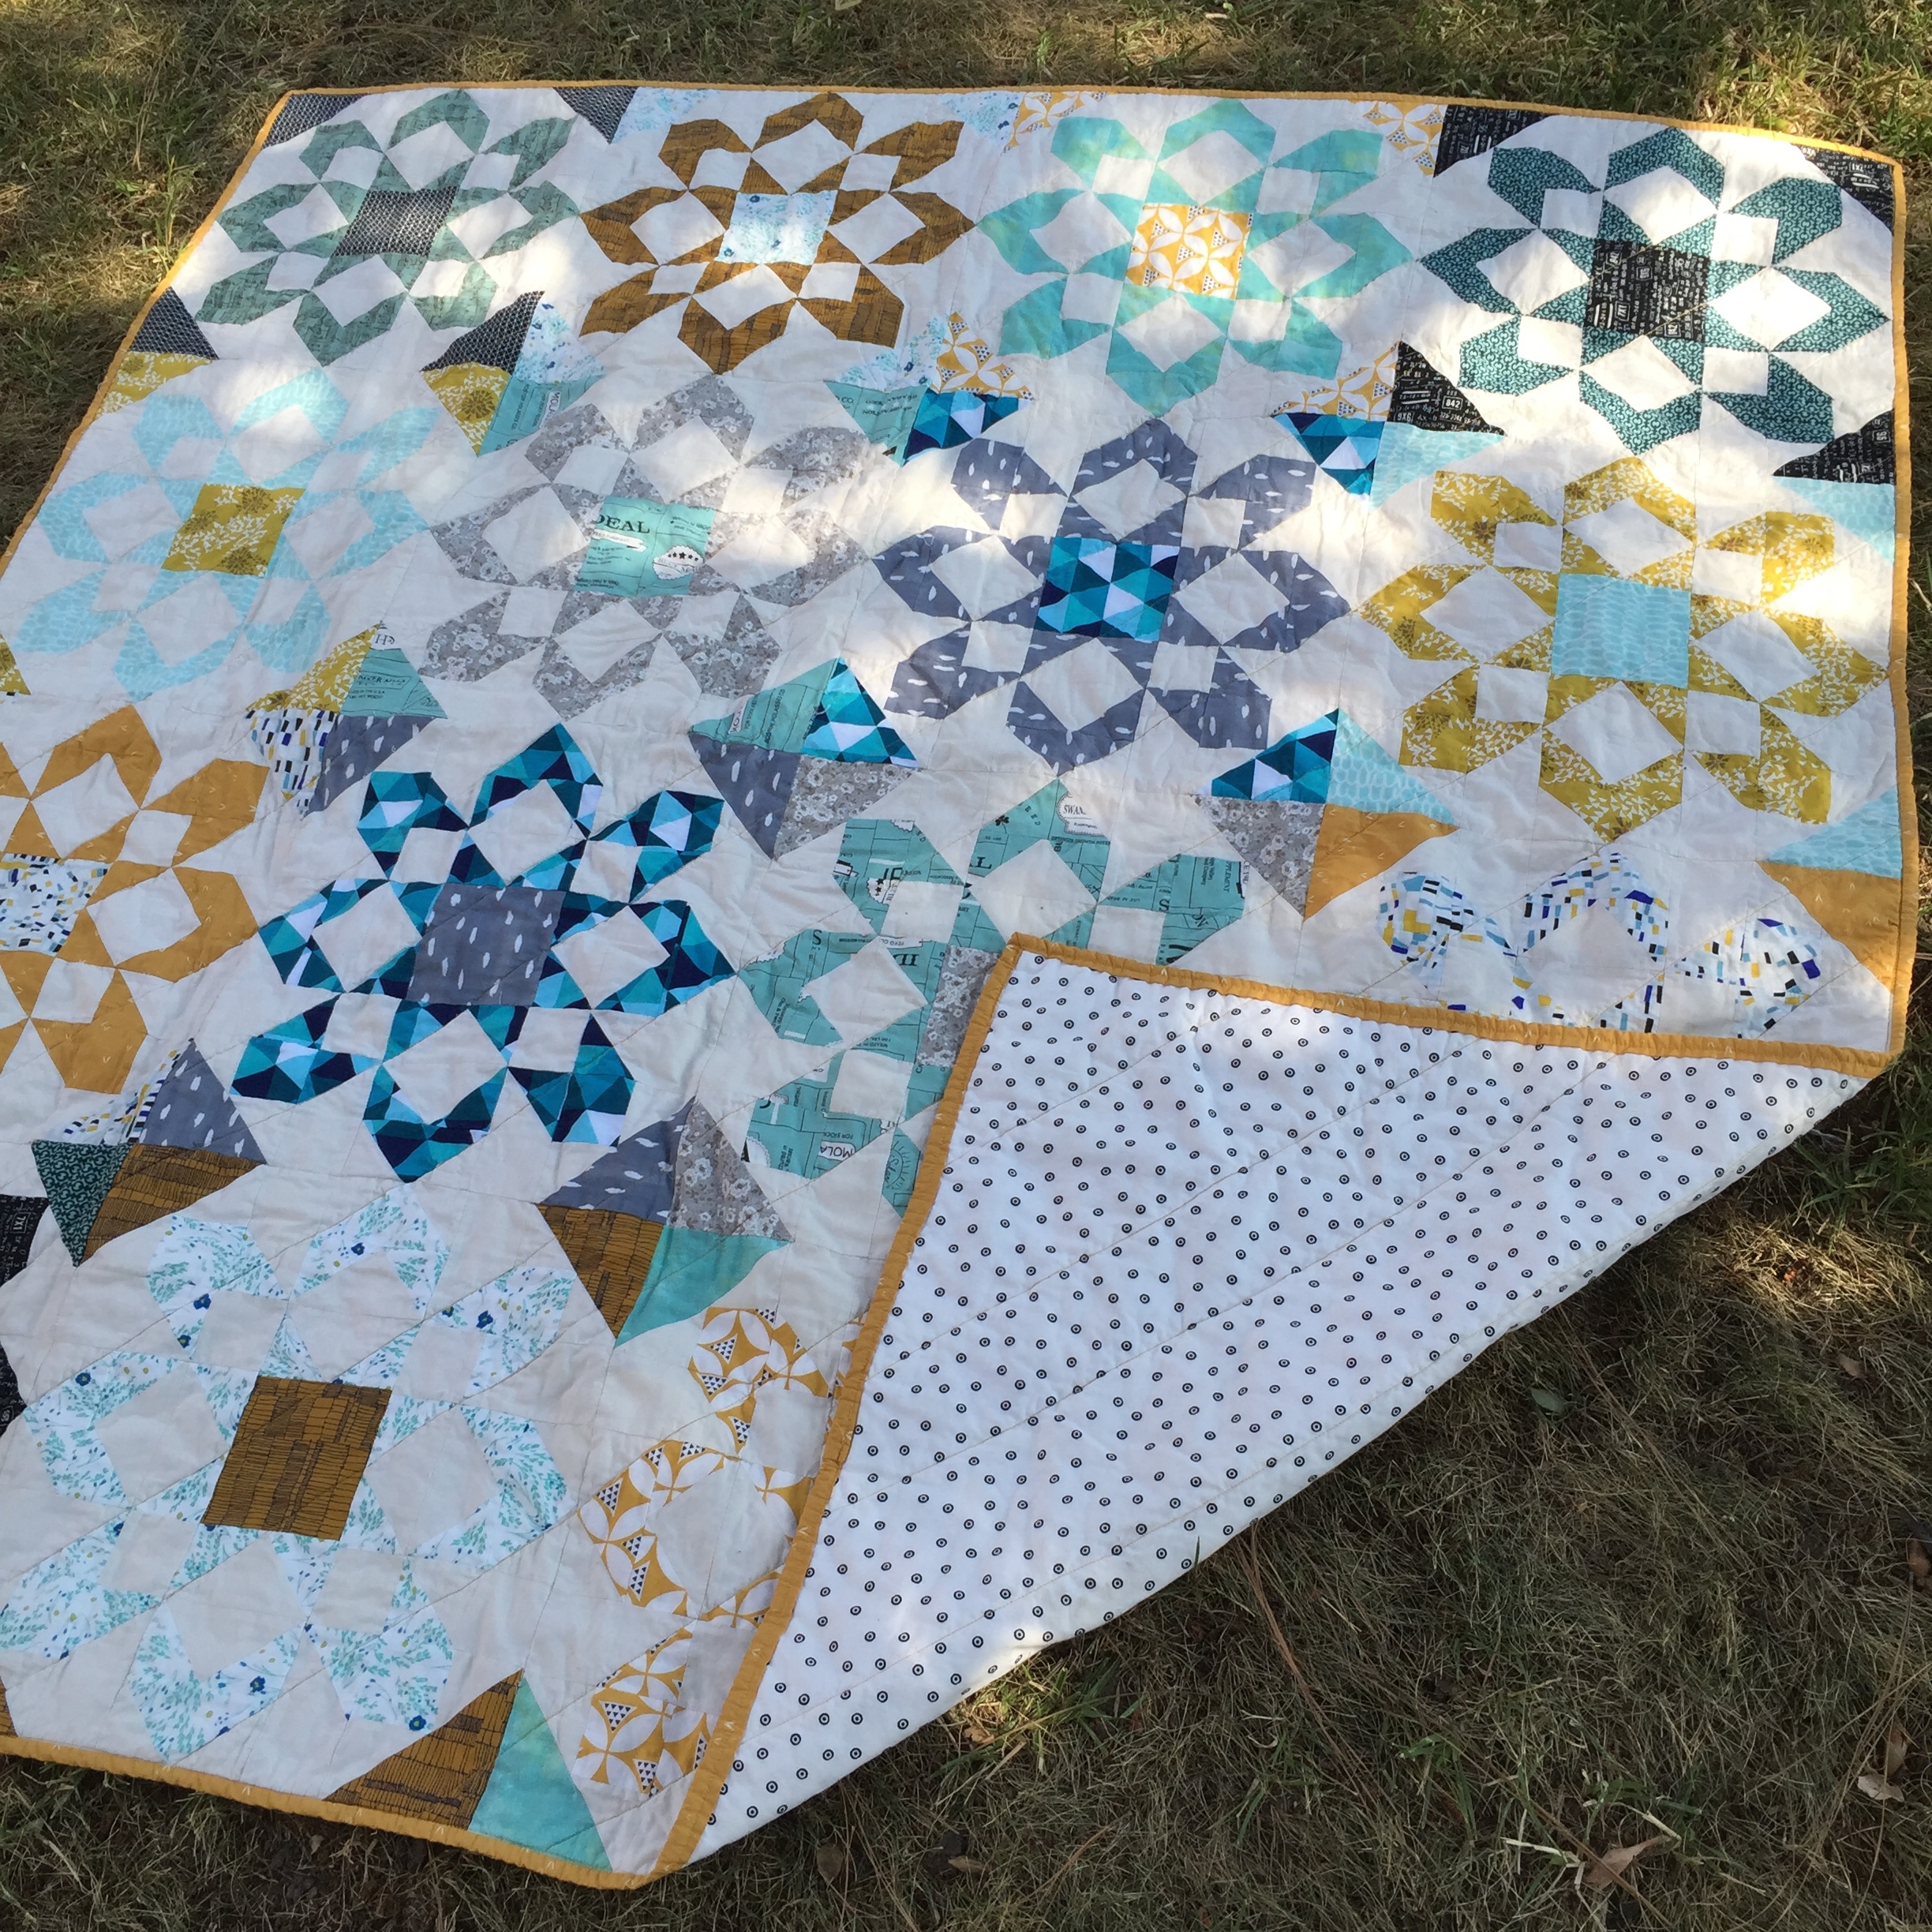
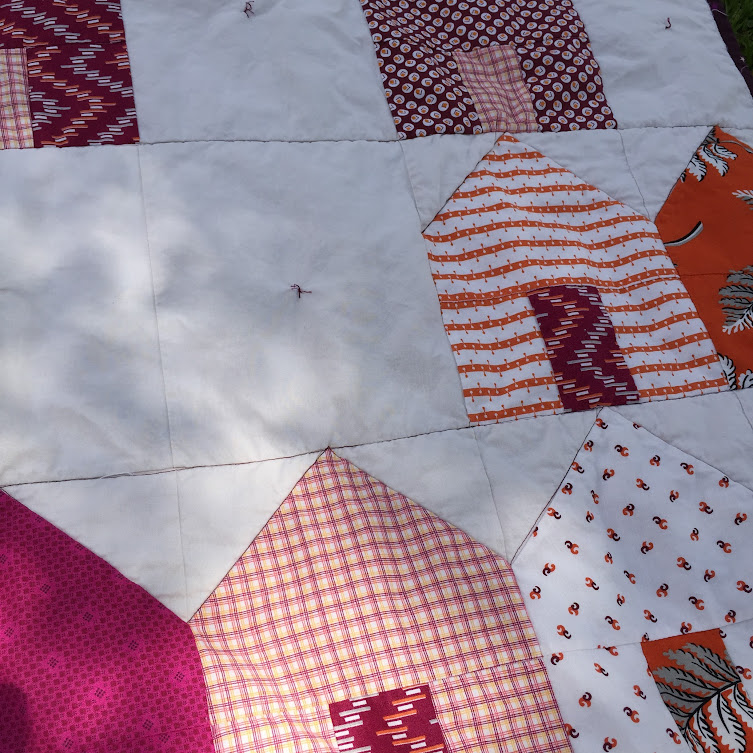
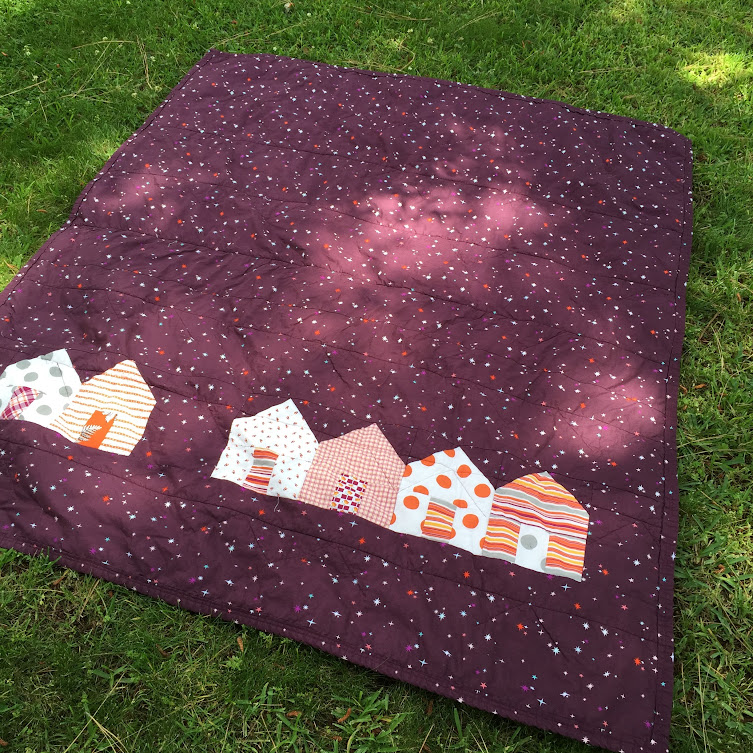
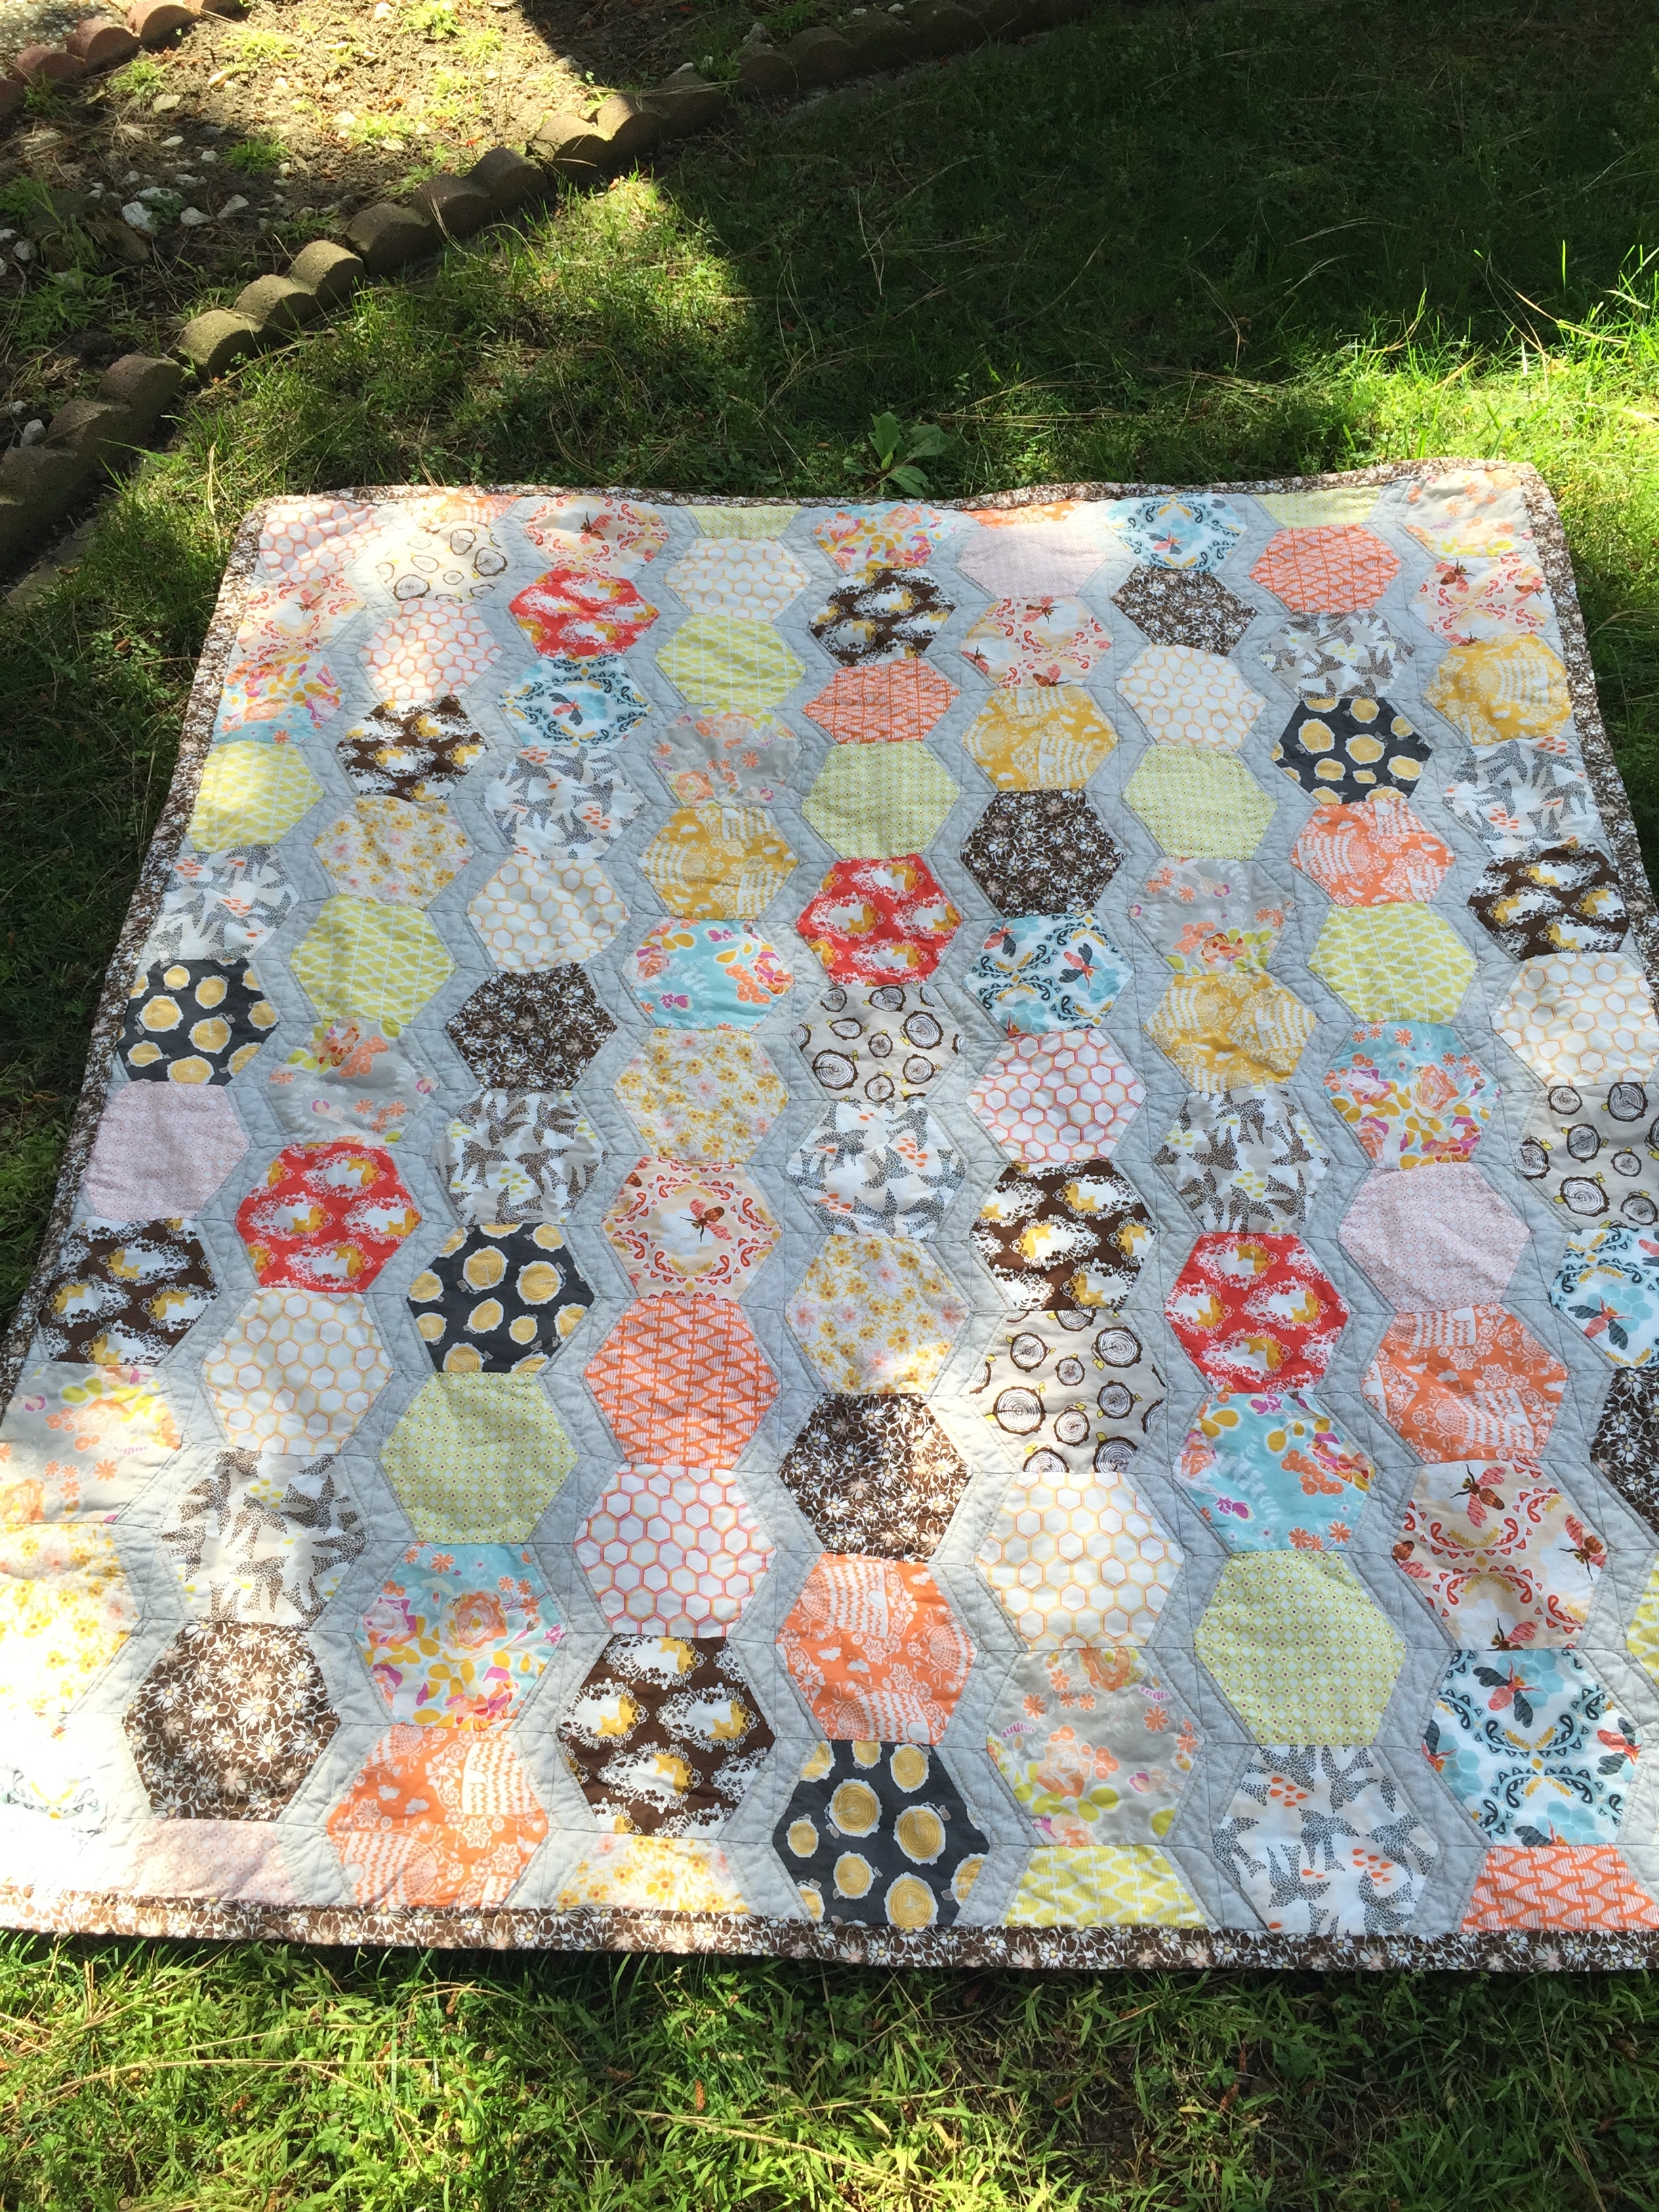
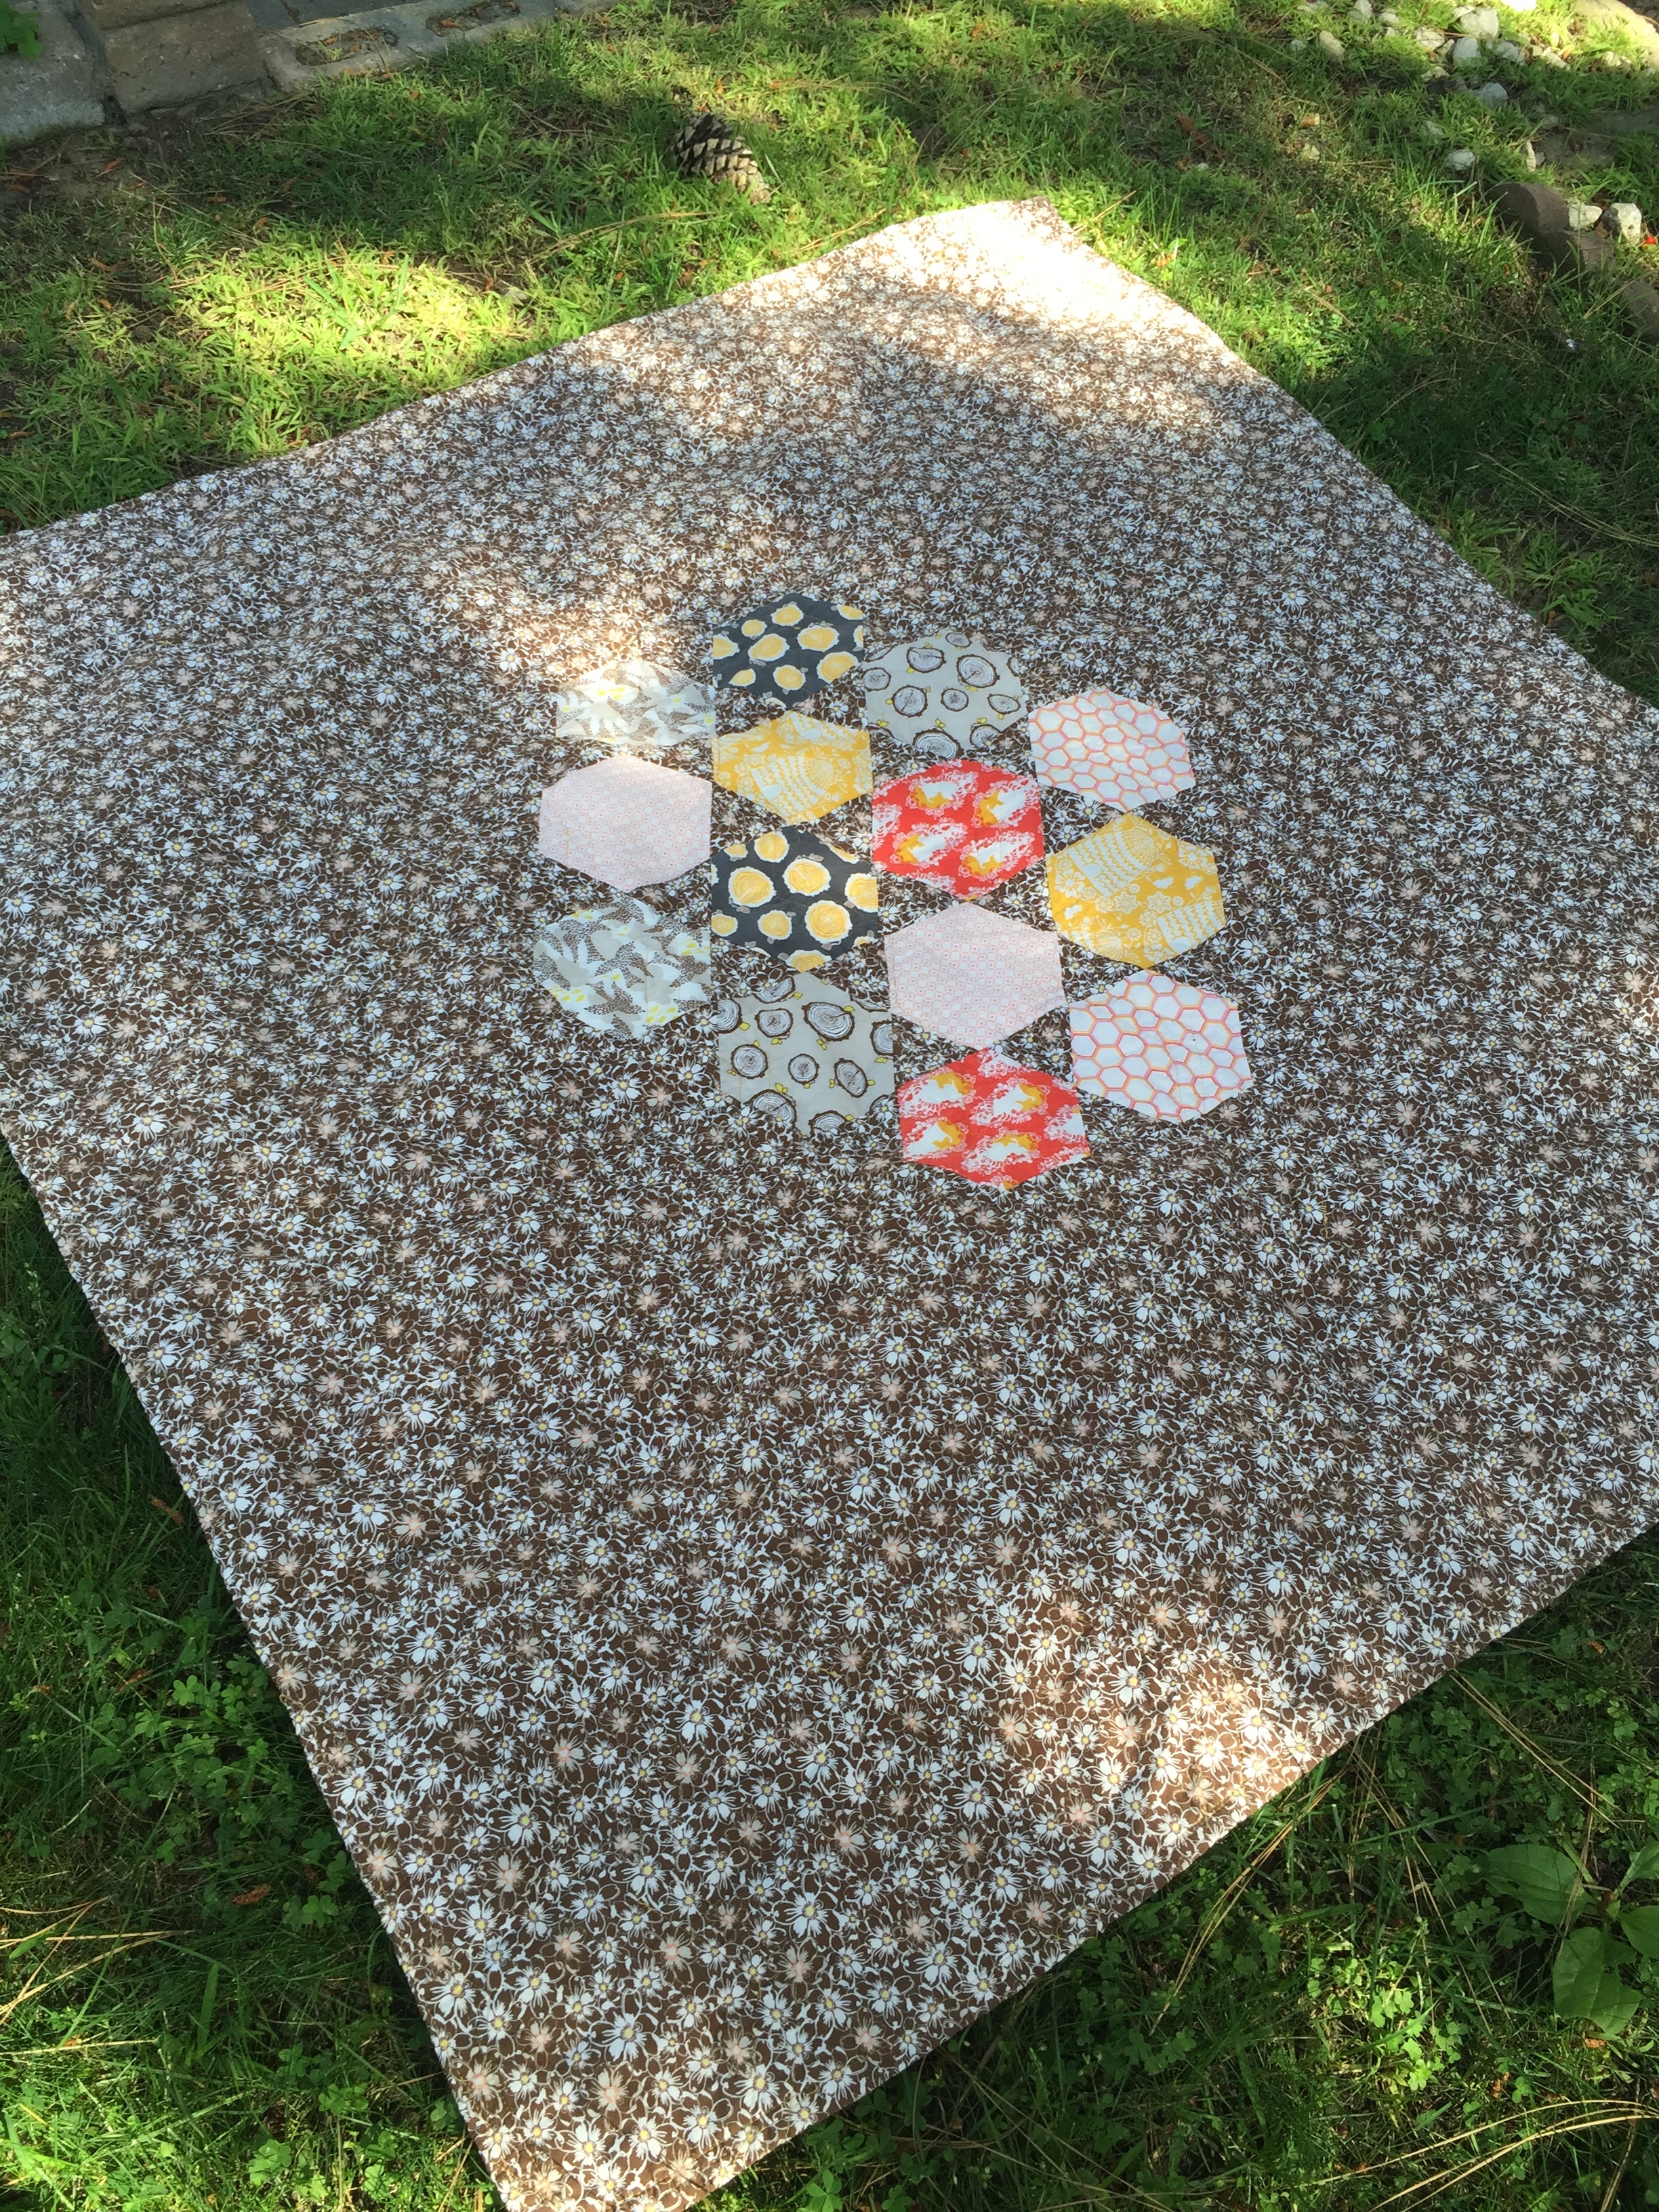
I was so good about piecing the fronts and cutting all the strips for the binding and then the project just sat again…for months. I hit a rut in my sewing. I wanted to piece together the backs, but we were in a tight financial place and I couldn’t afford to spend money of fabric. I dug through my scrap bin and and found the leftovers from my dark green butterfly dress. It was lawn, not quilting cotton, but that’s okay! I also found left over rose print from the dress I made to wear to my bridal shower. The colors weren’t quite perfect, but with everything gathered I had just exactly enough to eek out two twin sized quilt backs. Not matching like the fronts, but similar enough.

img_0895
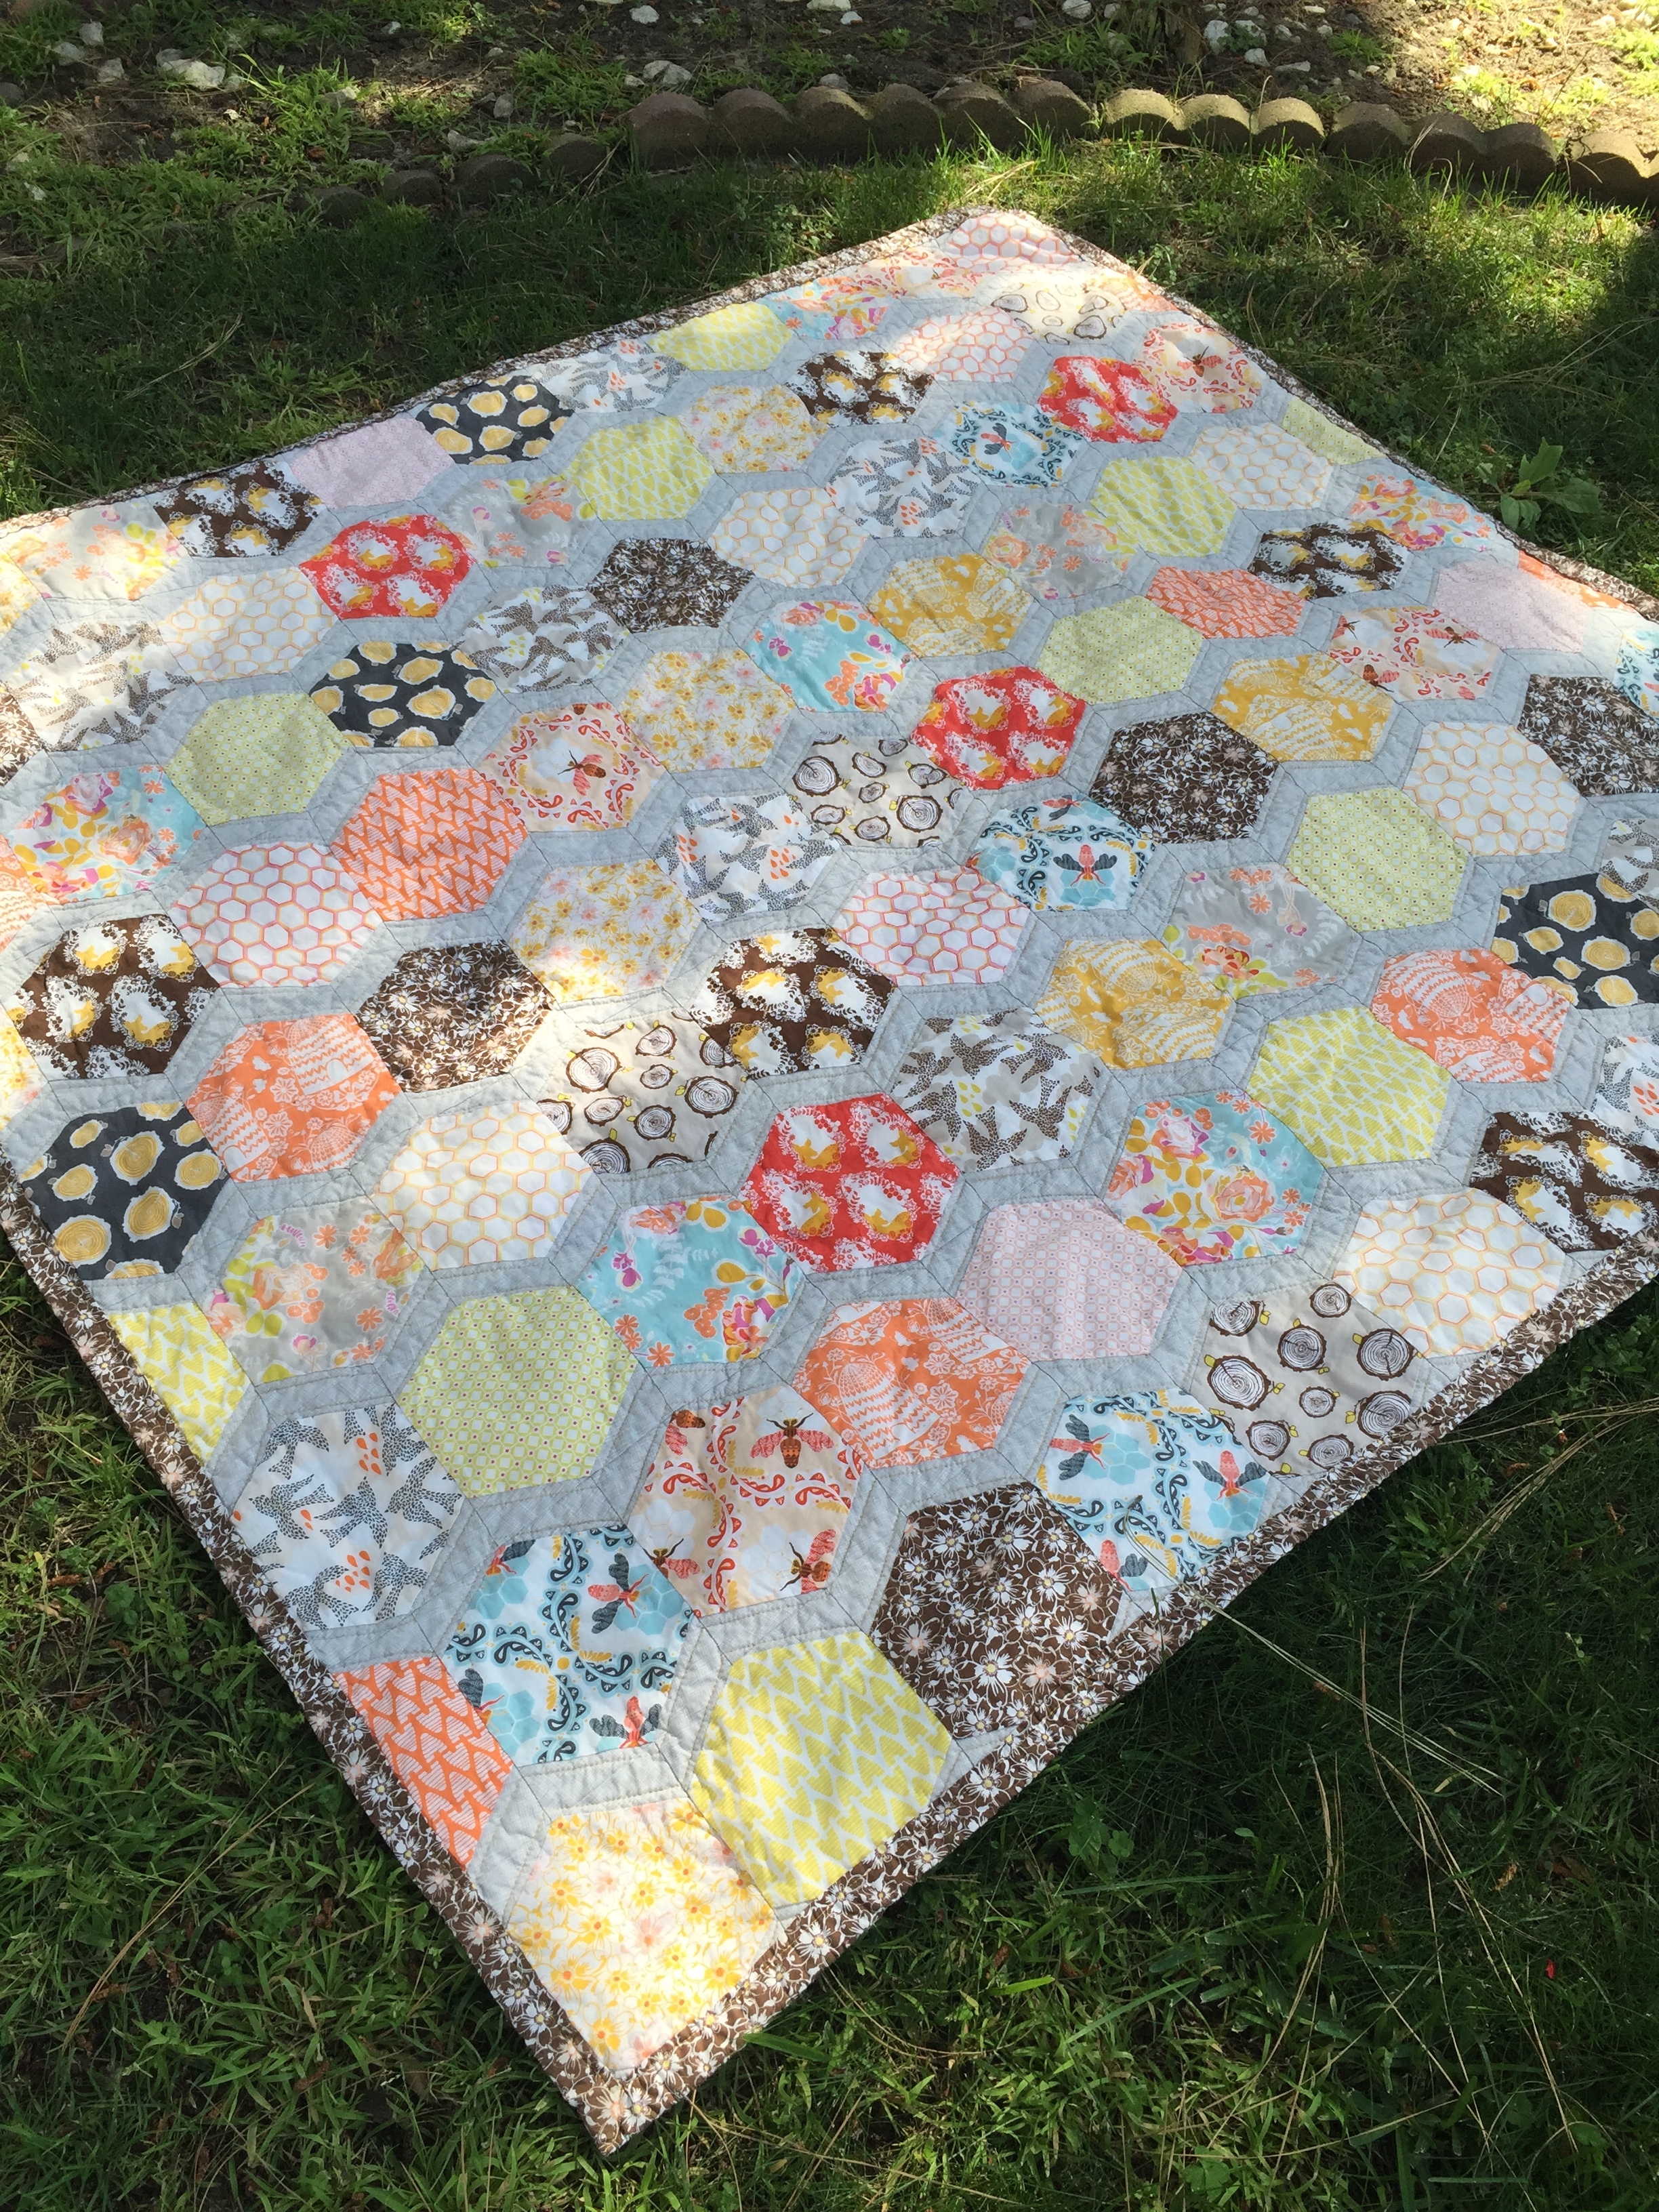
With the fronts and backs completed all that was left was the quilting and binding, but instead of just getting it done I stuffed it all in my sewing cabinet and forgot about it. Finally in some of the hottest weather this summer I decided to pull out all the supplies and finish these suckers. With lots of swearing and sweating I managed to mostly pin the layers together with a minimum of wrinkles. Only took 4 attempts. With the home stretch in front of me I couldn’t turn back. The pair of quilts were also threatening to take over my sewing space (our kitchen table). Once I got past the horrible pinning part hand tying the quilts was hot but easy work and the bindings went on pretty easily.

These quilts are absolutely massive in their tiny toddler beds, but I hear a bunk bed is  coming this winter! My hope is these snuggly twin quilts will be just perfect for many winters to come.


Quilting Round Up Spring 2016

Lots of sewing going on around here lately, but most of it hasn’t been for me! I got a little backed up on my quilting obligations while I made Easter dresses and and recovered from the cold from hell.

First up I needed to work on my Super Awesome Fun Times quilting bee blocks. This is  Wanta Fanta. This was my first time paper piecing and it went fine, but I have to say it wasn’t my favorite thing to do ever. So much  paper waste! A few blocks was fine, but I can’t imagine picking bits of paper out of a whole quilt top.

IMG_5945

Next up was a cute Wonky Star in shades of pink. This was fun to make, though I realized I’m not any better at wonky quilting than I am coloring outside the lines.

IMG_6061

Lastly there is this mini block. I say mini because I was testing it for my friend and she accidentally wrote it for 1/4 the size she wanted. So you might see this one again in a bit when I re-make it at the full size.

IMG_6085

I also caught up on the Modern HST Sampler QAL only to fall majorly behind again. Oh well! At least I got the whole first quarter of blocks done in with both collections I’m working with.

IMG_5999

IMG_5996

Lastly a non-quilt make. One of my co-workers had a baby girl this week so I made her a sweet Geranium Dress as a shower gift. Thank goodness someone had a baby girl! My boy fabric stash isn’t very big since I have two little girls and everyone I knew has had boys! I usually use this print to line Lu’s school uniforms, but something school themed seemed a perfect match for a co-worker gift. (I work at an arts school.)

IMG_6091

I wish I could figure out what line this fabric came from. There is absolutely no information on the selvedges, but the print is totally darling.

More is in the works so hopefully I’ll have a write up soon!


Starflower Quilt Block Tutorial

IMG_5329

I am in love with the Starflower block from Ellison Lane. It so so pretty and I can think of endless ways to adapt her pattern for many different color combinations. So when I was looking for which block I wanted to pick for my month of the Super Fun Times Quilt Bee I thought the Starflower block would be perfect. The problem is as written her tutorial makes two blocks and it is also smaller than I wanted. So at the advice of a couple friends here is my adaptation of the the Starflower block from Ellison Lane.

Starflower Quilt Block Tutorial

Adapted for the use of 4 prints and enlarged to an 18.5 inch finished block.

Here are materials needed

  • 4 – 5 inch squares of background fabric*
  • 4 – 5.5 inch squares of background fabric*
  • 8 – 5.5 inch squares of colored fabric (2 of each print)
  • cutting mat
  • rotary cutter
  • rectangular ruler (preferably at least 24 inches long and 5.5 inches wide)
  • square ruler (at least 5.5 inches square)

* If using a fat quarter to cut background fabric make sure to cut the strips parallel to the longer edge of the fabric.

IMG_5310

Start by deciding how you would like your colored square to be arranged in the final square. I opted to have mine go roughly from brightest to darkest.

IMG_5311

The next step is to pair the fabrics in order to make the half square triangles (HST). Pair 1 of each of the brighter colors and 1 of each of the darker colors. Then pair the remaining colored fabrics with a 5.5 inch background square.


Now make your HSTs! Place the pairs with right sides together and draw a line diagonally to mark the center. Then sew a 1/4 inch seam along both sides of the line.

Cut each square between the two sewing lines to give you two triangles from each square and press them open with the seam towards the colored square. Then square up your block to 5 inches.


Now it’s time to start assembling the block!

Lay out all of the pieces to check that all the HSTs are as you would like them in the block. This is a great time ensure you are happy with color placement before connecting the squares.

IMG_5319

Now sew each row together.

IMG_5323

Then the lower half and upper half are connected. IMG_5325

And lastly carefully connect the two halves paying close attention to matching the points as much as possible!

IMG_5327

Ta-da! All done! Here’s a shot of the back of the quilt. I most often pressed the seams towards the darker fabric, though where two white pieces are connected I pressed the seams open. This worked well over all. Also to help match the center point more easily I sewed that seam from the center out.

IMG_5328

Here are the colors I’ve picked for my quilt. All my favorites! These 4 were so much fun to put together that I almost didn’t want to stop.

IMG_5330

Modern HST Sampler QAL – Block 1

I don’t usually work on really long term sewing projects, but its January so instead of starting a new diet or cleaning out my wardrobe I’ve decided to embark on a year long quilting project. I’ve never done a quilt this way before. Usually I pick up a fat quarter set and then make a quilt in a short period of time, but then I came upon the Modern Half Square Triangle Sampler Quilt-A-Long.

Modern HST Sampler QAL
I’ve been spending a lot of time working on my skills for making clothing, but it feels like a good time to work on my quilting skills. I’ve only made a few and without giving much thought to technique. The QAL from Blossom Heart appeals to me because it is a shape I haven’t worked with very much yet and it is starting easy and getting more complicated as time passes.
So this weekend I dug through my stash and came up with a couple different fabric bundles to use.
Bundle 1 is Wildflowers by Alisse Courter. I really love her fabrics. They are so pretty and feminine. This is the only collection I’ve purchased so far, but I’ve been really tempted by her others.
IMG_5296
My collection only has 15 fabrics (I might have one more floating around somewhere) which is not enough to finish the whole year since I’m using the background as well. That’s okay though. I should be able to have enough squares to make a throw quilt once I add sashing. The first block is so sweet in these prints.
IMG_5298
Bundle 2 is Hilltop by Wee Gallery. This collection came out and for some reason Westwood Acres put it in their clear out sale right away. I couldn’t believe it! Our daughter’s favorite toys are a fox and an owl, so I snapped up a 1 yard bundle.
IMG_5294
This is only 8 of the fabrics in the line, but I find it so cute. With so much yardage I should be able to do the whole year, but if not that’s okay. The whole goal is to improve my skills. I’m not sure what kind of quilt will come from these, but it could be for my girls or for one of the many little boy babies my friends seem to be having.
IMG_5299
I feel a little crazy to have started two of these, but hopefully I’ll be patting myself on the back in several months when I have a stack of quilt blocks all ready to go!
IMG_5300

Mommy Is Worth It

My mom just celebrated her 60th birthday and to celebrate I made her…a quilt. I know you’re not the least bit shocked. Quilts have become my go-to gift for super spacial occasions because they take less time than knitting and are way more fun to make than knitting a blanket.

IMG_3623

Way back in April I received this package of fat quarters from Westwood Acre’s I Want Her Stash Club and I knew back then I wanted to make my mom a quilt with them, but I just wasn’t sure when I would do it.

IMG_2409

Plus while the quilt pattern that came with the bundle is really fun I just didn’t feel like my skill level was up to snuff yet.

Fast forward to July and it hit me. This could and should be a quilt for her birthday! Settled on an idea I started playing around with the fabrics and thinking on which pattern to use. And then we went on vacation. And Charlie learned to stand. And Lu ‘needed’ skirts for all the summer school weekly themes. Then I needed to make an Edwardian dress (more on that later). Before I knew it July had gone poof!

Oh wait, wasn’t I making a quilt? Yes I was. Wait what was the pattern again? What fabrics did I decide on? It took me a while to make decisions and it cost me quite a bit of sewing time.

Finally I got my butt in gear and picked a pattern (Fireworks from Thimble Blossoms) and got to cutting on August 1st.

IMG_3555

Her party was on August 15th and I still can’t believe I got it all finished. Mom, that’s how much I love you. I spent a minimum of 2.5 hours every single night for two weeks in my non-air conditioned kitchen in August to make your gift. But it was worth it.

IMG_3618

The quilt is totally gorgeous. Most of the fabrics were from the original I Want Her Stash bundle, but I added a couple others such as Sacred Seeds Brittle from April Rhode’s Wanderer and this print from Moda’s Sweet Serenade.

IMG_3621

The back is a print that I cannot remember. I picked it up at my local quilt shop New Moon Textiles. I want to say it’s from Robert Kaufman, but I could be totally wrong. Then I used the left overs from piecing the quilt blocks to break up the backing and frame my favorite print from the whole bundle, Moda’s Passport in China White Paris Map. My nod to the trip to Paris my mother, aunt, sister, and I took many years ago.

IMG_3620
My only regret was procrastinating. I like deadlines, but this one was a little too close and next time I really should start early. I’m just glad I got it done and that my mom likes it!

I love you mom!

Baby All Star Blanket

Confession time. Making baby quilts is a lot more fun than knitting booties and hats. Especially when your friend is having an August baby. August is so very hot in California and who knows what size her son will be by the time we get any kind of cold weather. A quilt can be useful for years!

And when your friend and former roommate of 5 years has her first baby it is well worth pulling out the good stuff!

The pattern is a free download from A Bright Corner and called Charming Lucy. As written the finished quilt is about 35 x 35, but I wanted it a touch bigger, so I made each block just a tad larger. I’m fairly certain I used 6 inch blocks instead of the 5 inch charm pack blocks the pattern recommends. It’s kind of hard to remember the exact details since I finished the quilt back in June and packed it away until the baby shower. Pre-planning is great for stress free shower attendance, but terrible for remembering pattern modifications.

The fabrics are from a few different places. Most of the blocks are made from fabrics I received in Westwood Acres I Want Her Stash Club. These are from February’s shipment which was curated by Allison at Cluck Cluck Sew. And the bold primary colors are a perfect nod at sports without covering the quilt with footballs and baseballs. The white background is Architextures by Carolyn Friedlander. It has become my go-to fabric for sashing because it gives interest to the quilt without over powering the other prints. The quilt is backed with Play Ball by Lori Whitlock and the binding is a random polka dot I found in a bargain lot that just happened to fit the team theme perfectly!

Whew!

In the end, I love this little quilt. It is simple and sweet and I’m so very glad my friend loves it.

I cannot wait to meet her little man! Congratulations Julie!

Happy Home Quilt

Last week my little family traveled to Colorado to spend a week with my sister in law and I was able to unveil their house warming gift! They bought and moved into their first house last spring and I’ve been plotting a home warming gift for a couple of months. But what fabric to use? Something geeky? Something traditional?

Well, after finishing my husband’s quilt, we looked at the other half of the collection and my husband requested I use it for his sister. Sold!

So the front of the quilt features the magenta/orange colorway of the Franklin by Denyse Schmidt collection. Gah! I love this collection. So classic. So pretty. But what pattern to use? We scoured my favorite sites and decided on Suburbs from Cluck Cluck Sew. I mean, it seems like a natural fit for a house warming gift, no?

However those houses did present a conundrum. I do all quilting on my little home machine. It’s a good machine, but not one I’d use to do a heavy overall quilt pattern. And I had this idea of quilting around each house, but then there are all these blank squares that need…something. Just deciding on how to fill those spaces took a couple of weeks. I was stumped.

Eventually I decided to do a combination of machine quilting and hand tying the quilt. I had grand visions of hand quilting trees, and their monogram, and clouds, and a bunch of other stuff. But in the end the simplicity seemed to fit the quilt and my sister in law’s family much better.

But the back of the quilt. It’s my favorite part.

The backing fabric is from Natural History by Lizzy House. I love the way the homes look like they are in the middle of a night sky. A big night sky like you might encounter someplace like Colorado in the summer.

Of course the week of our visit was rainy and stormy, so no star viewing for us, but that’s okay. This California girl was happy for the rain. Too bad I couldn’t bring it home with me.

And my sister in law? She loves the quilt!

Division Quilt aka Man Quilt

Back when I was working on my Buzz Quilt my husband mentioned how much he would like a quilt. Truth is I’d been looking for manly quilt fabric for a few months already! Quilting is a majority female craft and it is no surprise there are tons of feminine and juvenile fabrics available for sale. But trying to find modern quilt fabrics appropriate for a man, that is kind of tough. And while my husband is a big fan of Liverpool Football Club he is not the type of man to want a fan fabric quilt. Likewise he is a camera operator/director of photography, but does he really want a camera quilt? Not really.

Enter Franklin by Denyse Schmidt

Photo from Denyse Schmidt’s site.

Franklin is inspired by the magic of possibility and discovery found in the small-town libraries of Denyse’s native New England. Combining the comfort of the familiar with excitement of new ideas and places, Franklin transports and trancends with the timelessness of our best-loved classics. Nostalgic calicos, stripes, and geometrics are reminiscent of beautiful end papers – and elegant, wise librarians. Franklin’s library is the oldest (1790) public library in the US and houses a collection of books donated by the town’s namesake, Benjamin Franklin.

Denyse’s mom (who taught her to sew) visited her local library every week, without fail, creating a lasting and deep influence on her daughter!

The line reminded me of the pocket squares my husband wears when is dresses up for special occasions and felt like the perfect fabric line for his quilt.

IMG_2532IMG_2531

IMG_2530

And designing a quilt with him turned out to be really fun. A collaborative effort. I gave him a choice of 14 different designs and we both liked Division Quilt from A Bright Corner the best. We also agreed grey sashing would be far more practical and more his style. I made all the blocks and they he picked the layout. He picked the batting (wool). And he picked the backing fabric and design too (Moda’s More Hearty Good Wishes Ripple Ocean).

I think this is my new favorite quilt. All the design choices played together perfectly.

IMG_2649

The quilting is very a very simple diamond pattern. So glad I picked a batting that could be quilted up to 8 inches apart.

IMG_2650

And the backing is so simple and classic.

IMG_2651

Such nice little waves that read as a semi solid from afar, but little waves up close.

IMG_2652

Both husband and dog agree this quilt is a winner.

IMG_2616IMG_2617

Woodland Baby Quilt

Now that I’ve shown you my sister’s quilt I can also show you another gift quilt. A quilt for a wee baby girl.

IMG_2195

This quilt at first suffered from indecision. You see I bought the fabric, Acorn Trail from Birch Fabrics, on a whim. One of those fabrics I just couldn’t ever forget, so I just went ahead and bought the collection. So when I decided to make a quilt for my sister at first I thought this would fit the bill. But something didn’t seem right.

IMG_2201

As I worked on the quilt using this tutorial, I realized it was perfectly sized for a baby. Perhaps a baby who has a woodland themed nursery? Yes! Yes, that is a good idea and I knew of such a person. A knitter friend who is due to have a baby this summer.

IMG_2208

Suddenly everything clicked into place! Diamond shaped quilting to match the piecing on the front. Scraps to help fill in the white with gold dot backing. It all works perfectly.

IMG_2199

And in the end I love this quilt so very much. It has gone to its forever home now and I have it on go authority that this quilt will be loved. As it should be.

Buzzzzzzzz Quilt!

The eagle has landed! The eagle has landed! The quilt I made for my sister was delivered today and I couldn’t be happier with how it turned out and how it was receivedIMG_2366

The fabric is the Sweet as Honey collection by Bonnie Christine for Art Gallery Fabrics I found at Westwood Acres and the grey background is Architextures by Carolyn Friedlander for Robert Kaufman. Gosh it was hard to find a coordinating fabric that would show off the bee fabric. This grey was a good find at my local LQS.

IMG_2365

I knew I wasted a honeycomb look, but as a new quilter I wasn’t sure I could handle a hexagon quilt, so I followed this tutorial from Amanda of Westwood Acres. It was a lot of cutting, but also very fun to put together Everything didn’t quite line up, but I think you can’t tell much.

But the back, the back is my favorite part. Its a hexagon!!!!!

IMG_2368

I probably would have picked a less busy background, but my sister owns two fluffy silly dogs that shed like crazy. I see the flowers as camouflage. And I followed this tutorial from Cluck Cluck Sew to make the backing the binding as well. So so simple and perfect for when you don’t want a binding made from a different fabric. Mine was 2 inches wide instead of 1 inch, so it makes an extra wide border on the front.

For the quilting, I like simple designs, so I followed the zigzags of the grey down the front.

IMG_2371

This was just such a fun surprise. I can’t wait to do it again!