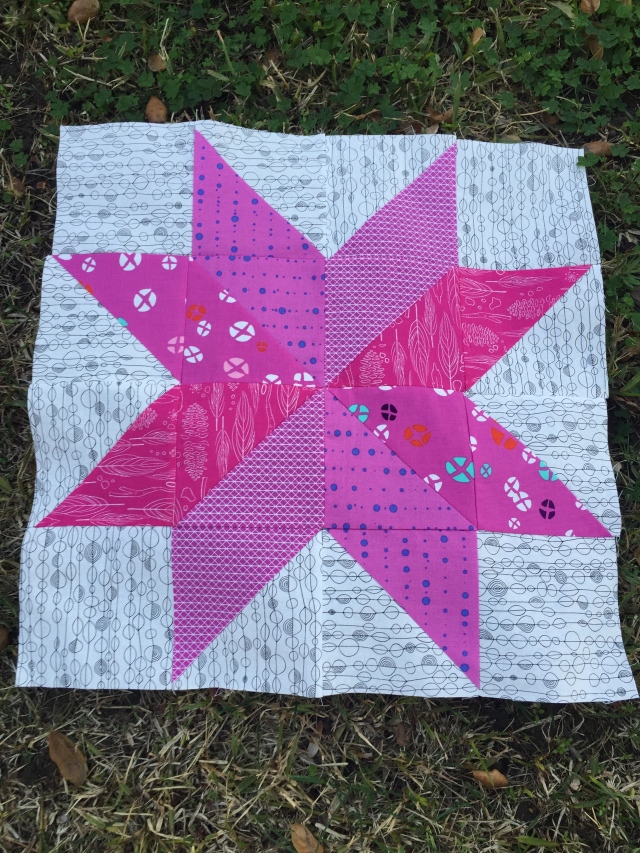
I am in love with the Starflower block from Ellison Lane. It so so pretty and I can think of endless ways to adapt her pattern for many different color combinations. So when I was looking for which block I wanted to pick for my month of the Super Fun Times Quilt Bee I thought the Starflower block would be perfect. The problem is as written her tutorial makes two blocks and it is also smaller than I wanted. So at the advice of a couple friends here is my adaptation of the the Starflower block from Ellison Lane.
Starflower Quilt Block Tutorial
Adapted for the use of 4 prints and enlarged to an 18.5 inch finished block.
Here are materials needed
- 4 – 5 inch squares of background fabric*
- 4 – 5.5 inch squares of background fabric*
- 8 – 5.5 inch squares of colored fabric (2 of each print)
- cutting mat
- rotary cutter
- rectangular ruler (preferably at least 24 inches long and 5.5 inches wide)
- square ruler (at least 5.5 inches square)
* If using a fat quarter to cut background fabric make sure to cut the strips parallel to the longer edge of the fabric.
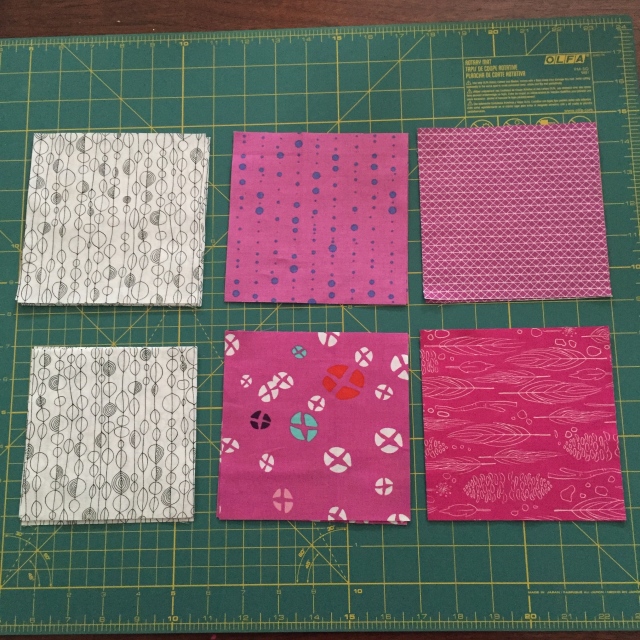
Start by deciding how you would like your colored square to be arranged in the final square. I opted to have mine go roughly from brightest to darkest.

The next step is to pair the fabrics in order to make the half square triangles (HST). Pair 1 of each of the brighter colors and 1 of each of the darker colors. Then pair the remaining colored fabrics with a 5.5 inch background square.


Now make your HSTs! Place the pairs with right sides together and draw a line diagonally to mark the center. Then sew a 1/4 inch seam along both sides of the line.


Cut each square between the two sewing lines to give you two triangles from each square and press them open with the seam towards the colored square. Then square up your block to 5 inches.


Now it’s time to start assembling the block!
Lay out all of the pieces to check that all the HSTs are as you would like them in the block. This is a great time ensure you are happy with color placement before connecting the squares.

Now sew each row together.

Then the lower half and upper half are connected. 
And lastly carefully connect the two halves paying close attention to matching the points as much as possible!

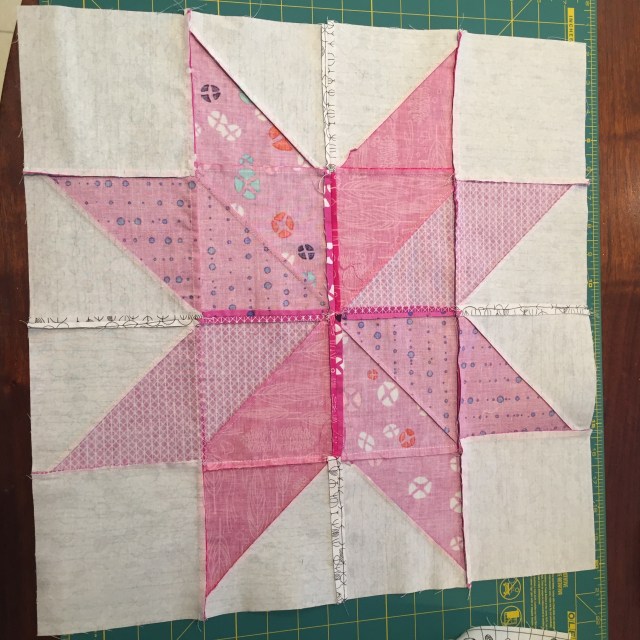
Ta-da! All done! Here’s a shot of the back of the quilt. I most often pressed the seams towards the darker fabric, though where two white pieces are connected I pressed the seams open. This worked well over all. Also to help match the center point more easily I sewed that seam from the center out.
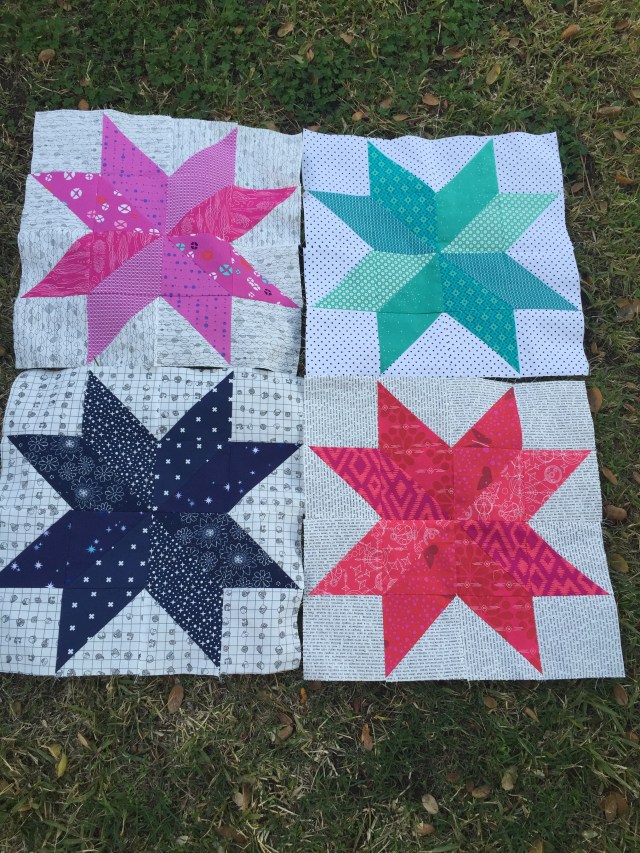
Here are the colors I’ve picked for my quilt. All my favorites! These 4 were so much fun to put together that I almost didn’t want to stop.