Stitches West Bound!

Tomorrow I’m off to Stitches West! That’s right. My mom and I are loading up her car with enough stuff to take care of two small children for fours days and heading up north tomorrow morning. My sister also lives up north so this is perfection in a visit. A little yarn and fiber goodies and a little sister time. Plus my sister got engaged last week. Squee!!!!!

See you in a few days!

Quilt Layout

Whew, this week has been interesting. Exhausting. DD2 is not sleeping as well at night all the sudden and we’re all feeling the effects after several nights of less sleep.

What was I say? Oh yes. Quilt layout.

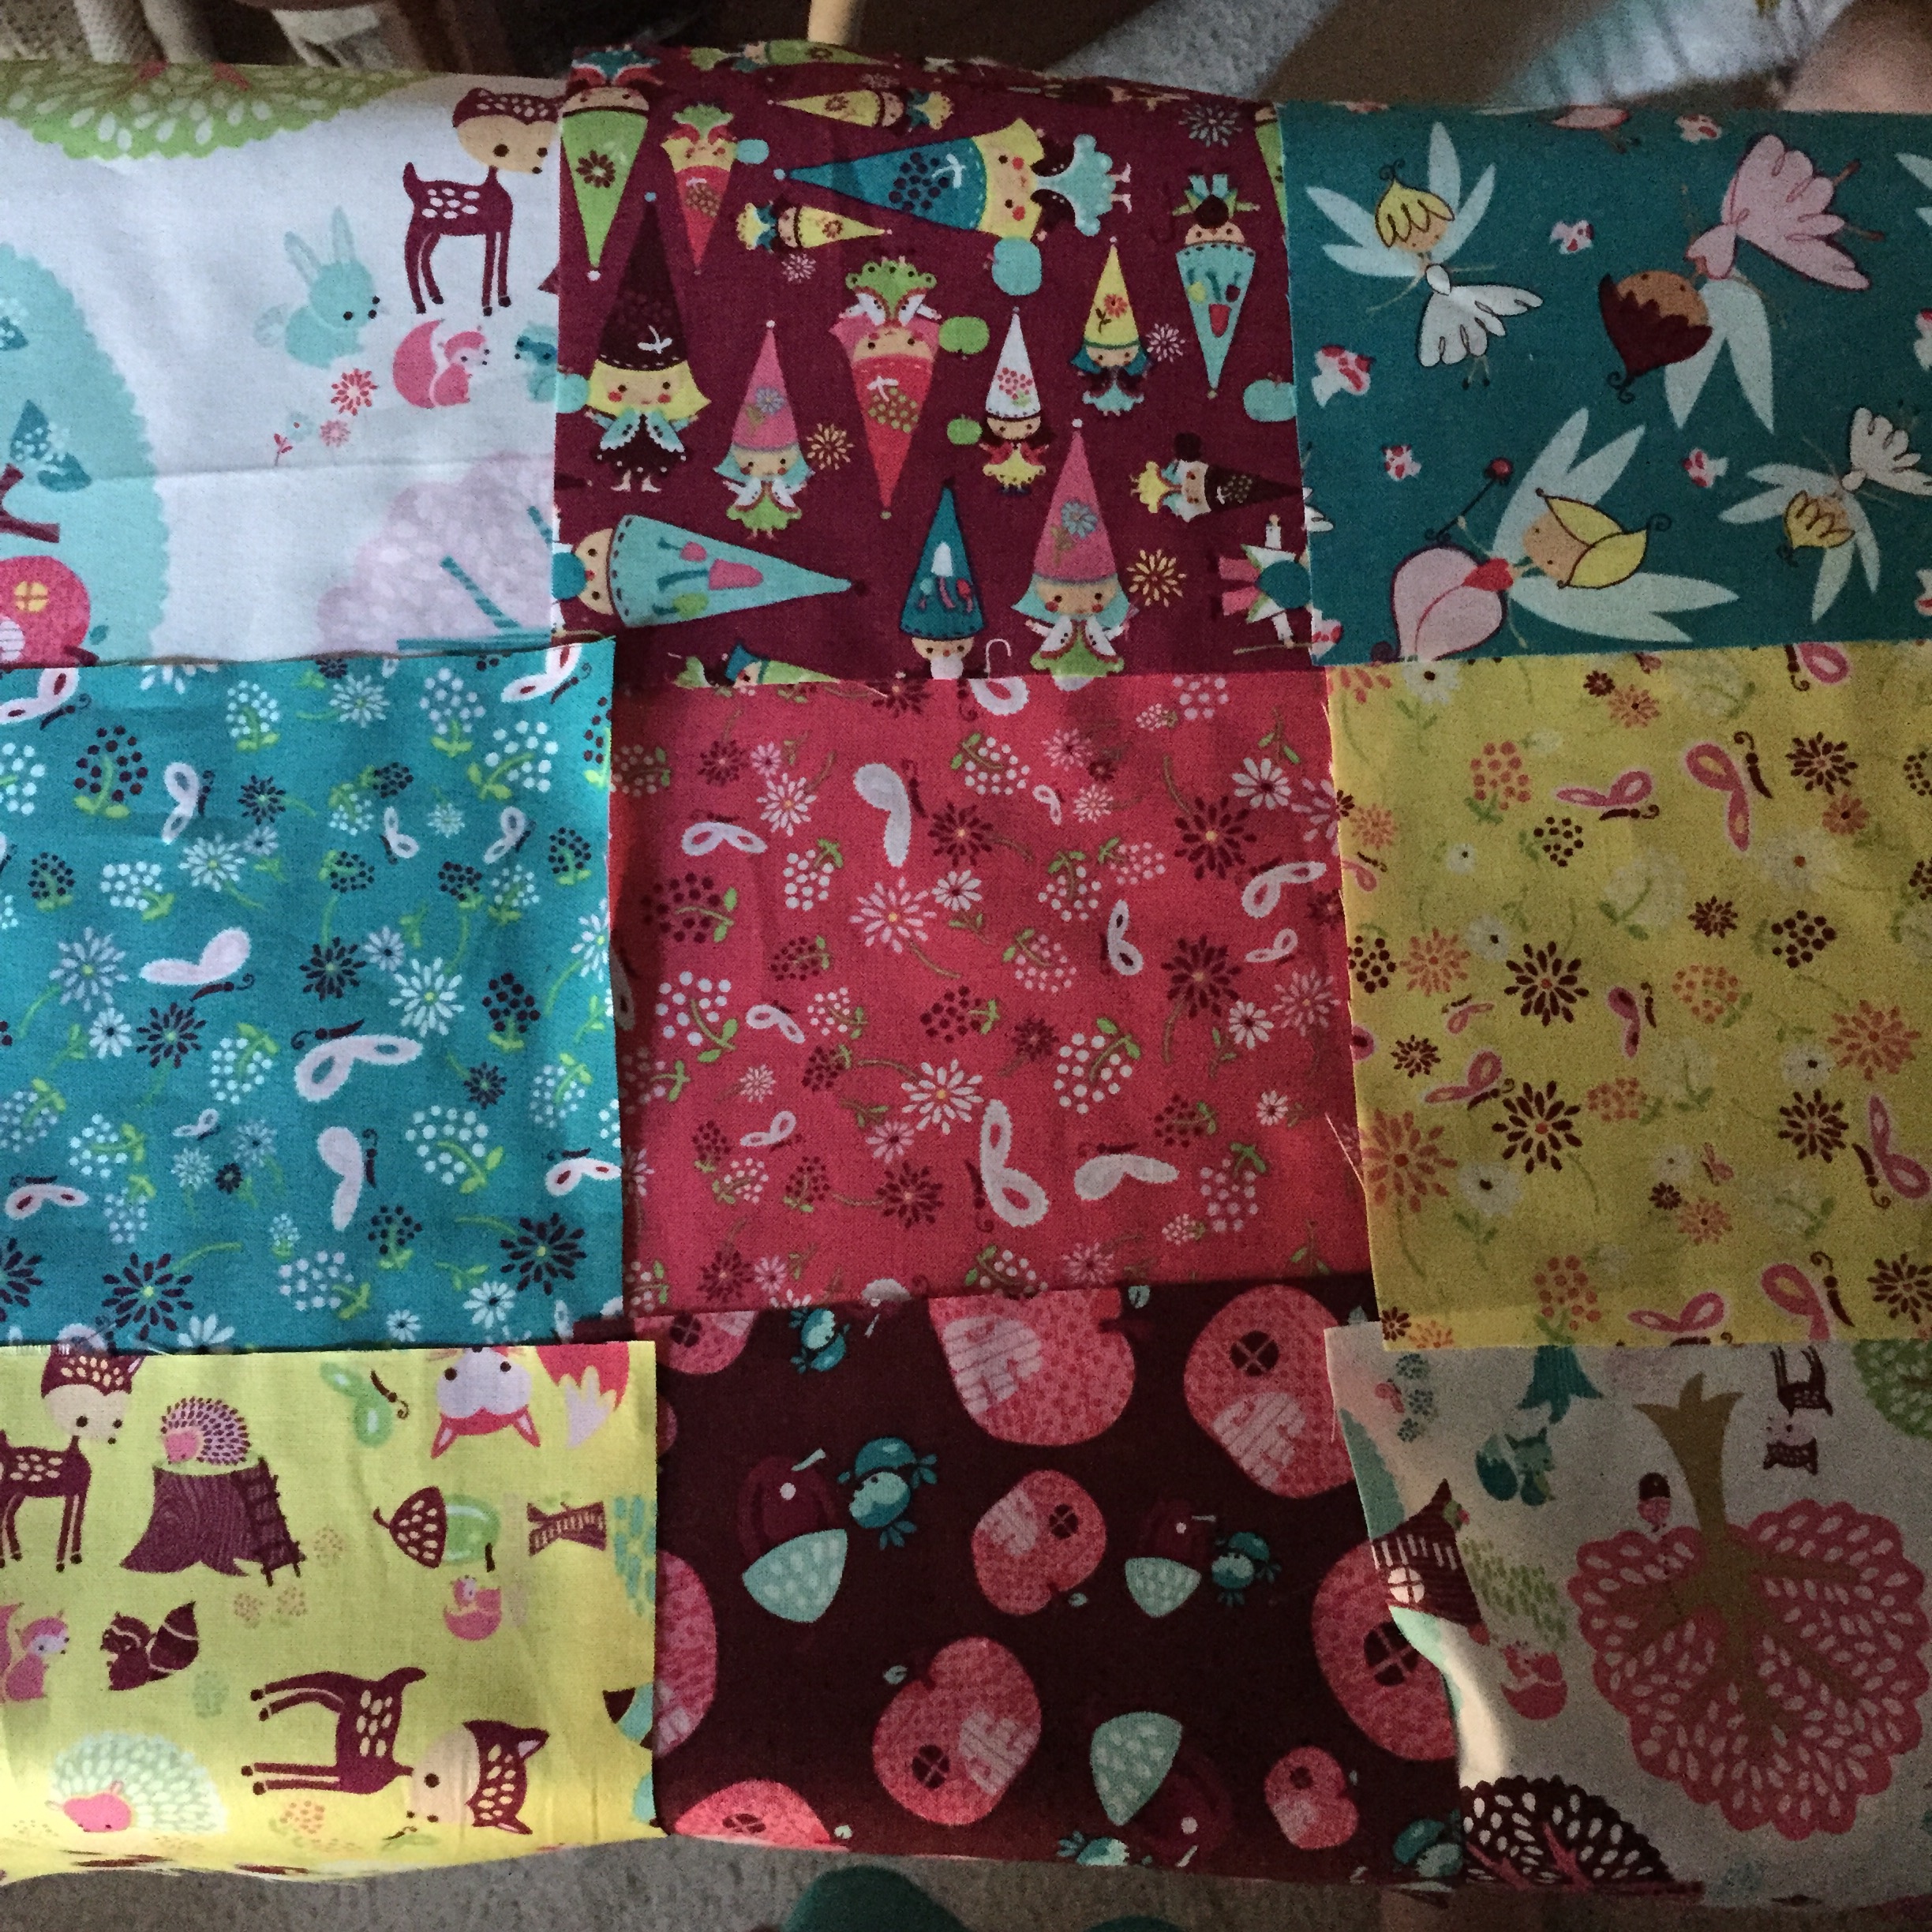
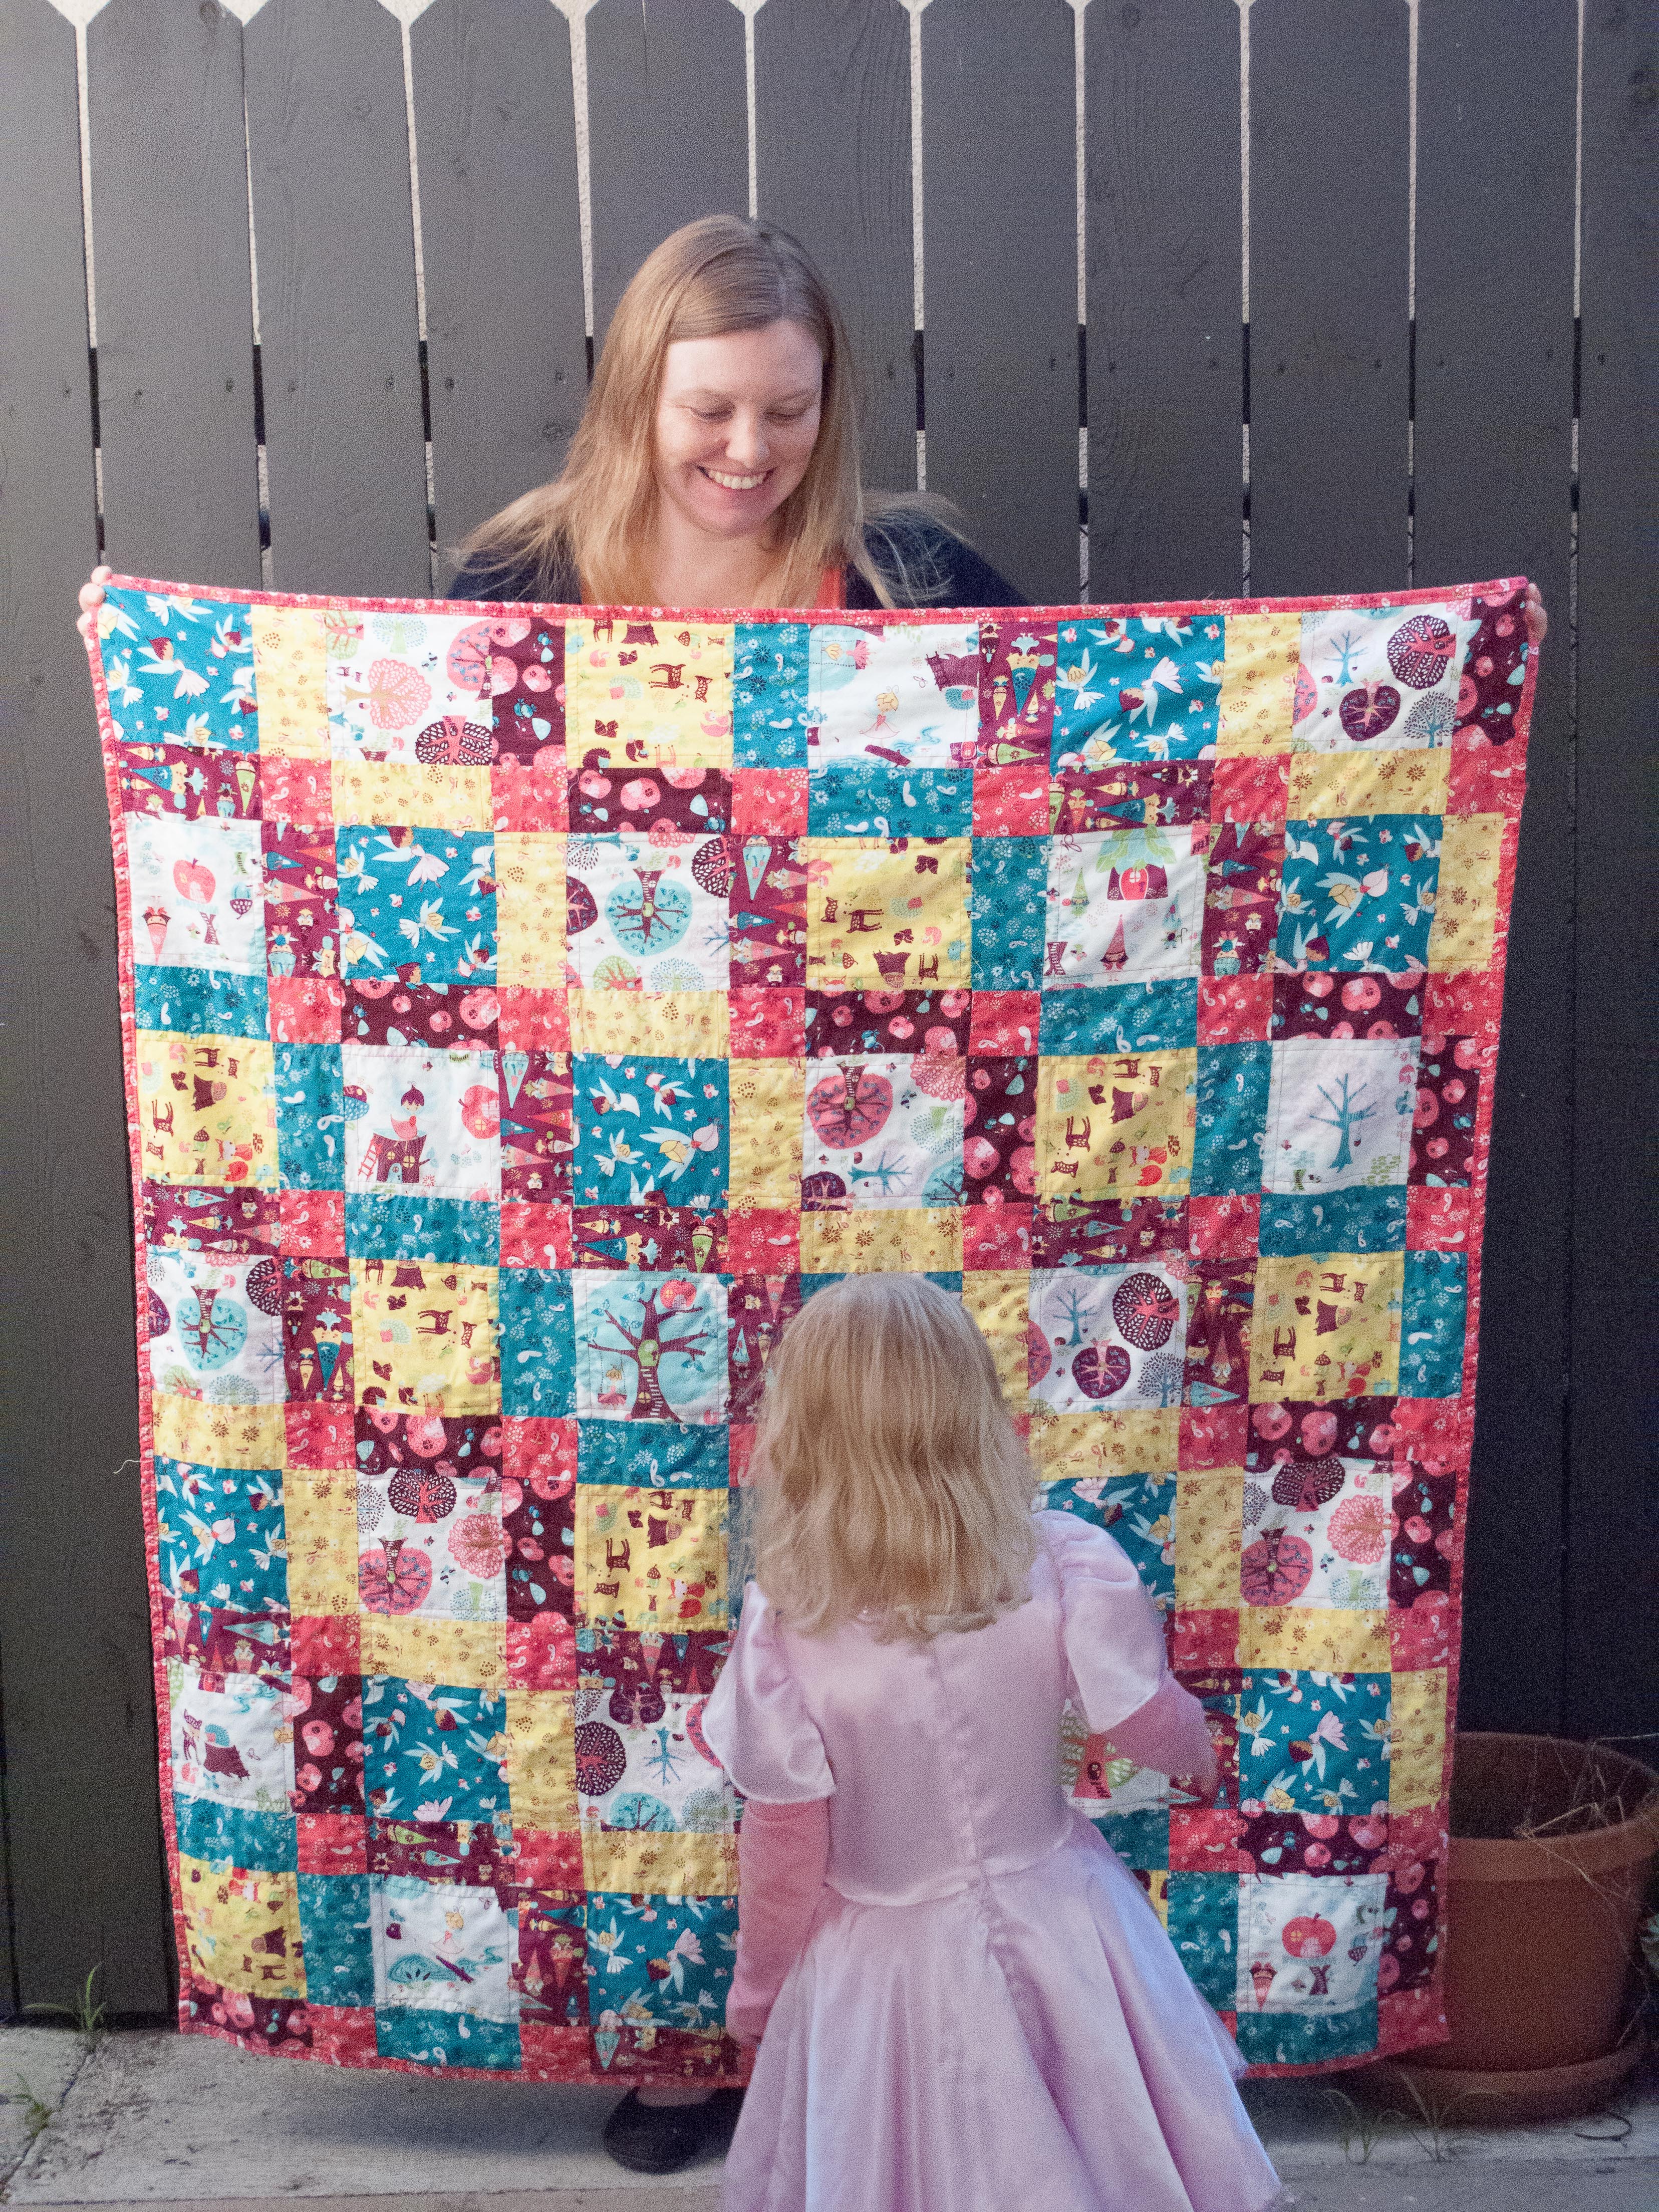
So someone asked in the comments of this blog about how I decided to place my fabrics in the Fairies Quilt. Really it isn’t all that hard, just takes some thinking. For this quilt I had nine different fabrics. The first thing I did was look at the scale of the prints.

White – 2 – both large scale

Teal – 2 – 1 large scale, 1 small scale

Yellow – 2 – 1 medium scale, 1 small scale

Burgundy – 2 – both medium scale

Pink – 1 – small scale

IMG_1414

In order to best show off the prints, anything large scale needed to be a corner. The small scale needed to be in the center. The medium could fill in where needed. So I place the white and one of the teals in the corners to start and the pink in the middle. Then I played around the the remainder of the colors until I settled on the arrangement you see above. The goal was to make sure no two prints of the same color were right next to each other. In the end you have stacks of blocks that look like this.

IMG_1416

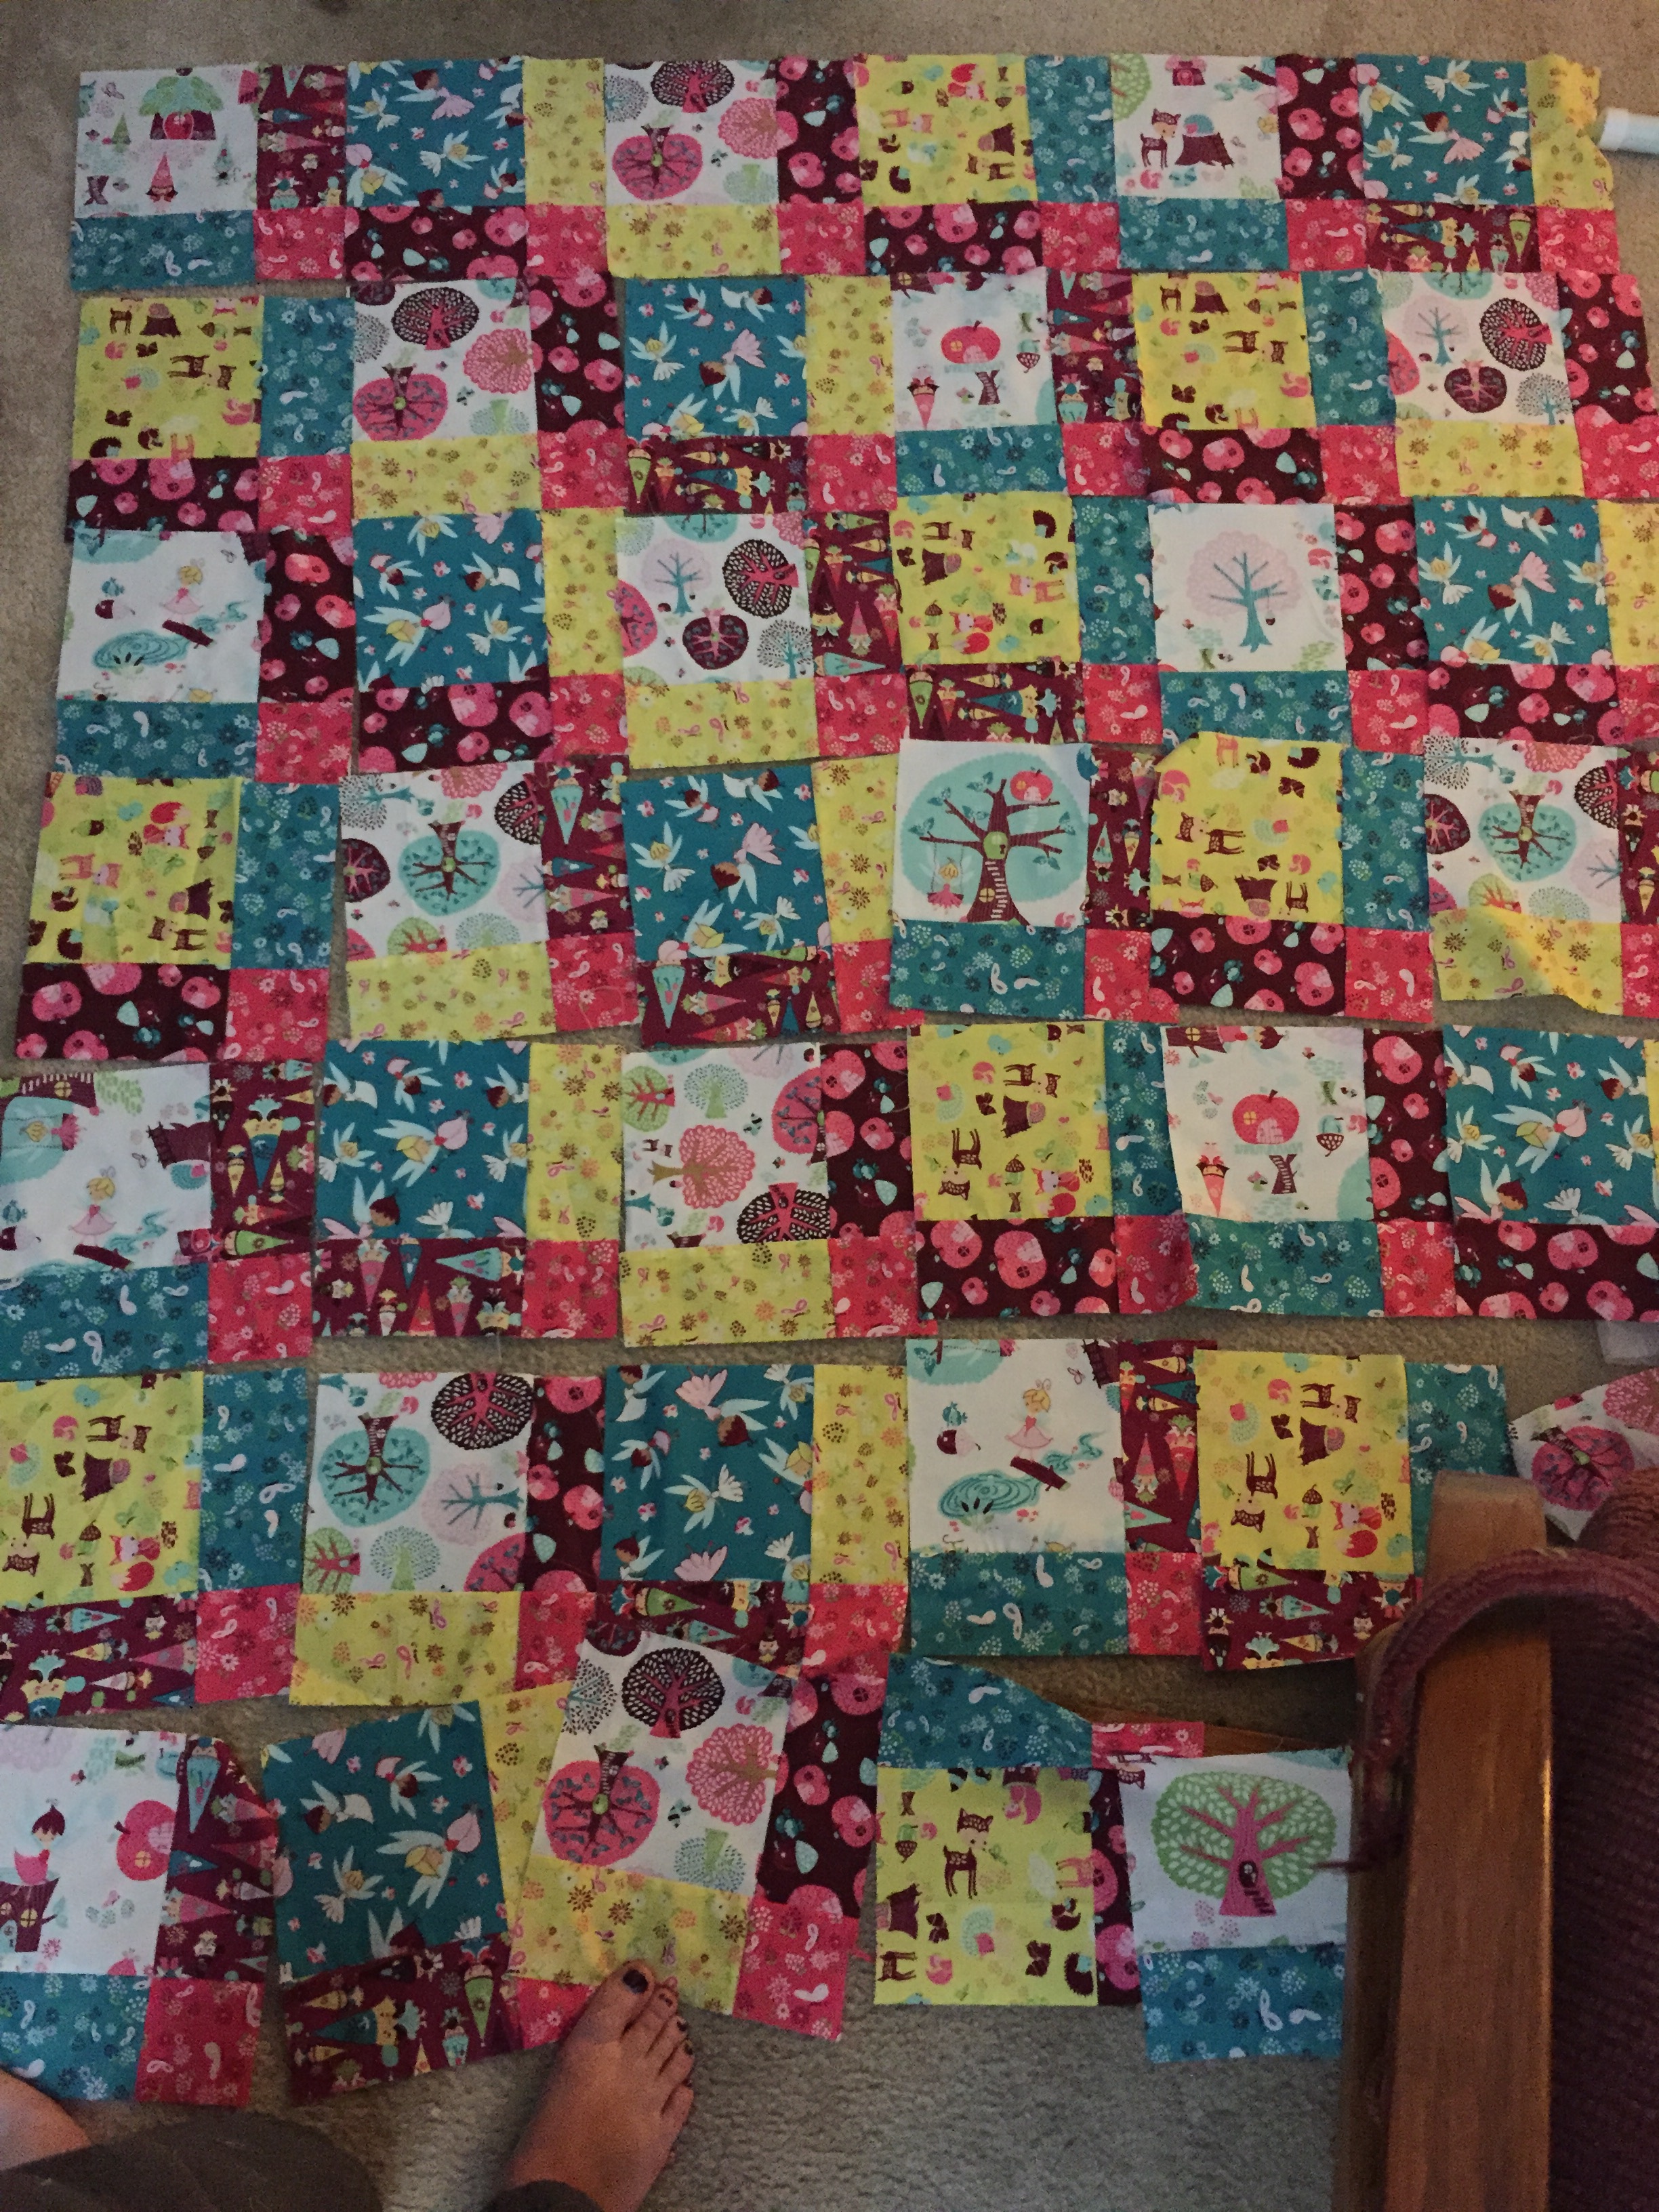
Then I just needed to place with the orientation of each square so see what looked best to me. There really is no perfect way to do it. Just a personal preference.

IMG_1417IMG_1419

Here you can see two slightly different layouts I tested. The one thing I would do differently next time is to do all the 9 patch squares exactly the same. For this quilt I wanted to be “fancy” and switched the placement of the burgundy fabrics in half of the squares and then when I went to lay everything out I didn’t have each fabric in the right amount for what I wanted. Oh well. Making my own quilts is about the process as much as the product, but perfection is not my goal.

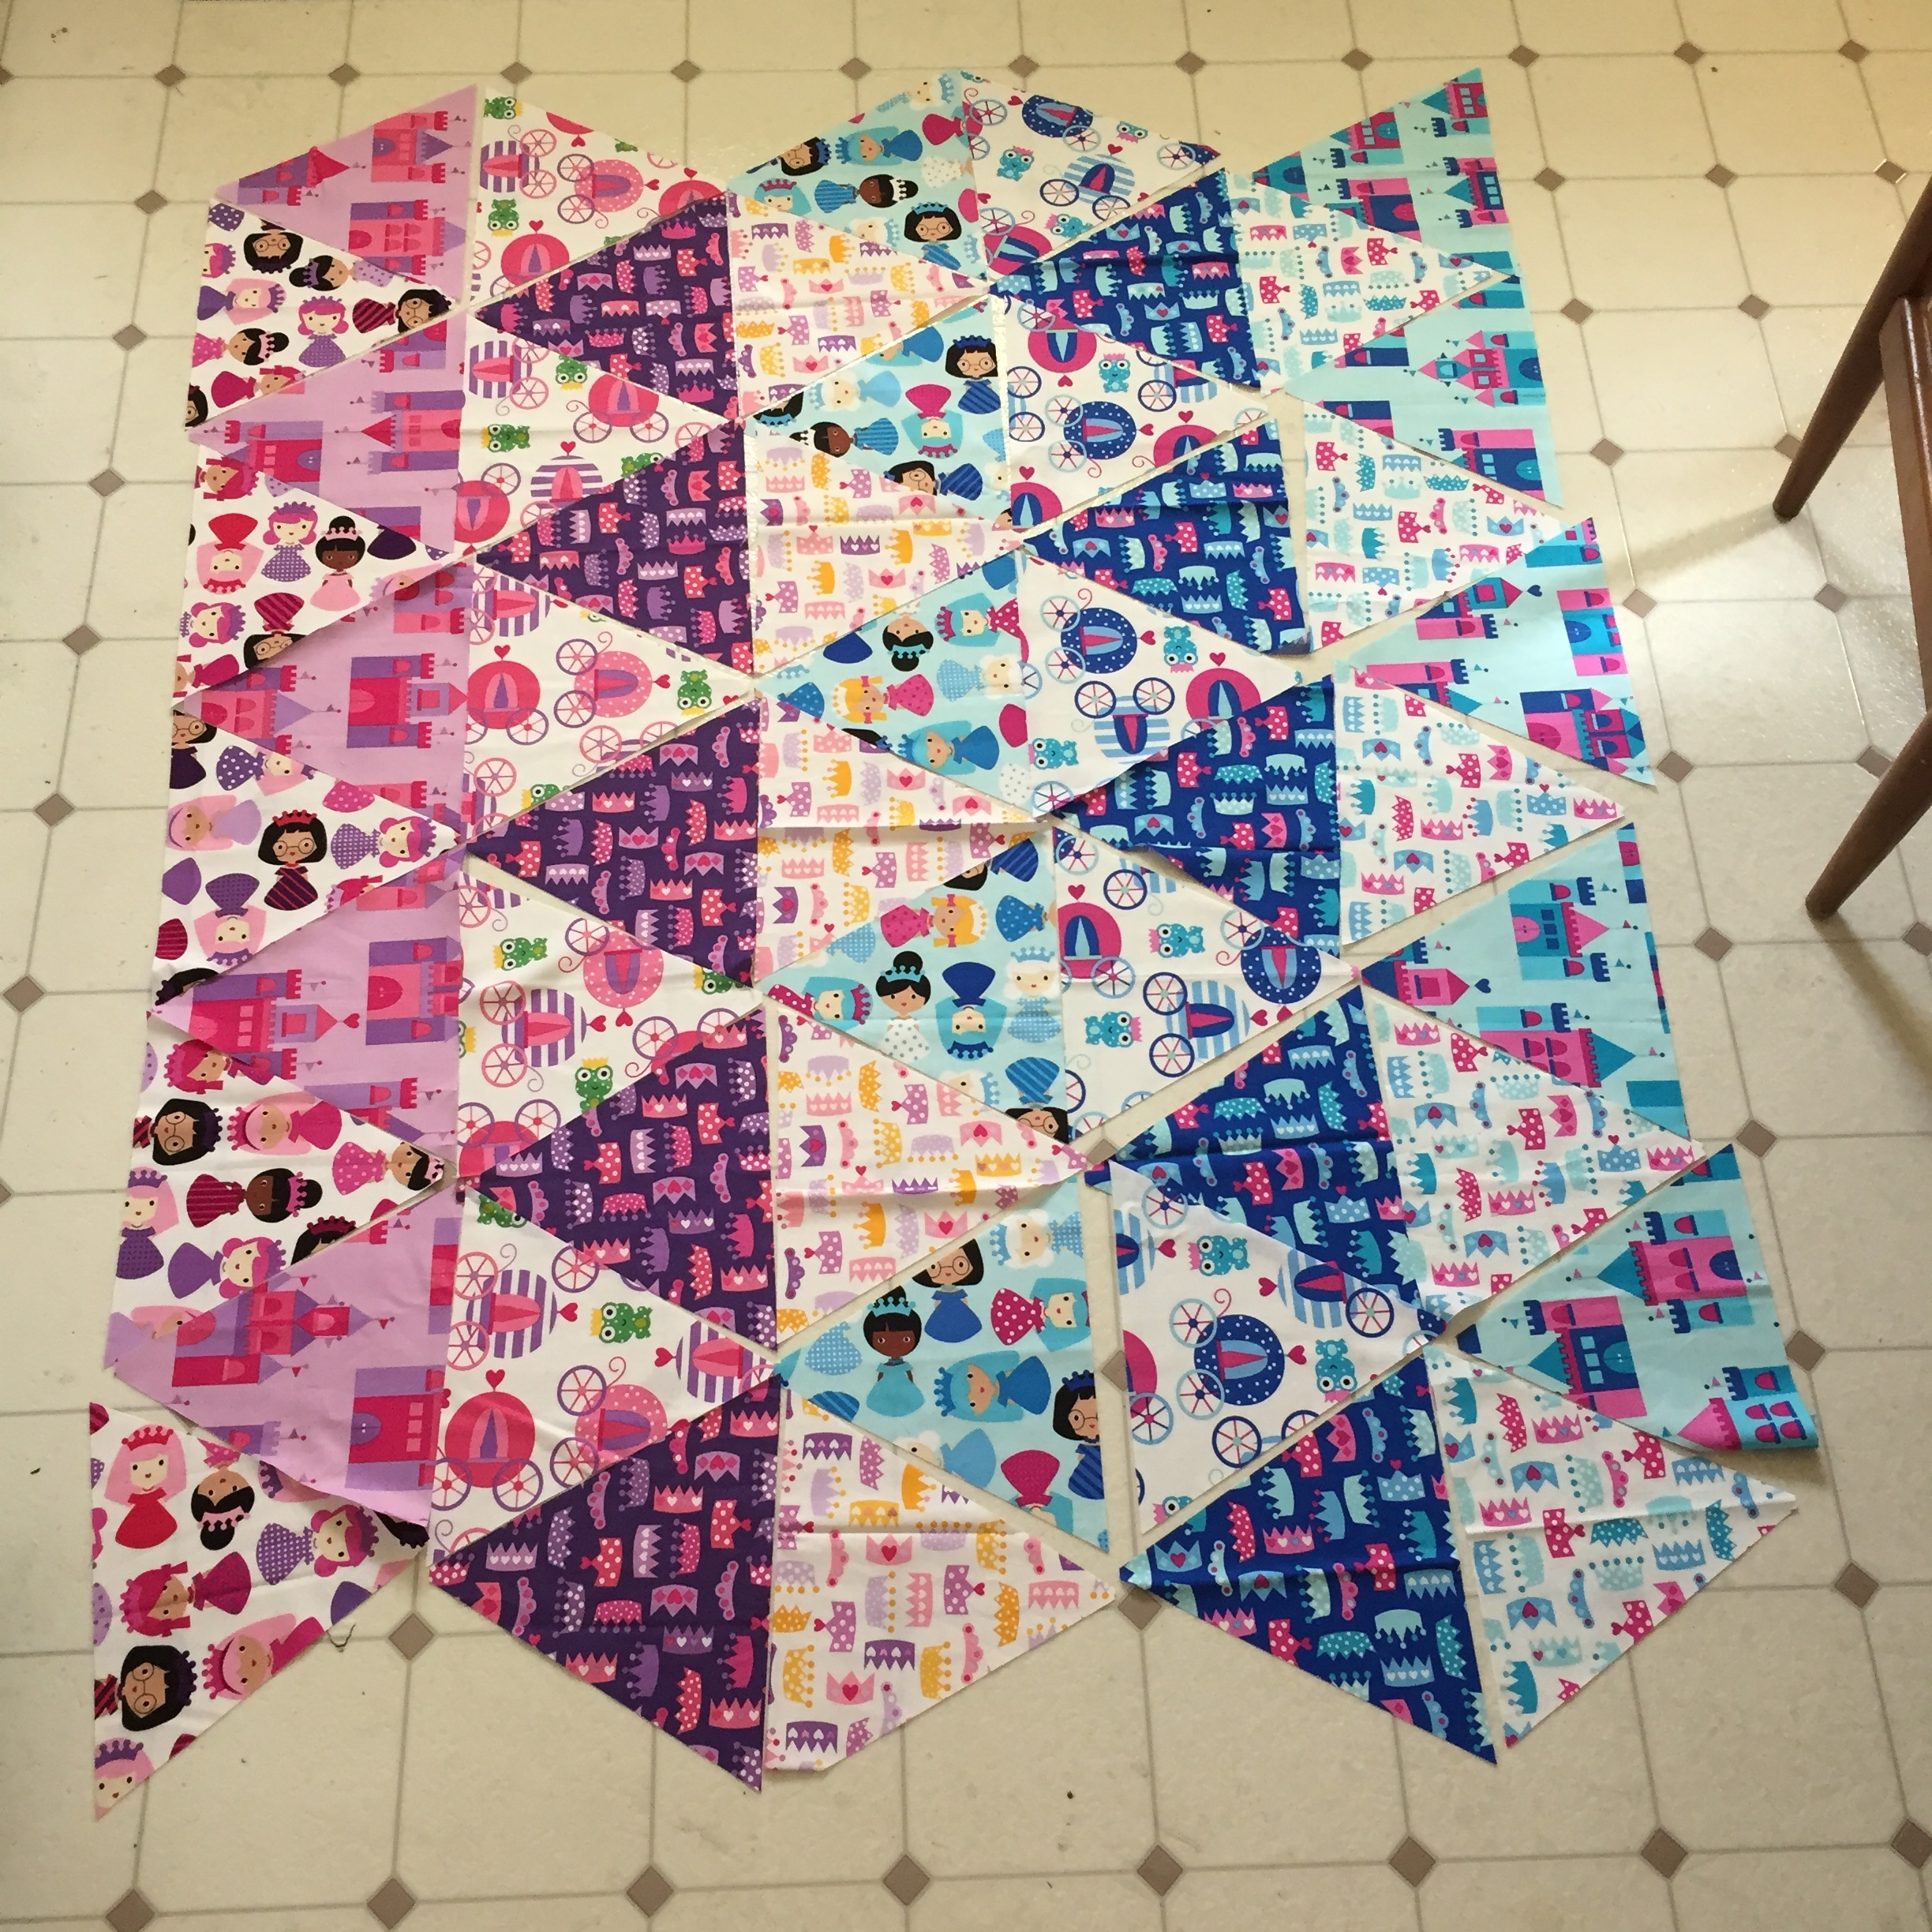
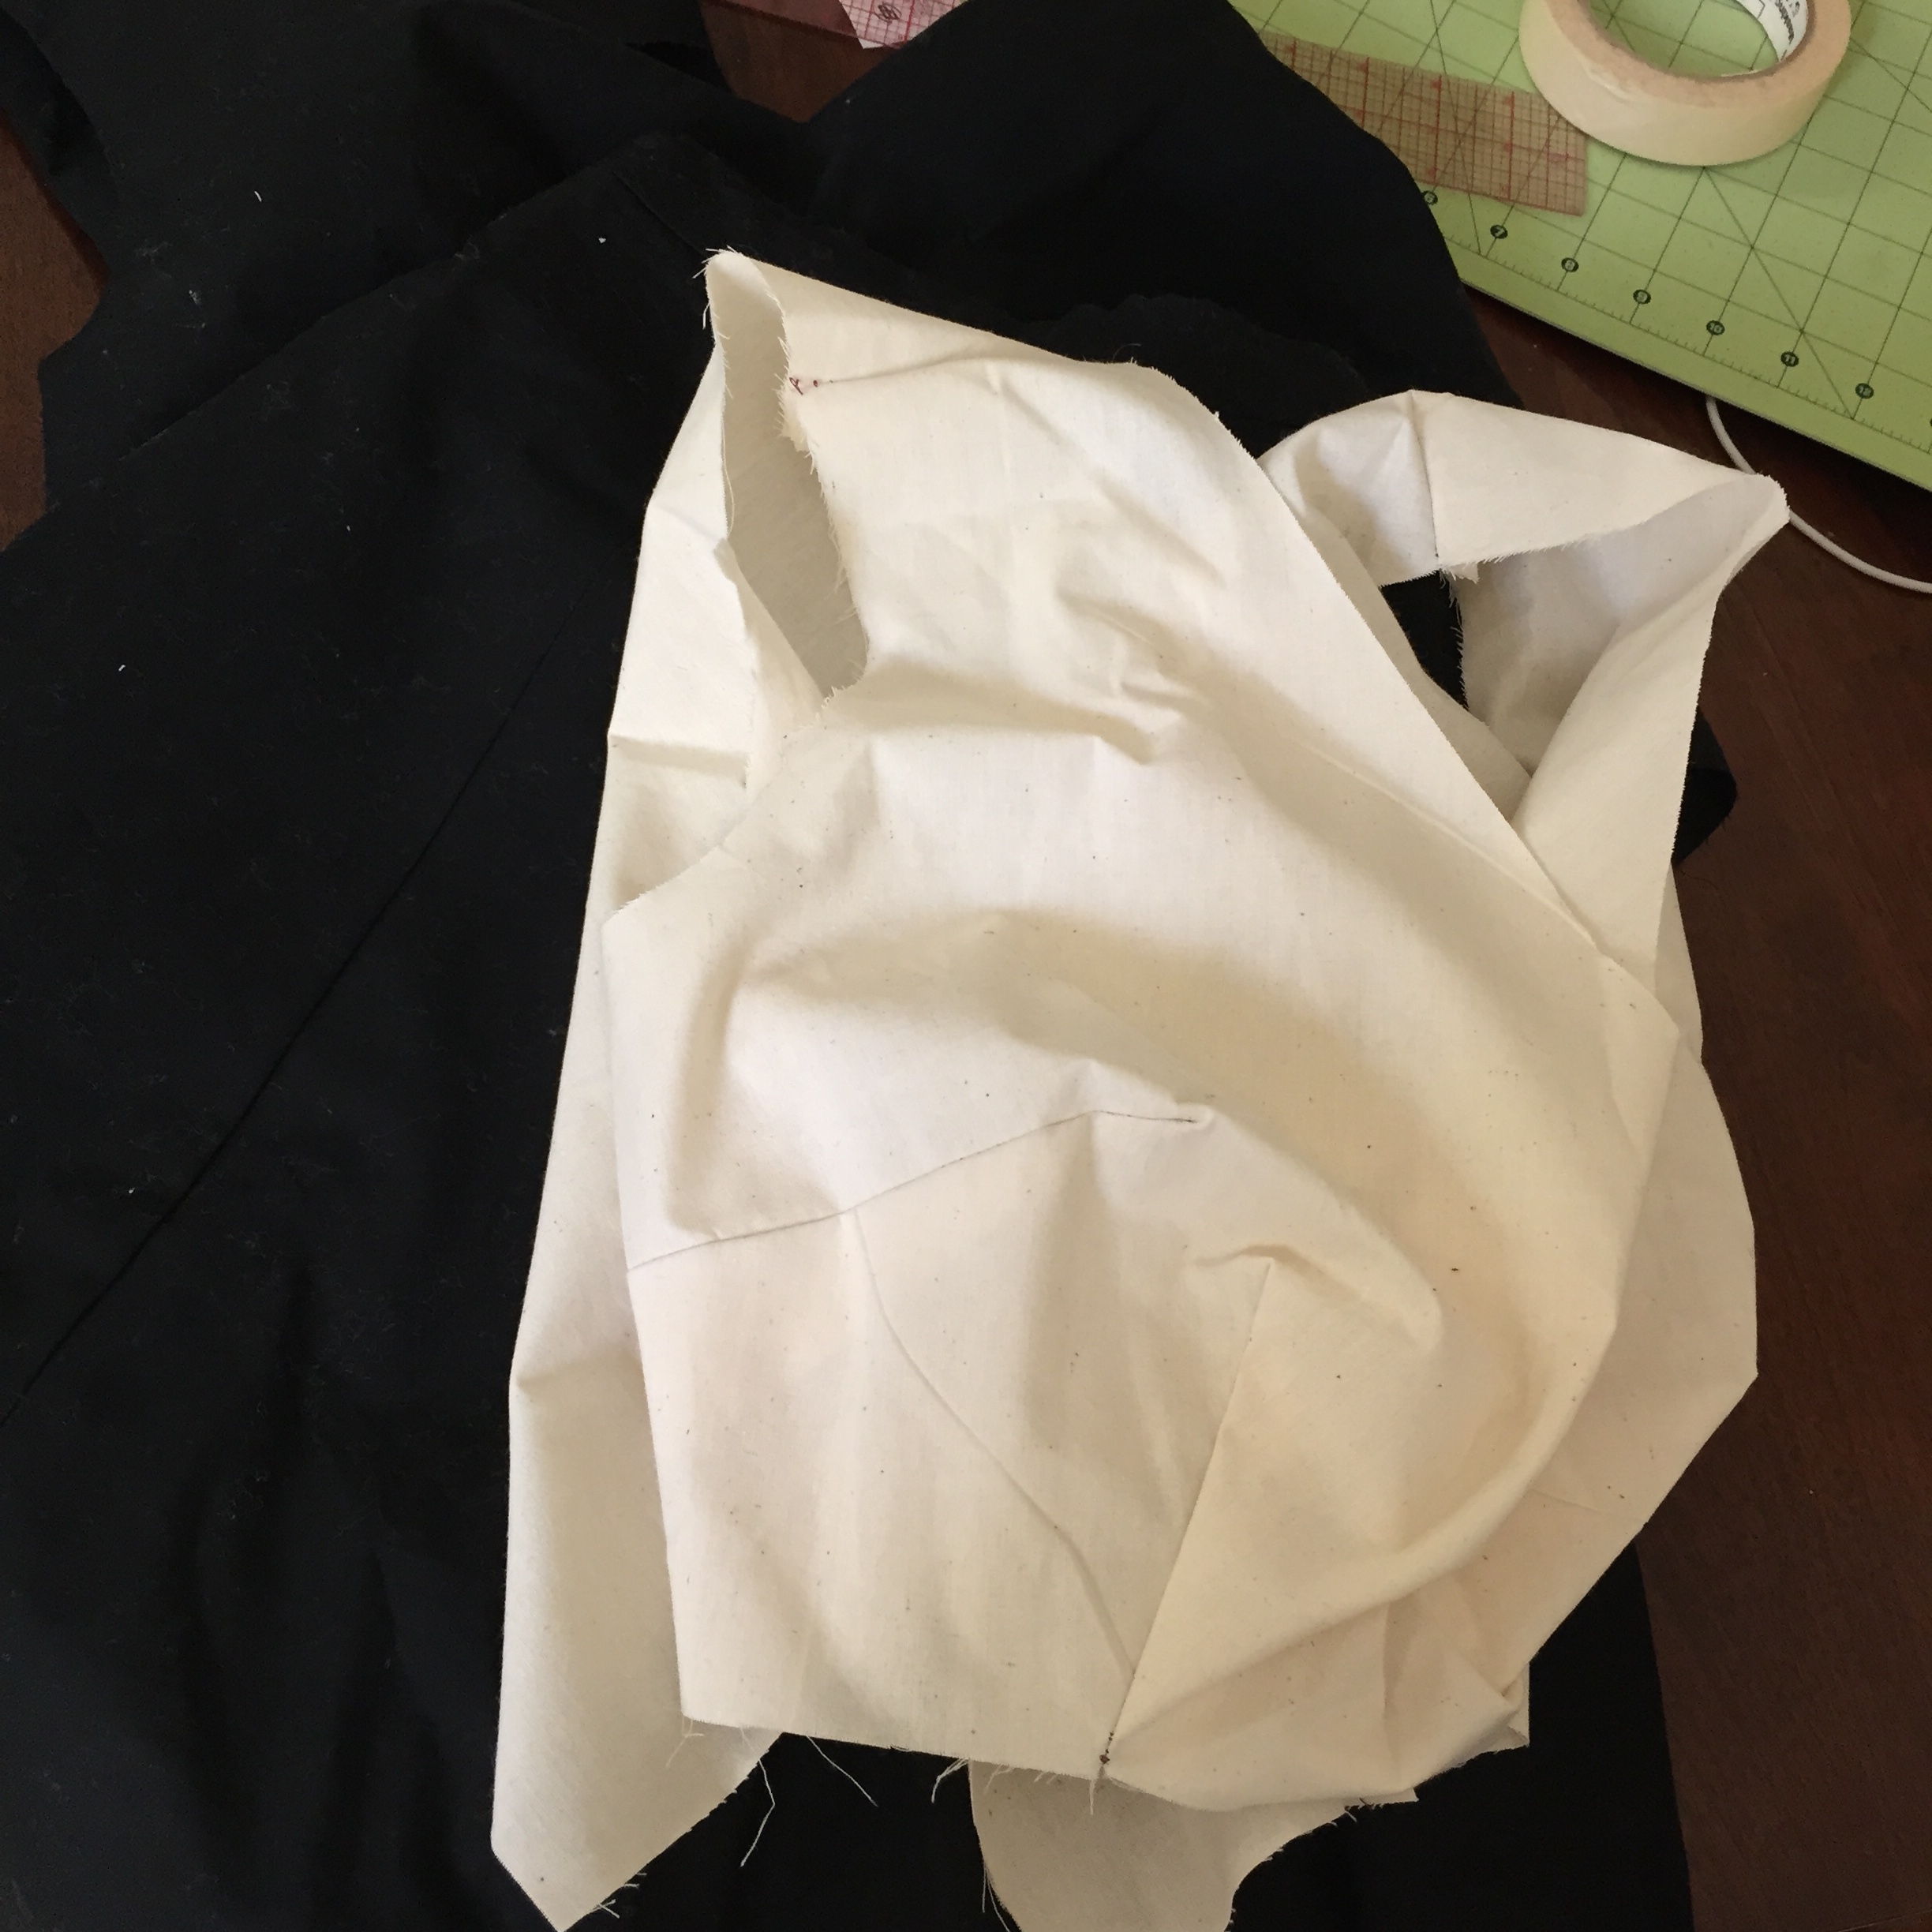
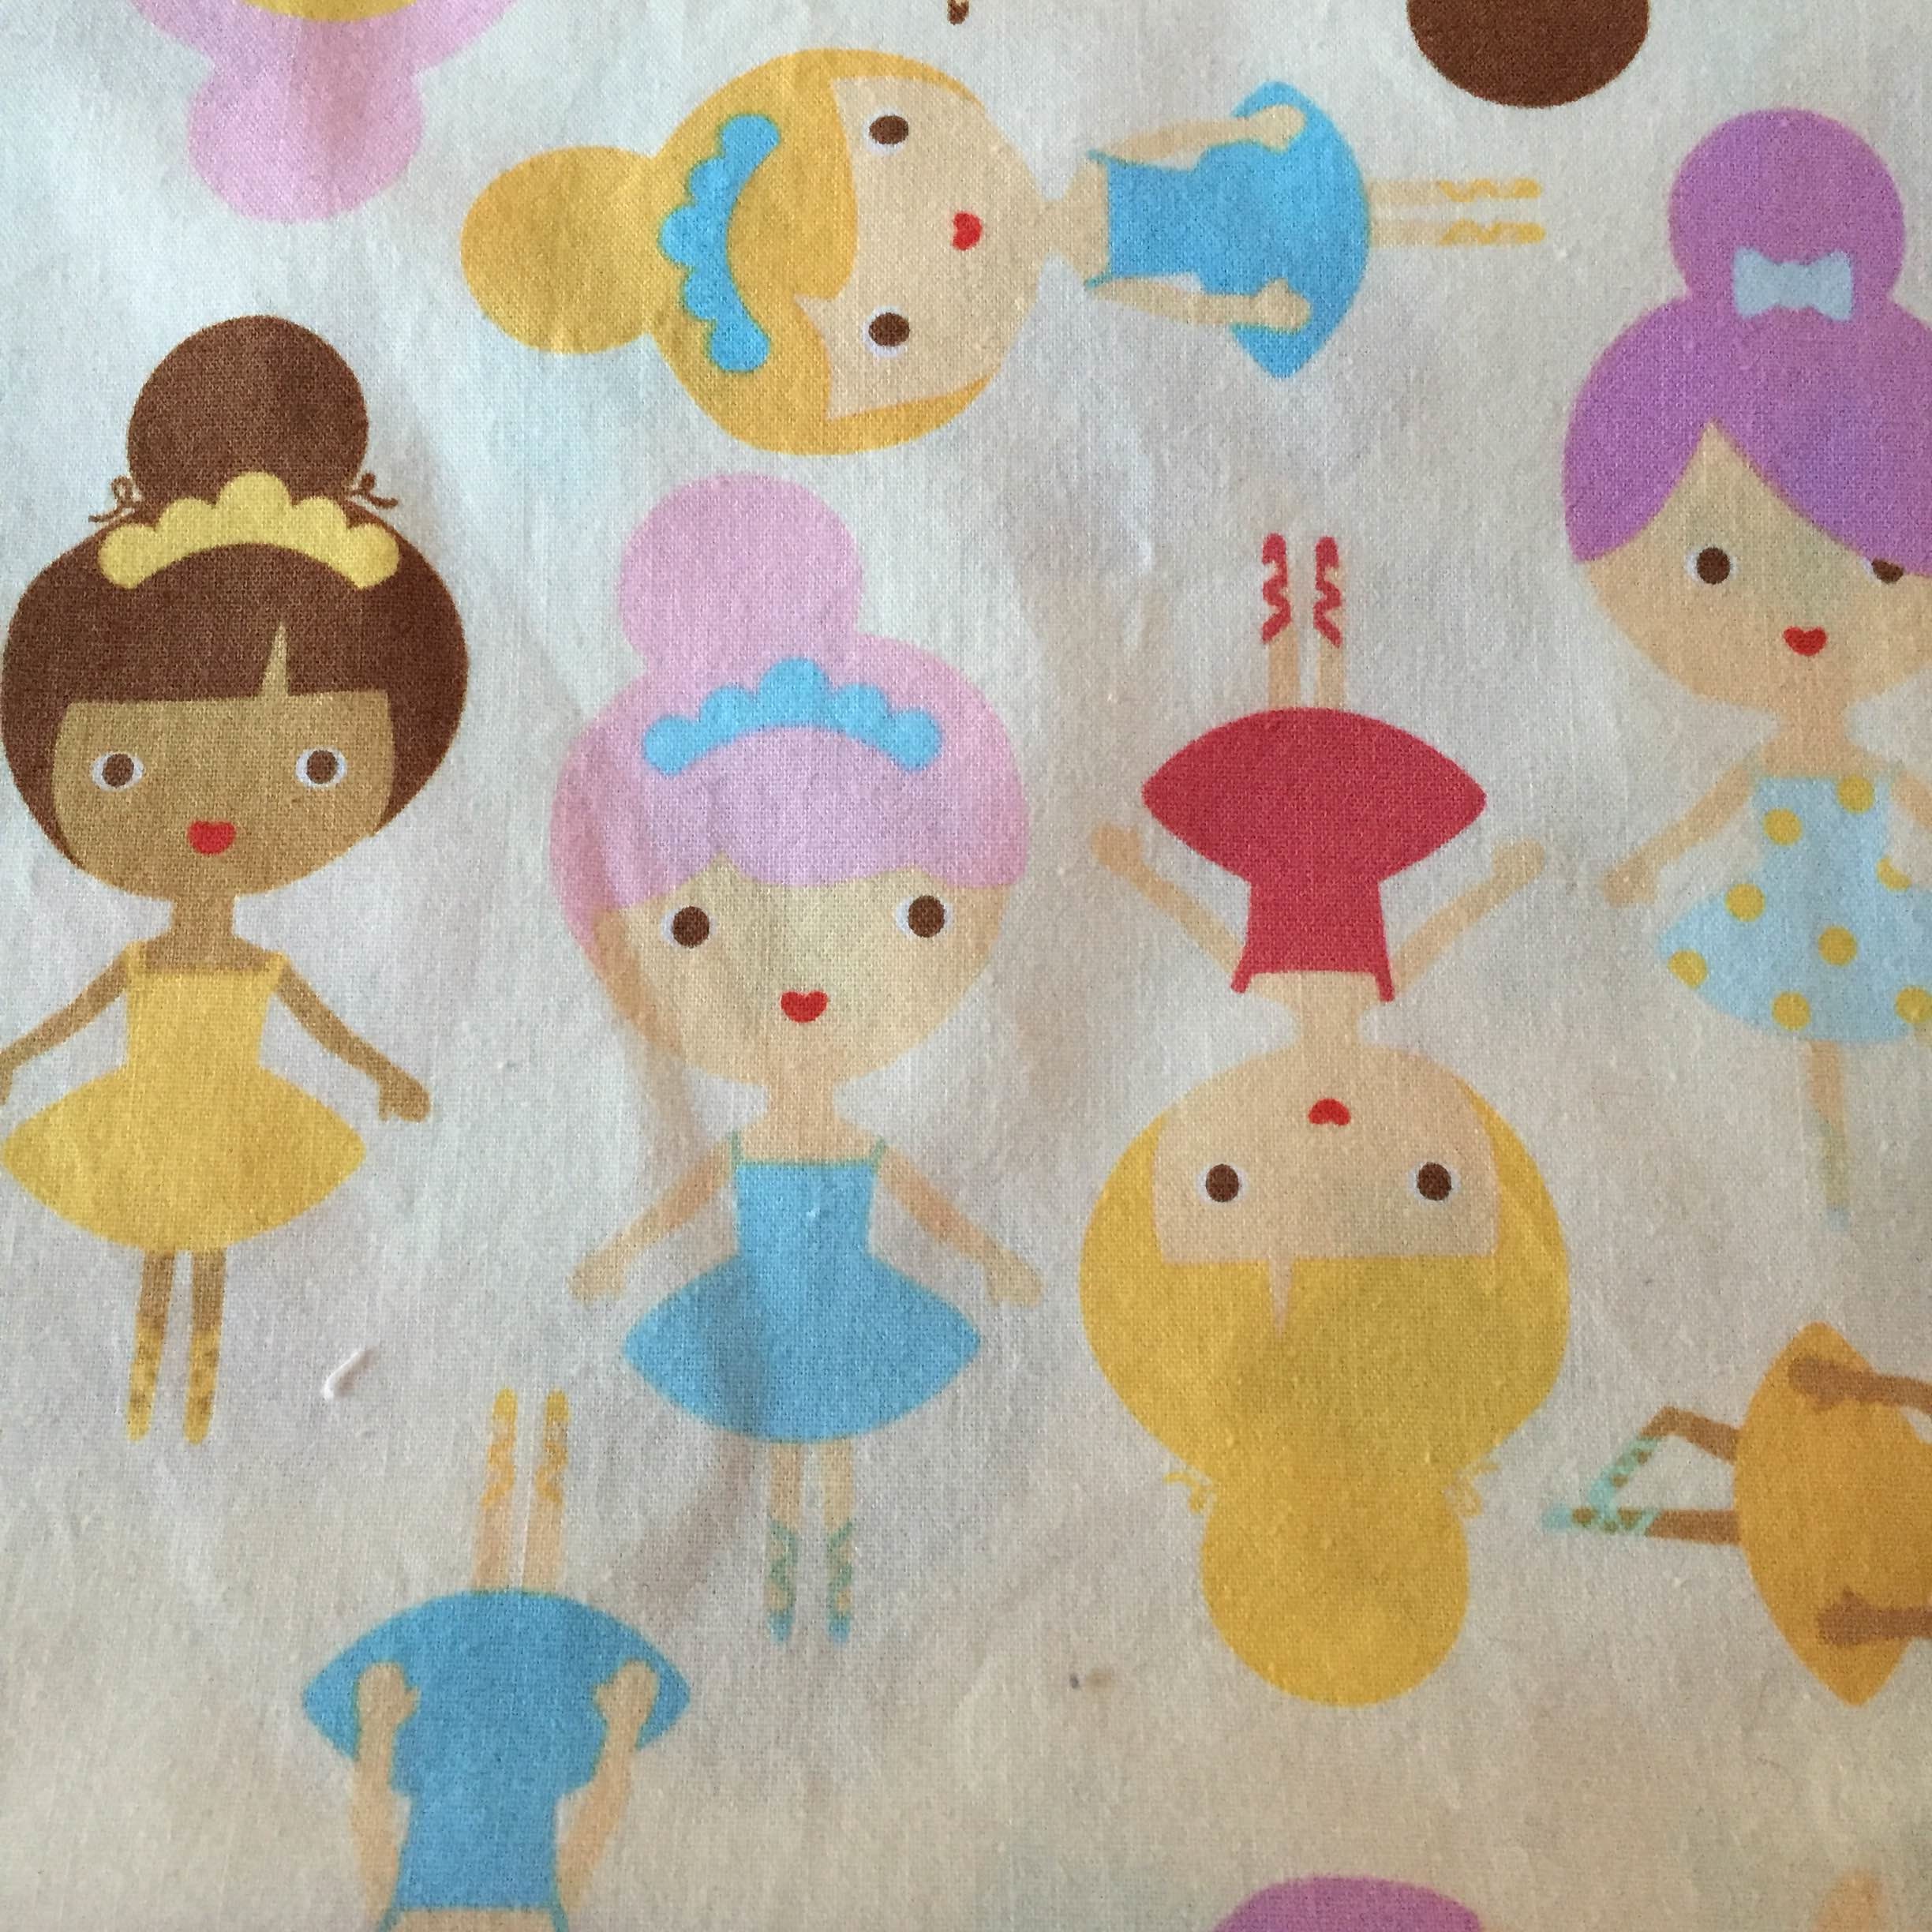
In new project news, I do have a little something I’ve started working on using Princess Life by Ann Kelle. It’s another day care nap blanket for DD1, but I haven’t been able to land on an arrangement I like yet. Have thoughts? Let me know! I am stumped.

IMG_1684 IMG_1685 IMG_1686

Ruby, Pearl, and Opal Quilt

Finished and happily has been snuggled under for a couple of days. This is the quilt I made for me.

IMG_1664

And oh it was worth the work. I love this quilt even if it is riddled with mistakes. Notice how it was left very wrinkled. That is on purpose.

IMG_1665IMG_1666

There are puckers in the quilting. I hated the batting I bought! It seemed to stretch and stretch no matter how much it was pinned, but I also learned so much as I went along. Especially about machine quilting something beyond top to bottom lines. On this quilt I stitched two lines down every single white stripe. It seemed to take for-ev-er.

IMG_1669

IMG_1667

Anyways, here are the details. Fabric is mostly the Folklore Collection from Camelot Fabrics. I added a few others to round out the colors. The pattern is Ruby, Pearl, and Opal from Moda Bakeshop. I feel a little like this was a giant leap from my first quilt in terms of difficulty, but it seems to have worked out well in the end.

Next time I’ll talk about how I arranged the color blocks in my Fairies Quilt.

Finally a Win!

As I mentioned in my last post, figuring out how to fit my body right now has been a little tough. Thankfully I made something that looks good!

This is the Tiramisu pattern from Cake. I recommend it. I highly recommend it.

IMG_1622

I’ve never sewn with knits before, but the directions in this pattern are very clear and it came together in a snap. Less than 3 hours total including cutting out the pieces. And the best part is the pattern includes directions on picking the best size. My upper bust is 35 inches, so I picked the size 35 for the top. Then is has sizing for different cup sizes. So I cut out a 35D to accommodate my 34G size bust. Then you pick a waist size for the lower half. So for my 35.5 inch waist I cut out a size 37.5. I wanted to go big on purpose because I do not want to wear anything clingy right now.

IMG_1599IMG_1618

I should have just gone with a size 35 for the whole dress. As you can see from the photo on the left, the waist band is too big and too long. But that was a very easy fix. I reattached the skirt one inch higher and took in the waist and skirt by about 1 inch. Next time I’ll also make the bodice a touch longer, but otherwise I can just cut a size 35 and that is an amazing feeling.

I love this dress and it’s the first time my top hasn’t been gaping open in months.

IMG_1619

Finding the Right Fit

I haven’t had a lot to show this week. Most of my sewing efforts look like this.

IMG_1616That’s my stack of completely horrible muslins trying to make myself some clothing that actually fits. I was using Kwik Sew 3682 as a base because it is the type of style I’d wear a lot, but the fit is all wrong. My bust alterations came out well, but the shoulders not so much. So moving onto something else.

Trying to fit a post baby body can be really really hard.

Story Time Sampler – January Update

Well, you might have noticed it is now February. But I am still plugging away on January’s clue for the Story Time Sampler. It is okay though. First of all, the January clue (the biggest one) didn’t come out until January 15th. Then my supplies didn’t arrive for another few days. Unless I dropped everything it was unlikely I’d finish the whole clue before January 31st, but I did what I could. So now I have Alice (from “Alice in Wonderland”) and Mary Lennox (from “The Secret Garden”) waiting for me to catch up. I’m getting there. I swear.

IMG_1596

Try and Try Again

This week I feel like nothing is going quite right. Our three month old has only been taking cat naps, so I haven’t had much time to work on my projects. My Story Time Sampler hasn’t made much progress. I tried to make a dress to fit my postpartum shape and it was a miserable fail (more on that later). But I did get this beautiful quilt top pinned into its batting/backing sandwich today so tomorrow I can start quilting it all together…if I can pick a pattern.

IMG_1525

I’m feeling so indecisive. Anyone have a suggestion? Part of me wants to hand quilt it, but I think I would lose steam quickly. So I will most likely machine quilt it. Hopefully tomorrow I will wake up inspired.

Moral of this story…not every project turns out perfectly the first time and not everything has to be made quickly.

Fairies Quilt

Why buy something when you can make it with a skill set you already possess? One thing I’ve learned over my lifetime is that what I make for myself lasts a lot better than what I can buy in the store so when I realized Darling Daughter #1 really needed a bigger blanket for nap time at school I decided to try my hand at making one.

As I posted a few days ago, last fall I took up quilting. So DD1 and I set off looking
for fabrics she would like for her blanket. Choice #1 was the Girl Friends ballerina print from Ann Kelle for Robert Kaufman.

IMG_1550

But I didn’t love it for a blanket.

So we looked again and found the perfect collection, Fairyville by Heather Rosas from Camelot Fabrics. I also found a tutorial for making disappearing nine patches on Cluck Cluck Sew. It worked out perfectly.

20150125-IMG_2977

And she loves it.

20150125-IMG_2974

This project has a couple of firsts for me too. First time machine quilting, first time binding a quilt, and it was my first time sewing with minky. But all want together smoothly and I am so pleased with her little nap blanket. No more baby blankets for my big grown up preschooler.

20150125-IMG_2979

Sugar Plum Baby

The moment I saw the Sugar Plum Cardigan by Jennifer Beaumont, I knew I wanted to make one for one of my girls. It is the cutest little sweater design. But it meant steeking. Eek! And stranded color work too. Something I hadn’t attempted in 4 years (and it didn’t go all that well).

IMG_1534

But it was a fun challenge and attempting a new-ish technique on a size 3 month garment is certainly a lot easier than on an adult garment. This little sweater was made with Cascade 220 Superwash in the colors baby denim, berry pink, and blue velvet. The pattern is worked top down with set in sleeves. I wouldn’t say it was an easy pattern because not only is there steeking and color work, but you are also instructed to work the pixelated patterning while shaping the shoulders, sleeves, and neckline. But the end product is completely worth it and Jennifer’s instructions are perfectly clear. She has such a great sense of color that I encourage you to check out her designs!

IMG_1543

Darling daughter #2 will be 3 months old on Thursday. I was supposed to go back to work today, but I am thankful I am able to stay home with her an extra 5 weeks. So hopefully I will have time to make her more pretty things.

Story Time Sampler – January

Anyone else working on The Frosted Pumpkin Stitchery’s 2015 Story Time Sampler? I haven’t finished a cross stitch project in years, but when I found out about the 2014 version I couldn’t wait to sign up for the 2015 stitch a long. This year’s version is going to feature some favorite characters from children’s literature, but before I can fill in January’s details (Alice in Wonderland), I need to finish all the prep. Four frames down, 8 more to go!

IMG_1523

I hope I can get to Alice before the next month’s pattern comes out on February 1st!