Today I’m here to talk about the process of getting a pattern to fit how I prefer. On Monday I’ll have a full review of this pattern 1942 Two-Piece Dress from Eva Dress Patterns posted on The Curvy Sewing Collective, but over here I’m writing about making muslins!
This pattern comes with sizes grouped together. So you can either get bust sizes 32-38 or 40-46. I purchased 40-46. For my first muslin I cut a size 40 for the shoulders graded into a 42 at the waist.

I thought this looked pretty promising over all. The shoulder cut in a bit closer than I wanted, but otherwise the big issue is the center front lines are no where close to meeting! I’d expected that over the bust was a bit surprised by the waist. I figured, no worries. I knew I was going to do a full bust adjustment, this just confirmed that was the right next step.

Ack! Okay, I did a 1.5 inch full bust adjustment to each side and now the center front lines aligned and the waist looked nice, but the blouse had too much length! Way too much! This is also how I saw the sleeve caps had tons of extra height.

I also saw how the back was much too long as well. Though this is a common issue I have with patterns.
At this point I was frustrated. I’d done what you should do to add room for the bust, but it didn’t work out like I’d planned. I almost quit. Then I went to an online sewing forum through Ravelry and asked for feedback on how I should proceed.
The consensus seemed to be that I should go back to version 1 and rethink how to add width. I studied the shoulder pleats and figured out where the bust apex was on the original pattern. Then made the decision to gasp! just add the width at the side seams.
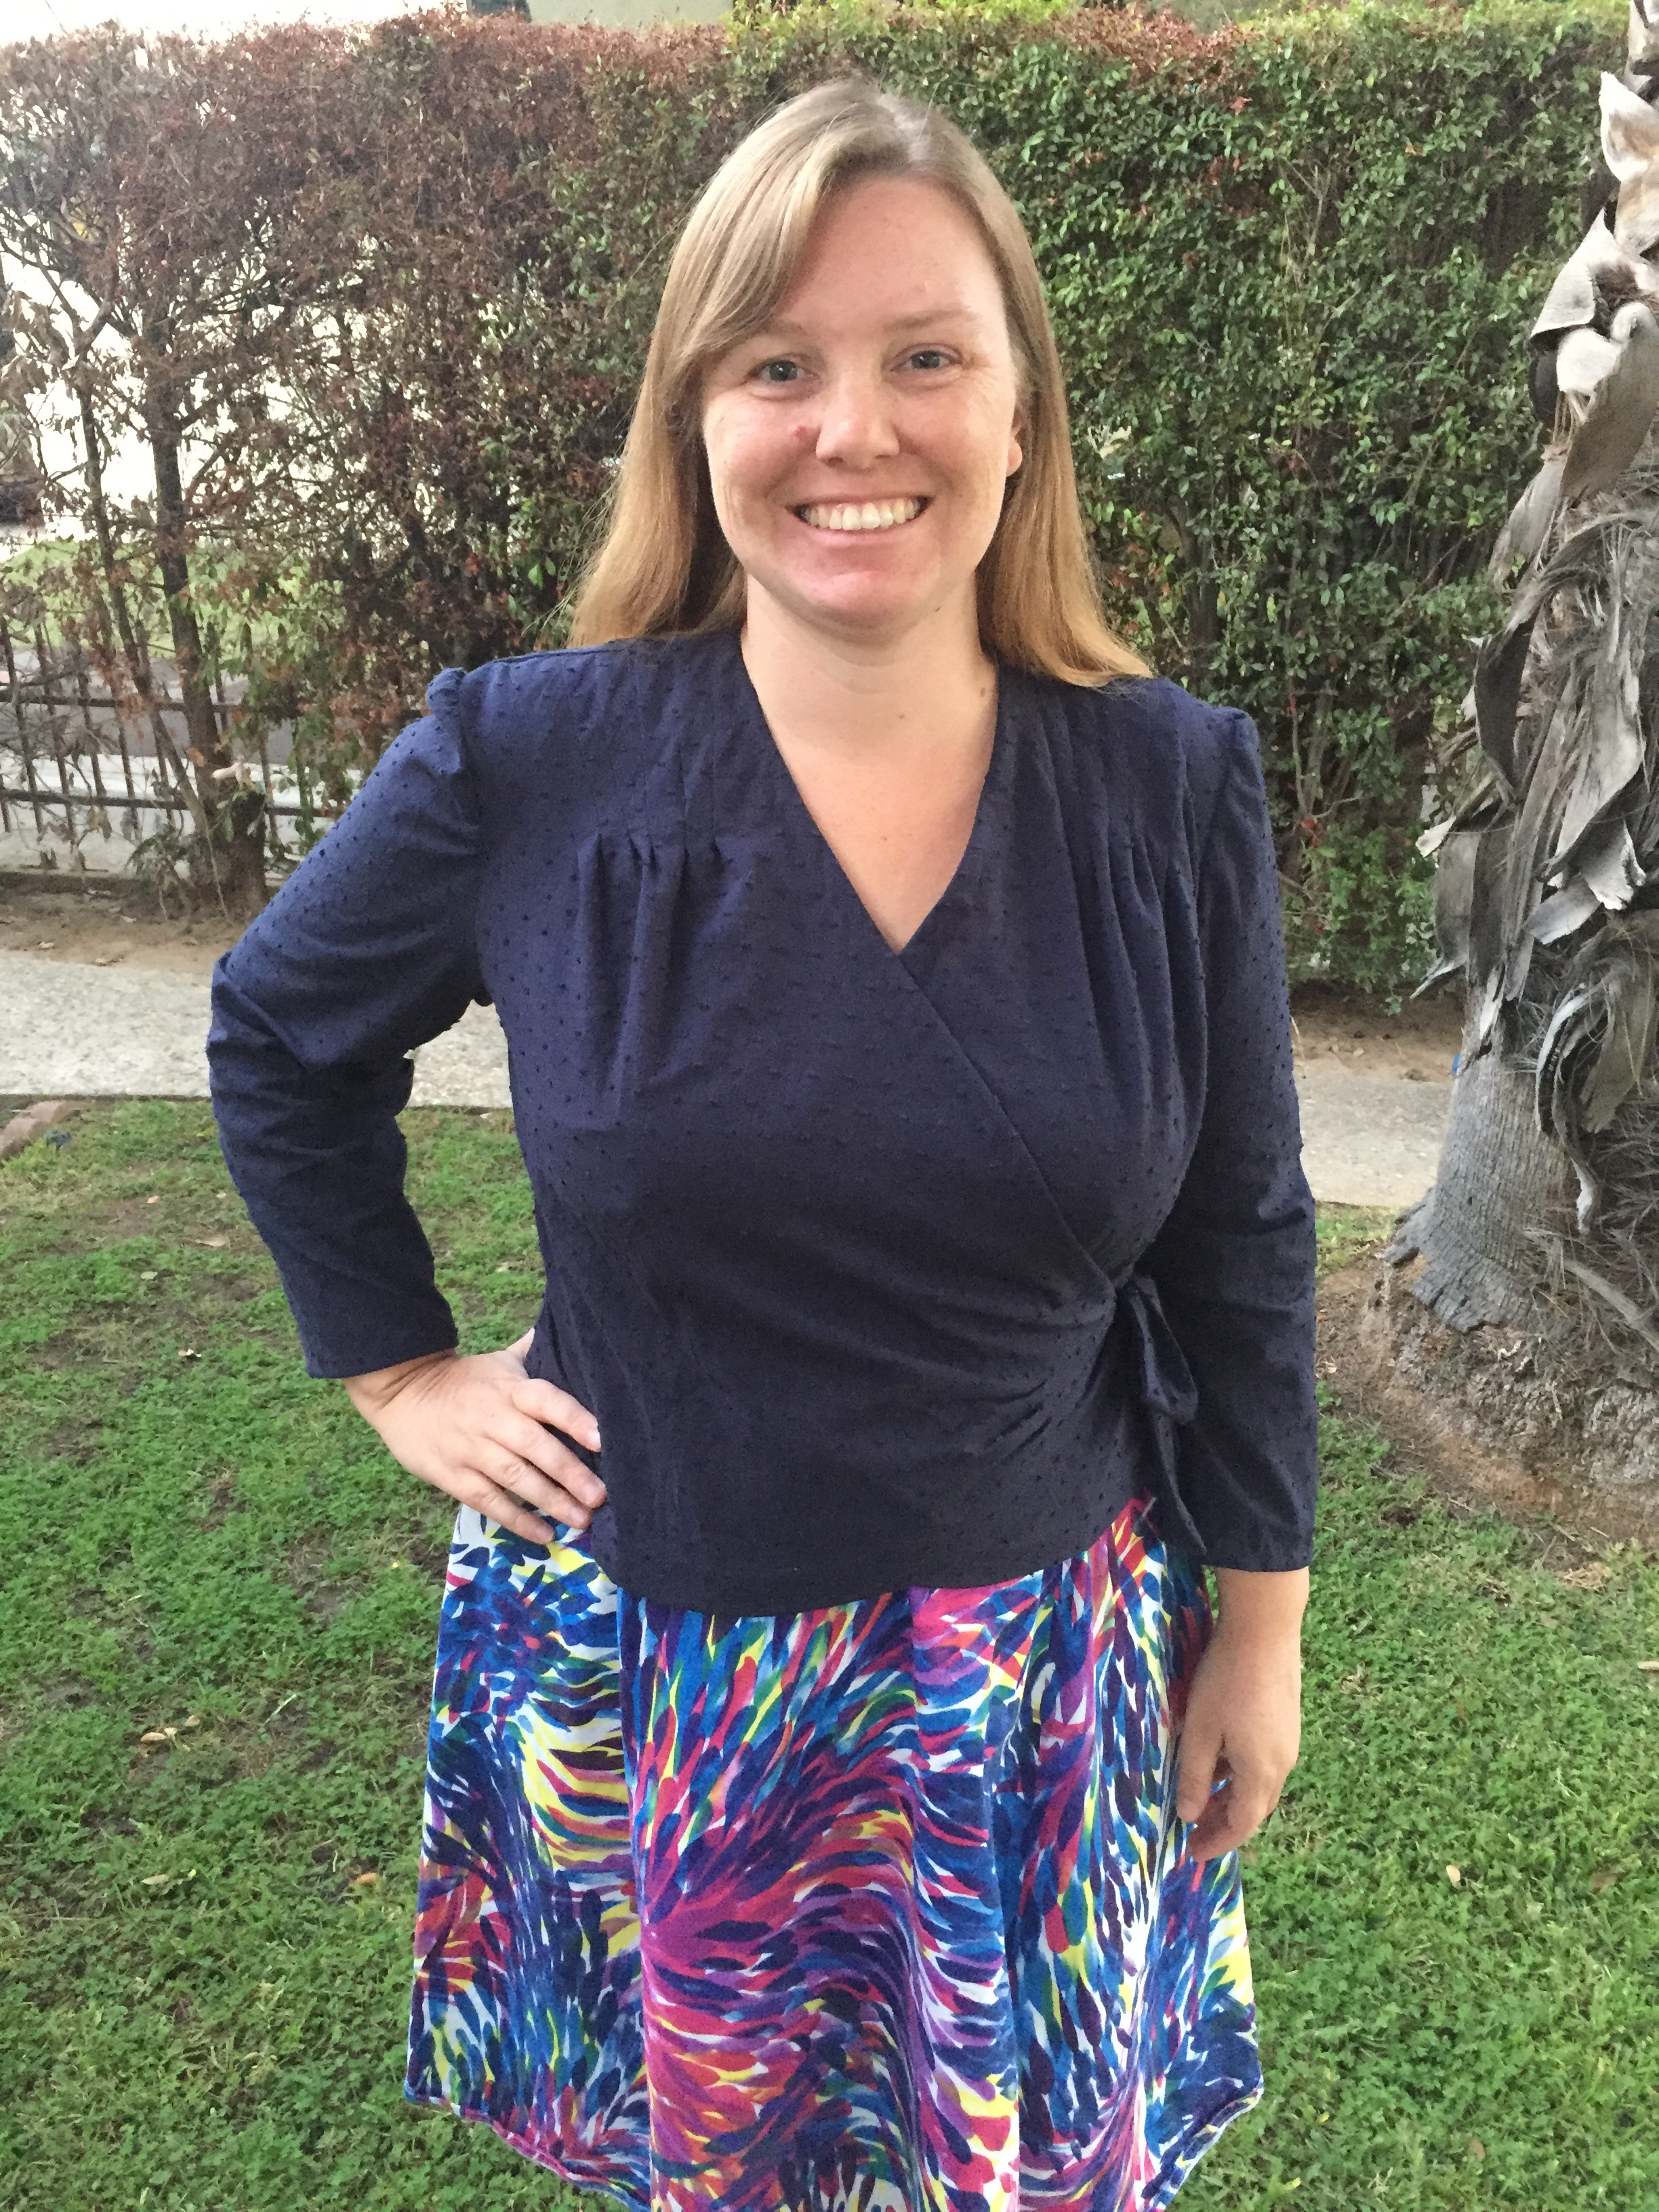
I think it worked out pretty darn well.
Instead of grading the pattern from size 40-42 between the bust and waist, I went ahead and traced off a size 42 for the entire front piece along the side seam. Then for the side with the tie I traced the neckline starting with a size 20 at the shoulder and a size 46 at the tie. This still didn’t add enough width, so I also slash and spread the pattern by 1 inch. To accommodate the slash and spread as well as the too wide shoulders I added 2 pleats to the shoulders.
As you can see now the tie actually reaches fully to the side seam as in the original pattern envelope art!
Lastly I tossed my sleeve pattern piece with the large bicep adjustment and traced the size 40 sleeve cap with size 42 bicep.
Is the finished blouse perfect? Nope. But it fits a lot better than either of my muslins.

The sleeves are a bit long. So next time I’ll take some length out above the elbow pleats. But that is such a minor alteration to make compared to the other fit issues! To be fair I did not muslin the longer sleeves, so totally my own fault!

The fashion fabric is some lovely Swiss dot voile I picked up at Michael Levine’s during the same visit when I bought the pink/purple plaid used to make my Dahlia dress. It is so soft and light and lovely to wear. Just enough to provide nice coverage on a warm day.

This project felt like a lot of work, but I am overall happy with how it turned out! I’m not making a lot of pieces right now, so it feels good to slow down and embrace the process.

Hi Jessica, the blouse looks marvelous on you. Since it is a neutral colour, it can be mix and matched with many. I can see the effort that went into making it fit.
Here are a few suggestions:
If you notice (Photo showing back), you seem to have taken more cross back (measurement across the shoulders). You may need to reduce the cross back by 3/4″-1″ on either side.
Make use of the design, but for your body measurements. Why at all use patterns that donot fit and keep making alterations to them? Instead use your body measurements directly. Make a body block and you are ready to make any style.
Net step is to make the designs to suit your body type.
All the best for saying goodbye to patterns and making your clothes on your own.
LikeLike
Hi Sana, I have definitely considered ditching patterns and working off a block. In fact I took a class to make my own block about 4 years ago, but then I had another baby and it no longer worked. I’d love to update it, but I really need a sewing partner to help me. But maybe I’ll try it again anyways and look for help if I get stuck. Something I’ve been pondering lately. I really enjoy pattern manipulation. So thank you for the suggestion!
LikeLike
You are so right: sometimes the ‘correct alterations’ are not needed!! I find that sometimes the Full Bust Adjustments make the garment look …in lack of a better word… ‘baggy’ (English is not my first language), when the rest of the measurements are fine, as your photos show so clearly! I have a pattern for a lovely dress that have stalled because of this. You have just given me the inspiration to move on with it by just adding to the side seams. Thank you!!
LikeLike
Hi! Thank you! I encourage you to try different ways of getting a garment to fit. I know there are the rules to follow, but something it really takes a different approach.
LikeLike
Pingback: Pattern Review: 1942 Two-Piece Dress
Beautiful! I love the fit you ended up and seeing how you went from muslin to final fit was fascinating. This is the type of blouse that is so flattering and handy to have for skirts and pants I’m sure you’ll get a lot of wear out of it. I agree that having made it out of a nice navy cotton was brilliant. It’s not a colour I’ve often bought but when I do I realize how often I actually LIKE to wear navy b/c of how well it goes with almost everything i have in my closet!
LikeLike
Oh, I love navy. Such a great alternative to black!
LikeLike
Pingback: Curvy Sewn: Your Creations for November